
If you need certificates for your internal websites, applications, wireless network or pilot lab test, having an internal enterprise authority server is a good choice. Today, I am going to show you how to deploy an Enterprise Authority root server on Microsoft Windows server 2019. This is the simple way to have a certificate service for Internal and easy to maintain but it maybe not a good best practice, if you need the certificate service is deployed securely, you need to consider deploying Two-Tier (or more) PKI Hierarchy (at least a Root CA server and a subordinate server), I will show you how to deploy them for future post.
- Login to windows server 2019 (this is a member server of domain) via member of enterprise admins.
-
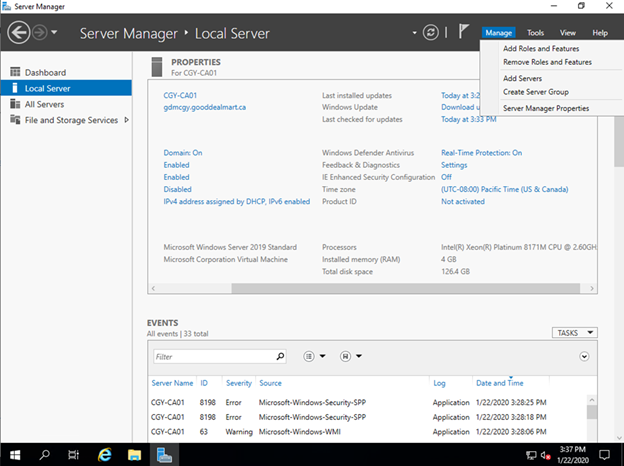
On the Server Manager page, click Manager and select Add Roles and Features.
-
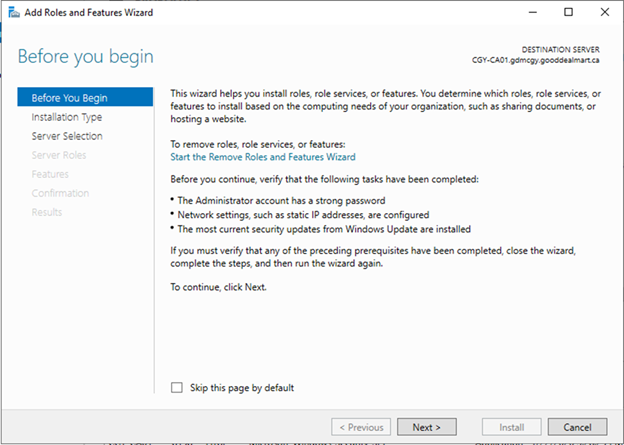
On the Before you begin page, click Next.
-
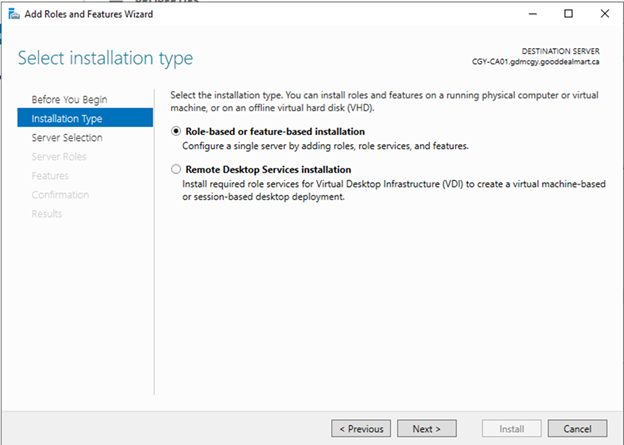
On the Installation Type page, select Role-based or features-based installation, click Next.
-
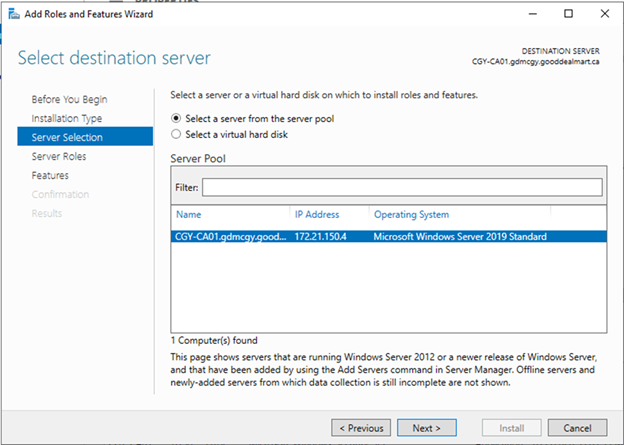
On the Server Selection page, select the CA server and click Next.
-
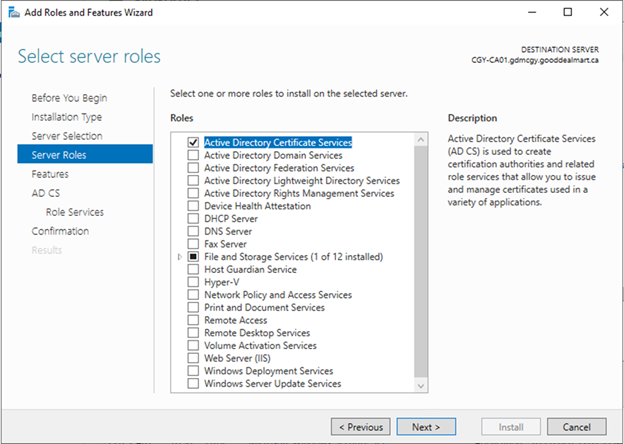
On the Server Roles page, select Active Directory Certificate Services, click Next.

-
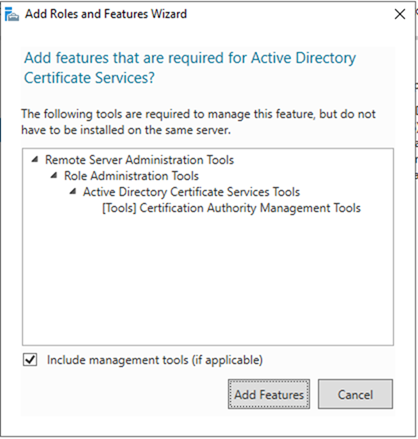
On the Add Features that are required for Active Directory Certificate Services? page, click Add Features.
-
Click Next on the Server Roles page.
-
On the Features page, click Next.

-
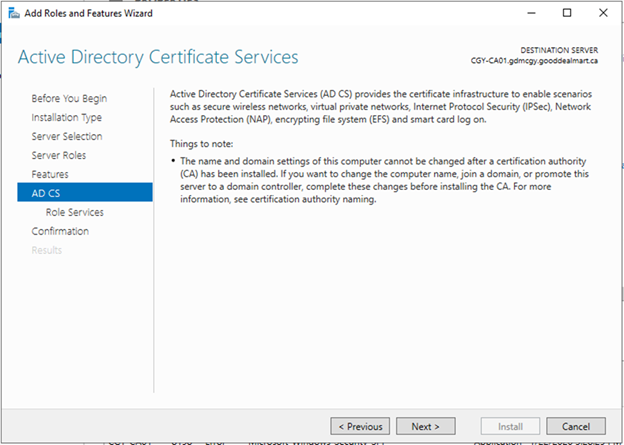
On the Active Directory Certificate Services page, click Next.
-
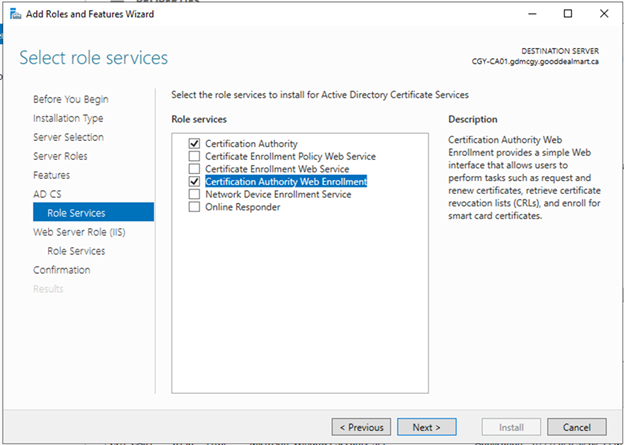
On the Select role services page, select Certification Authority and Certification Authority Web Enrollment, click Next.

-
On the Add features that are required for Certification Authority Web Enrollment? page, click Add Features.

-
Click Next on the Select role services.
-
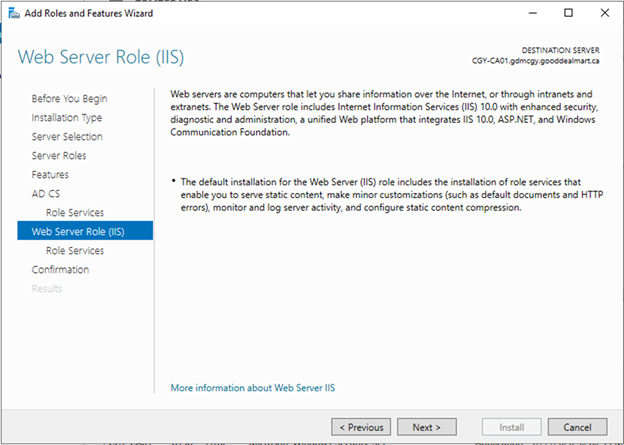
On the Web Server Role (IIS) page, click Next.
-
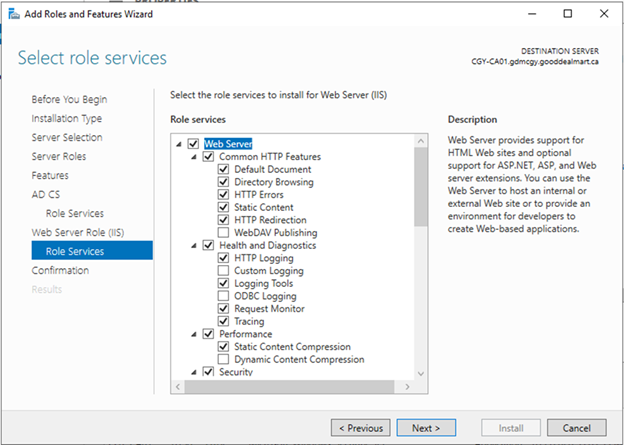
On the Select role services page, click Next.
-
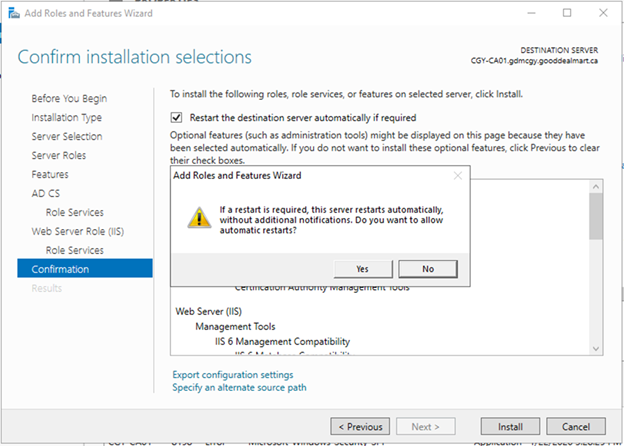
On the Confirm installation selections page, select Restart the destination server automatically if required, click Yes on the warning message.
-
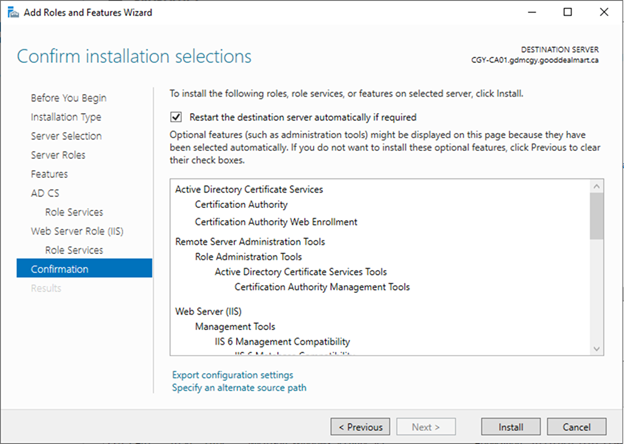
On the Confirm installation selections page, click Install.
-
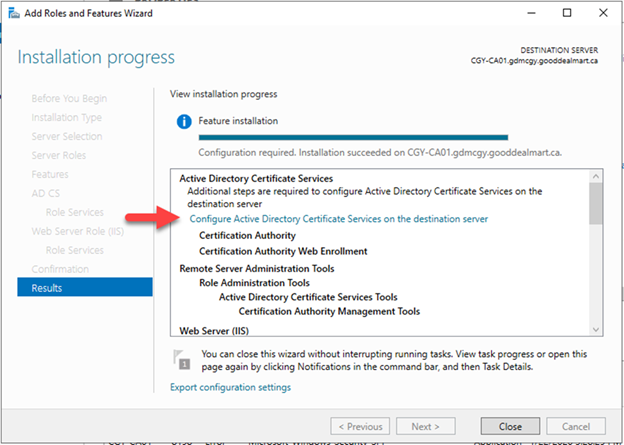
Click Configure Active Directory Certificate Services on the destination server after Features installation completed.
-
On the Credentials page, make you select the credential is a member of local Administrators group and Enterprise Admins group, click Next.

-
On the Role Services page, select Certification Authority and Certification Authority Web Enrollment, click Next.

-
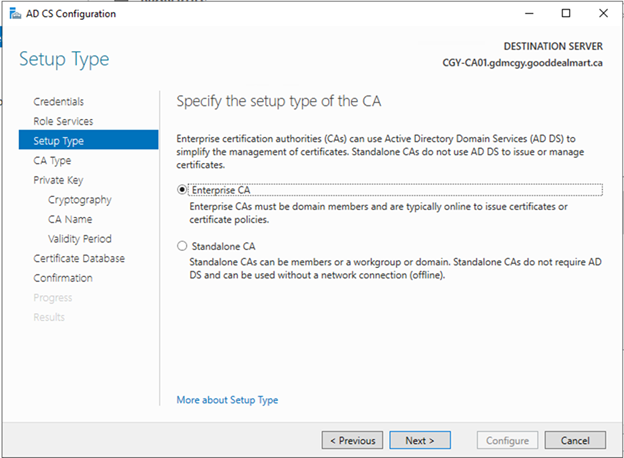
On the Setup Type page, select Enterprise CA, click Next.
-
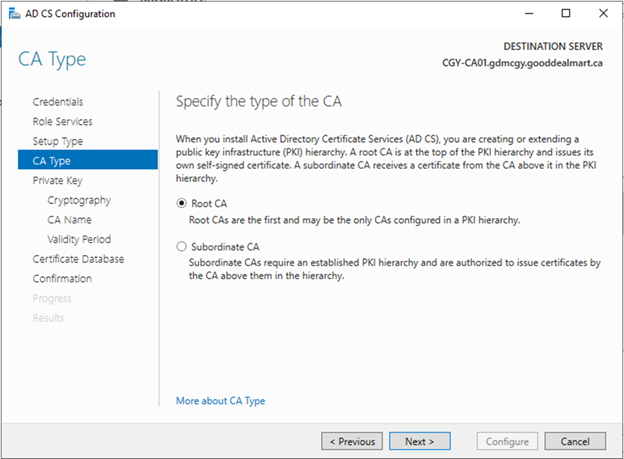
On the CA Type page, select Root CA, click Next.
-
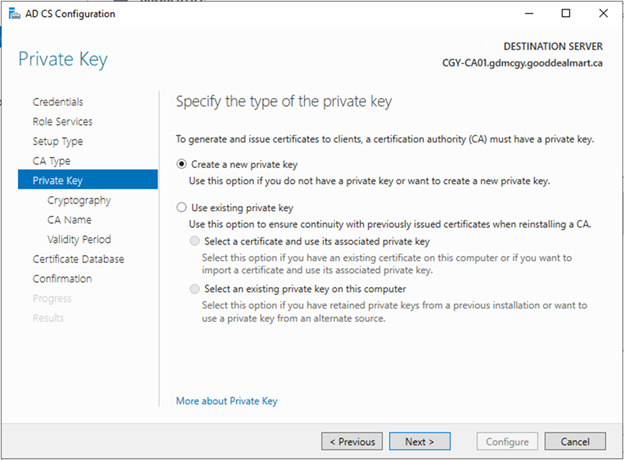
On the Private Key page, select Create a new private key (because this is no existing CA server), click Next.
-
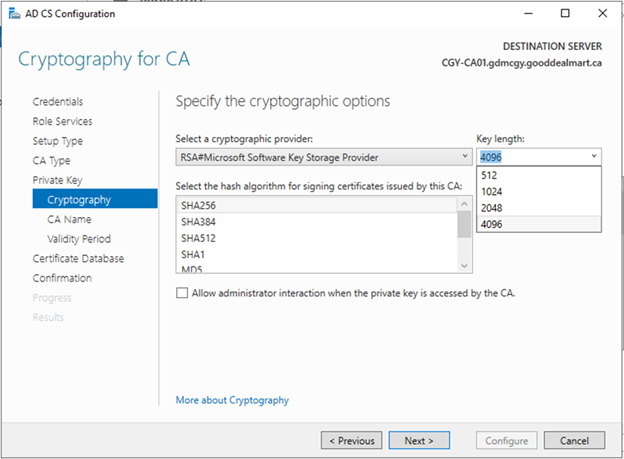
On the Cryptography for CA page, select 4096 as key length (windows server 2019 supports 4096 now) and select SHA256 as hash algorithm, click Next.
-
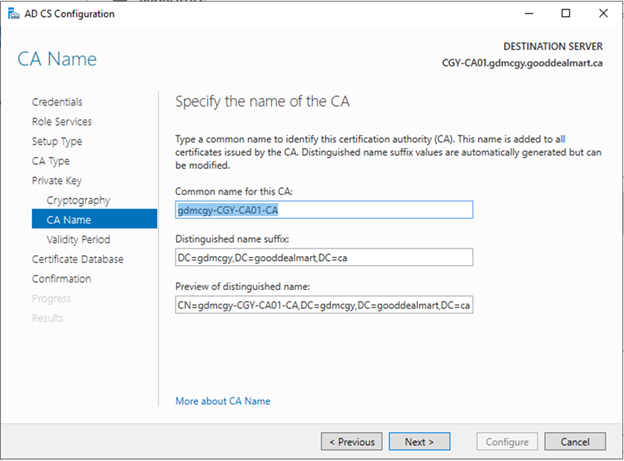
On the CA Name page, keep the Default settings, click Next.
-
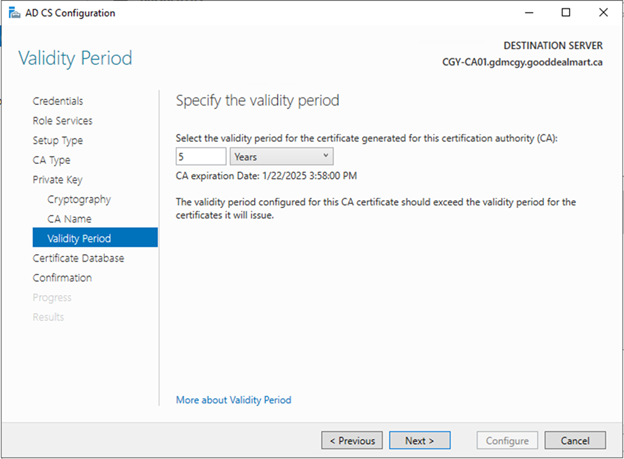
On the Validity Period page, keep the default 5 years settings, click Next.
-
On the CA Database page, click Next.

-
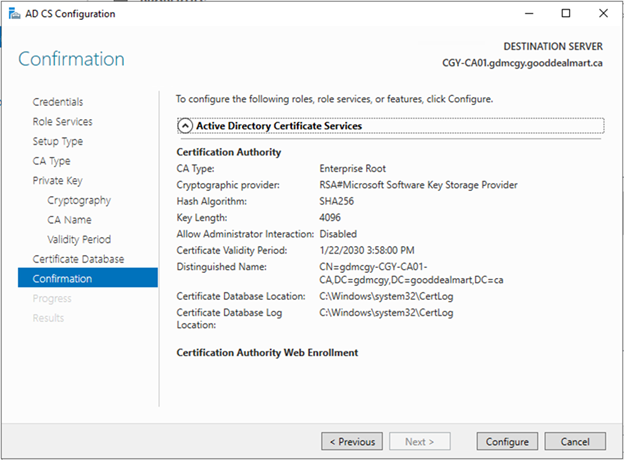
On the Confirmation page, click Configure.
-
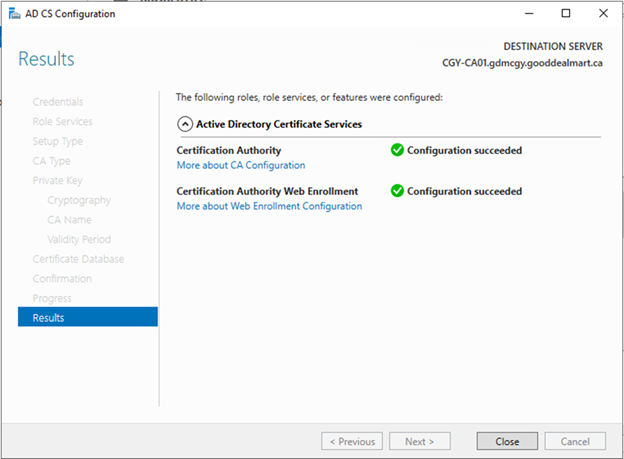
On the Results page, make sure Configuration succeeded, click Close.
-
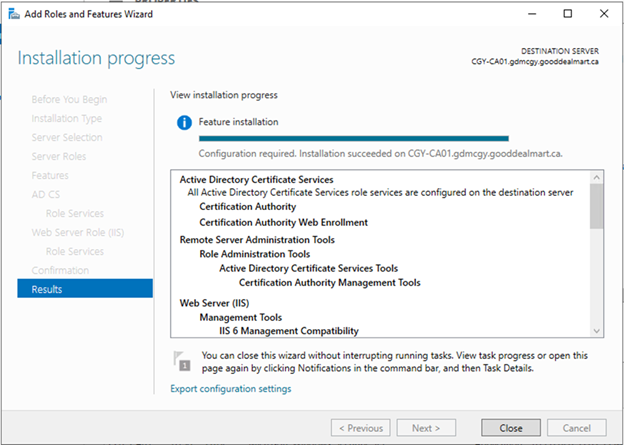
On the Installation progress page, click Close.
-
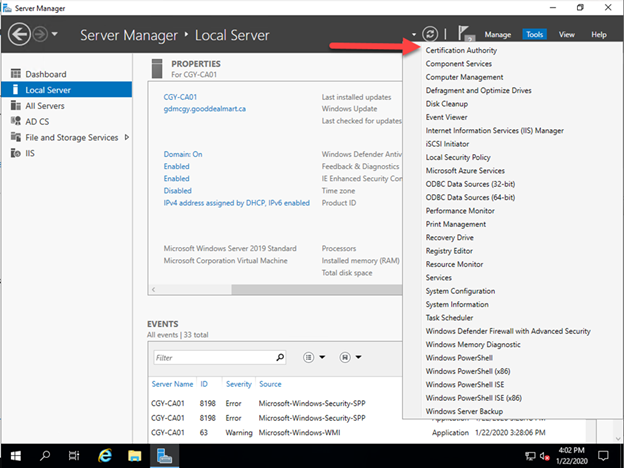
On the Server Manager page, select Tools and click Certification Authority.
-
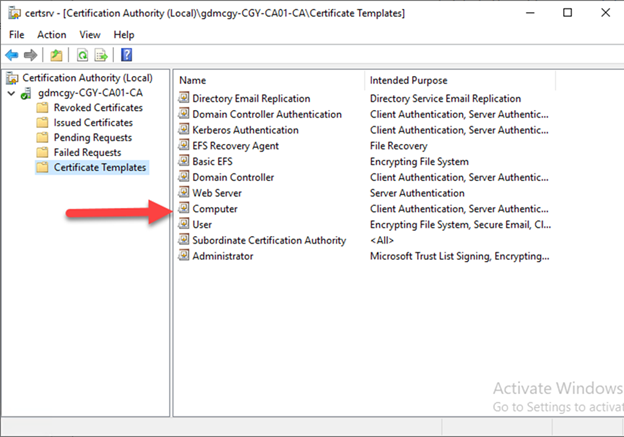
You will see the Certification Authority up and running now.
Hope you enjoy this post.
Cary Sun
Twitter: @SifuSun