Receive a discount on your Azure services by purchasing reservations. Giving Azure visibility into your one-year or three-year resource needs in advance allows Azure to be more efficient. In return, Microsoft pass these savings onto you as discounts of up to 72 percent.
Purchase Reservation
1.Signin to Azure portal.
2.In Search resources, service, and docs (G+/), type reservations.
3.Select Reservations from Services.

4.On the Reservations page, click +Add.

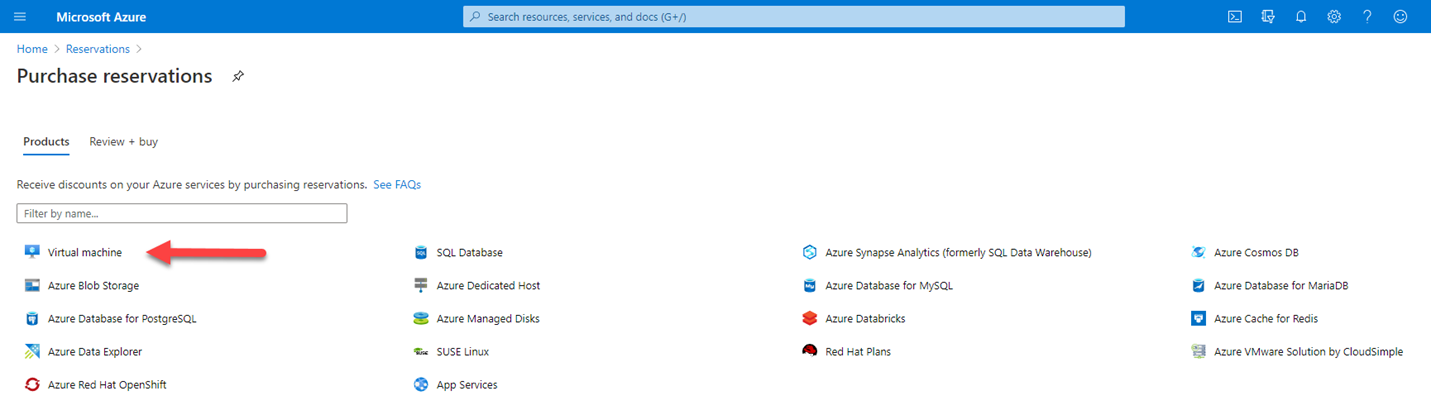
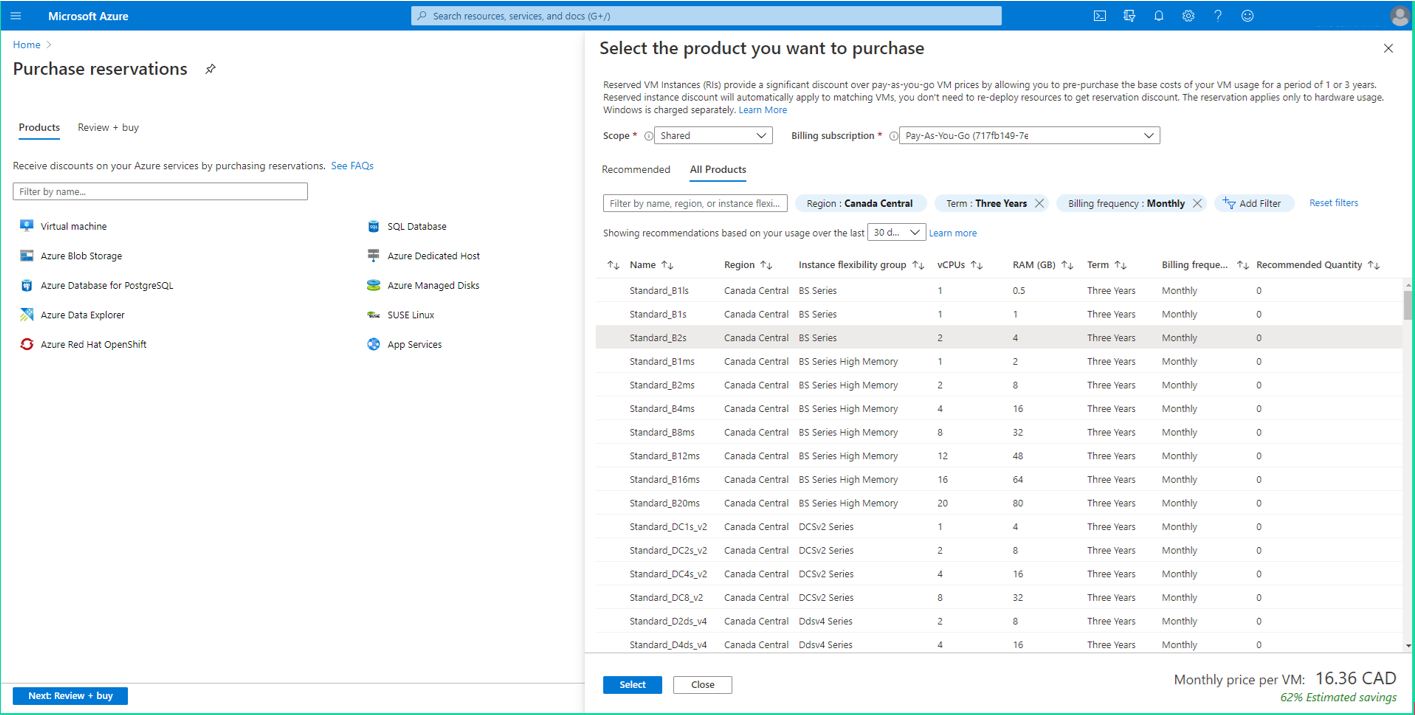
5.On the Purchase reservations page, click Virtual machine.
6.Click Region, change it from West Europe to Canada Central.
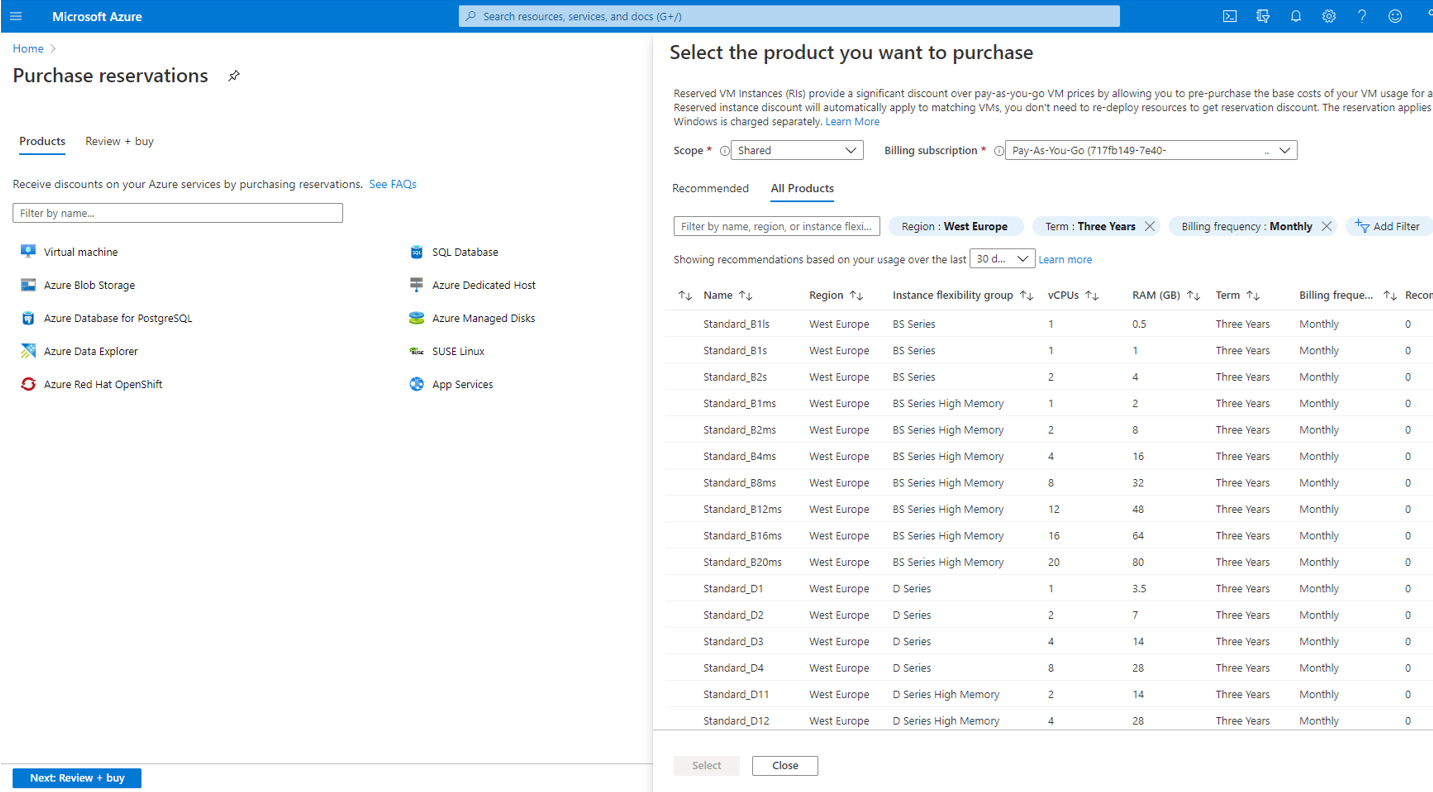
7.Select Standard_B2s, click Select. As you see, 62% estimated saving for this VM.
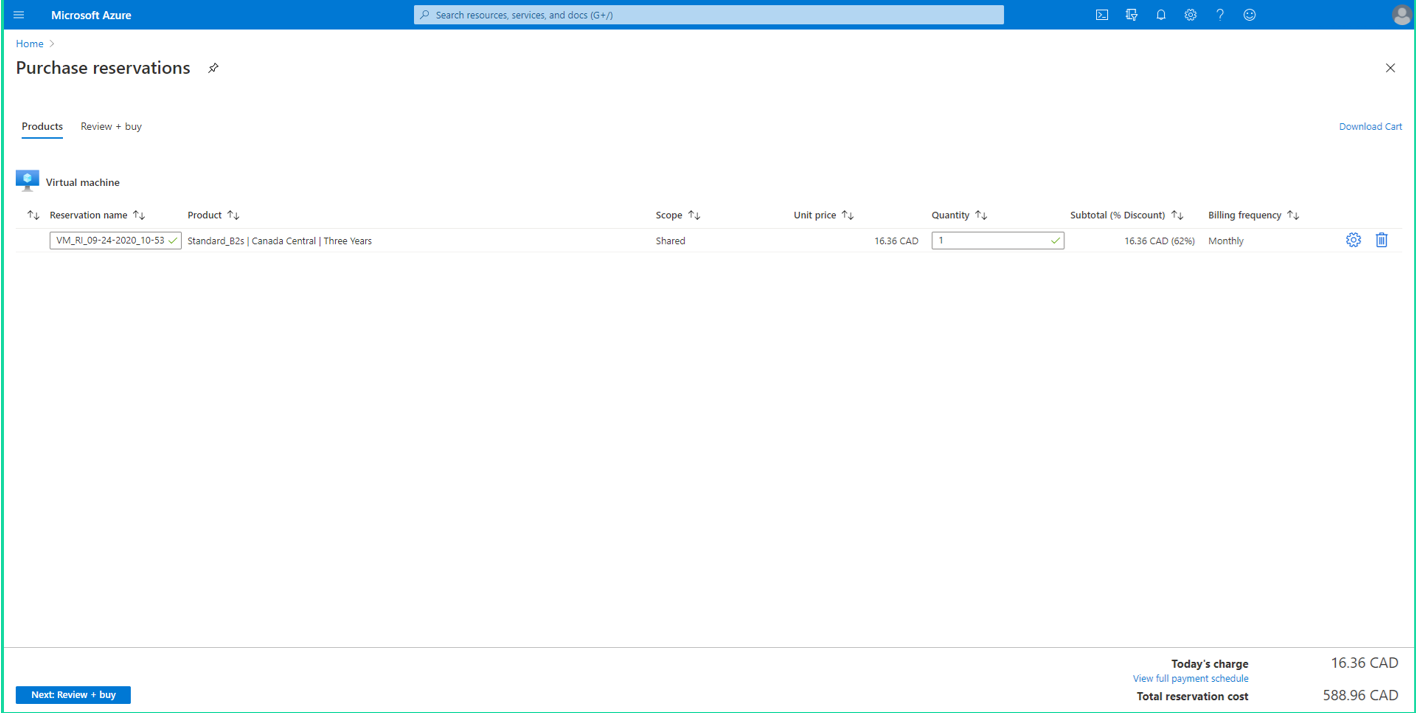
8.make sure purchased product information correct, click Review+ buy.
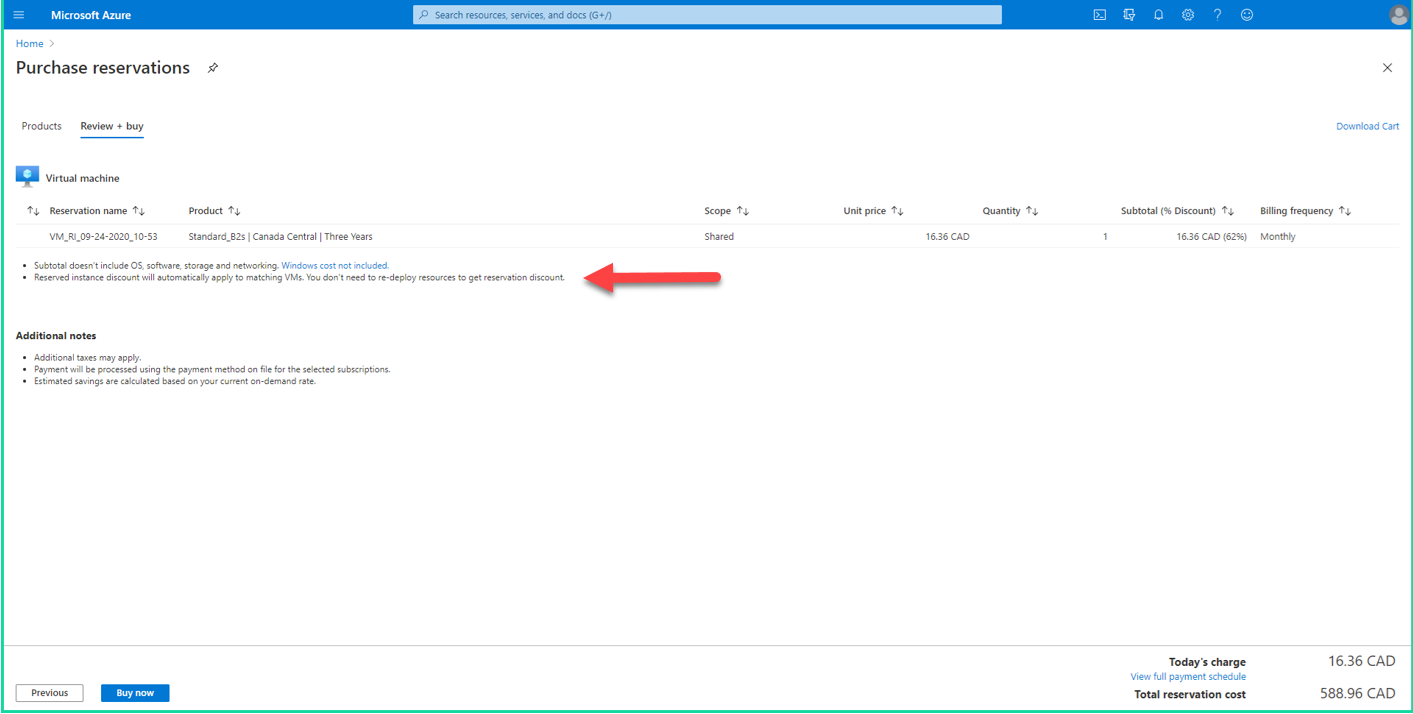
9.on the Review + buy page, click Buy now. Reserved Instance discount will automatically apply to matching VMs.
10.Click Yes on the pop up Confirm Purchase.

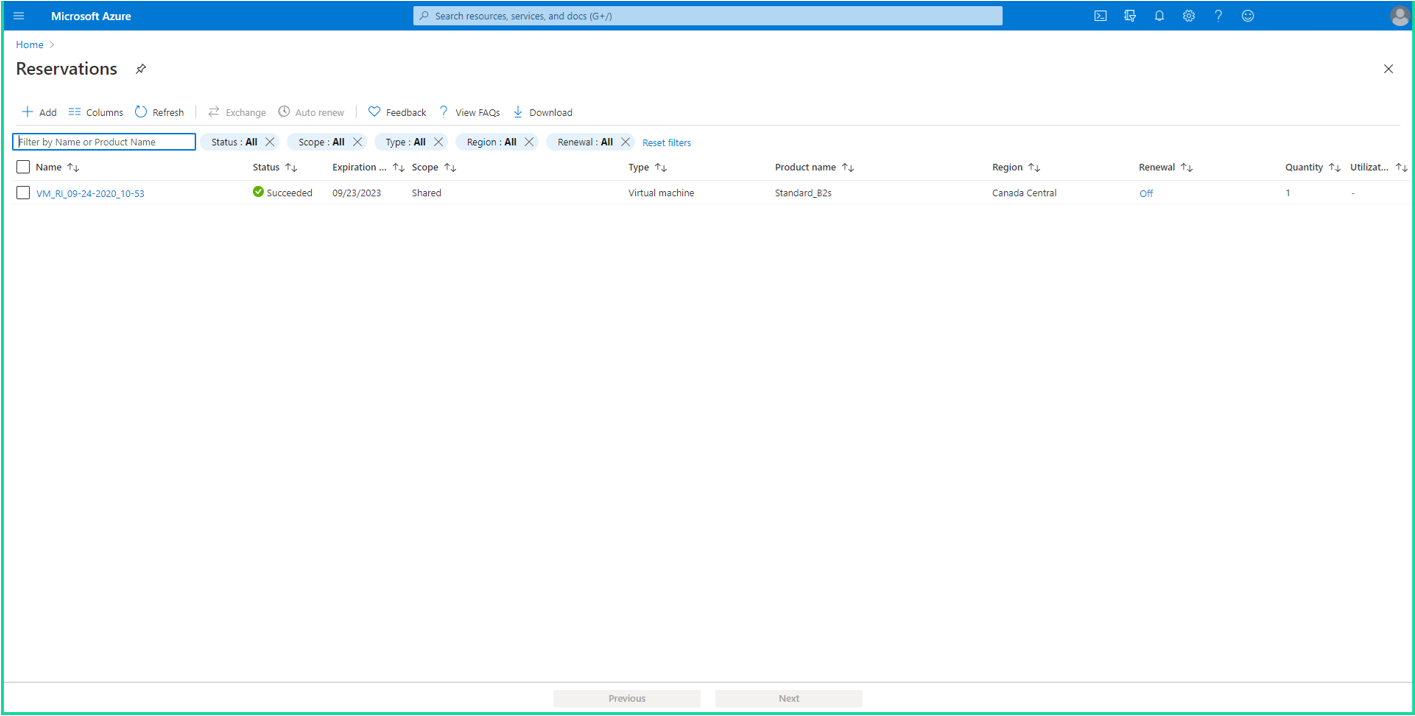
11.On the Reserved instances page, click Browse reserved instances.
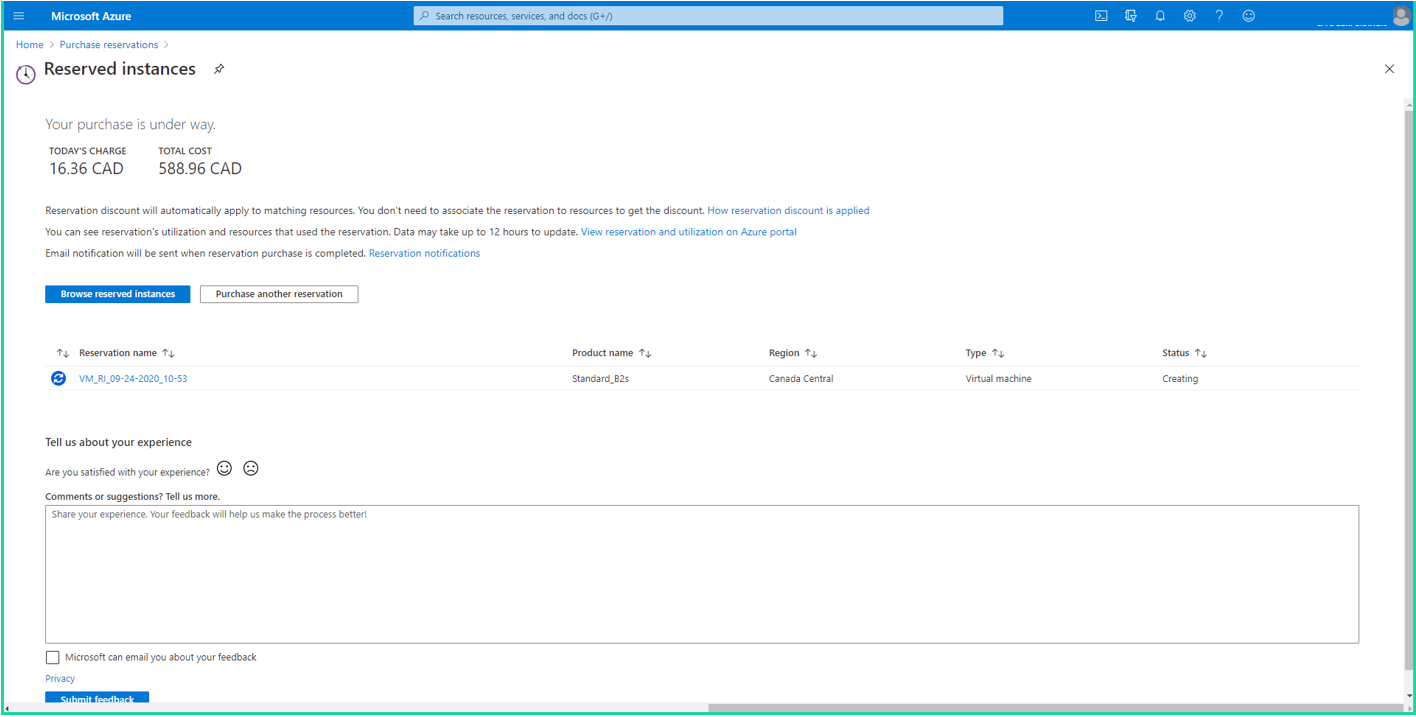
12.On the Reservations page, make sure the product’s status is Succeeded.
Create Virtual Machine
1.Signin to Azure portal.
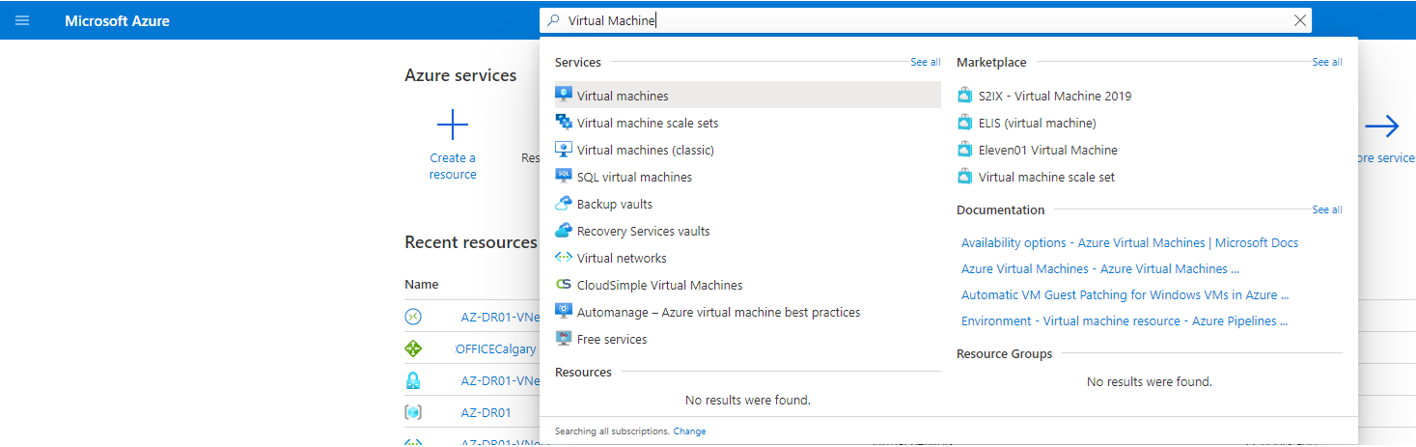
2.In Search resources, service, and docs (G+/), type virtual machines.
3.Select Virtual machines from Services.
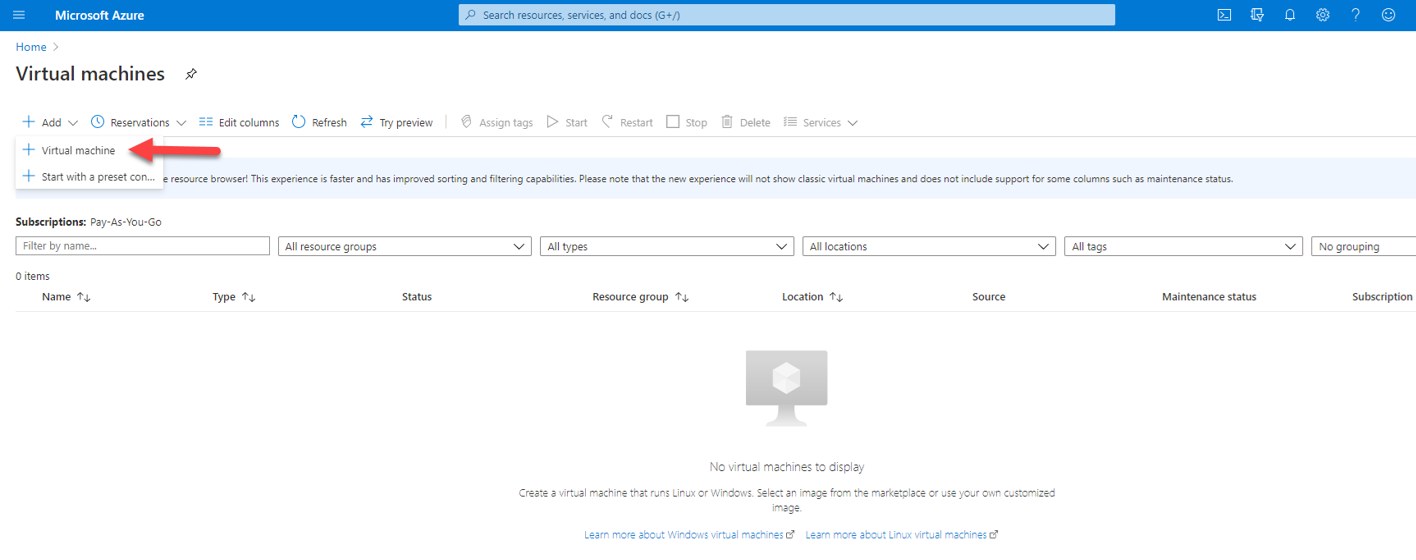
4.On the Virtual Machines page, click +Add and select Virtual machine.
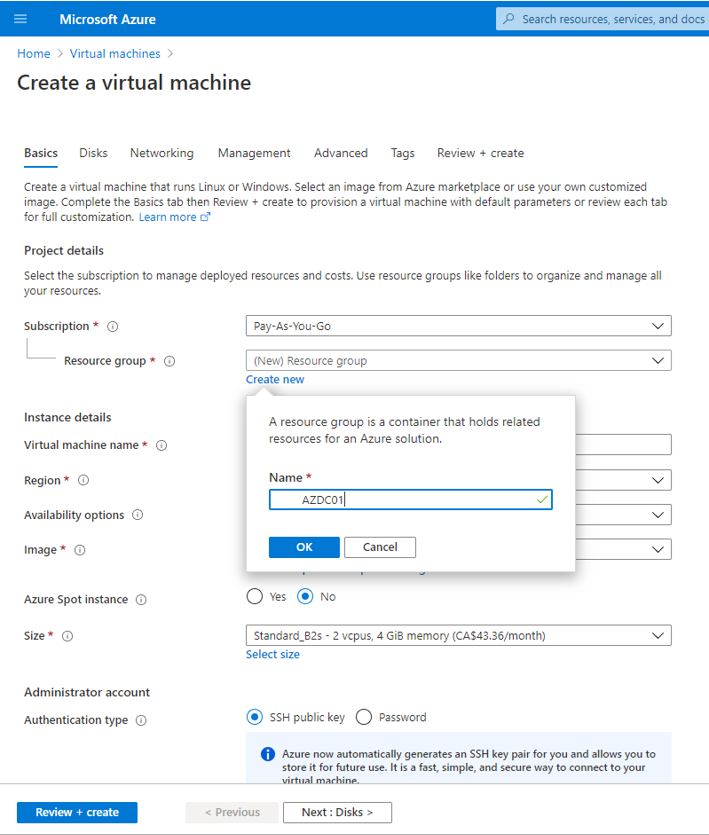
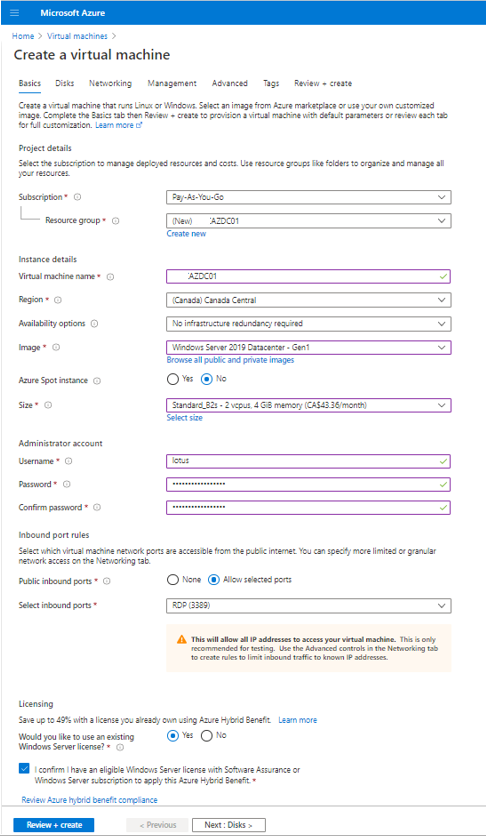
5.On the Basics tab, configure Project details and Instance details virtual machine settings.
- Subscription: Select Pay-As-You-Go.
- Resource Group: Click Create new and type AZDC01 in Name field, click OK.
- Virtual machine name: Type AZDC01.
- Region: Select Canada Central.
- Availability options: Select No infrastructure redundancy required.
- Image: Selected Windows Server 2019 Datacenter – Gen1.
- Azure Spot instance: Select No.
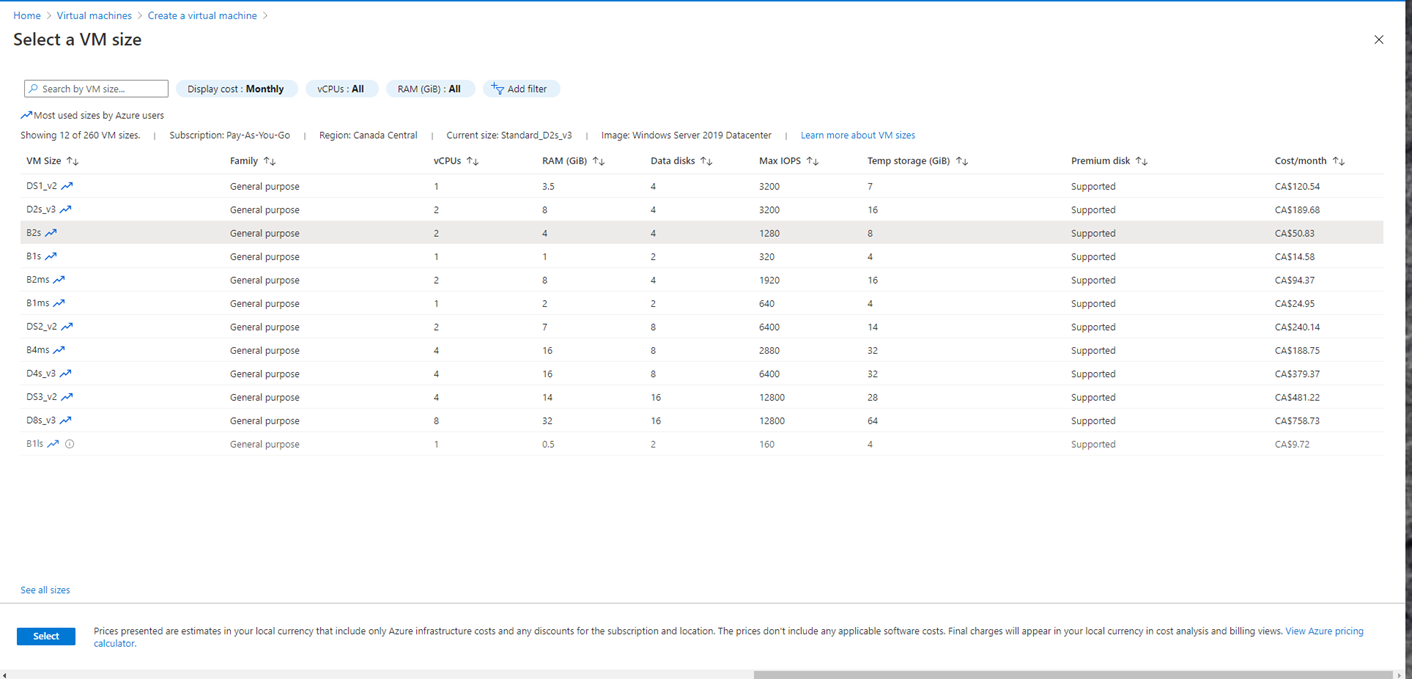
- Size: Click See All sizes and select B2s, click Select.
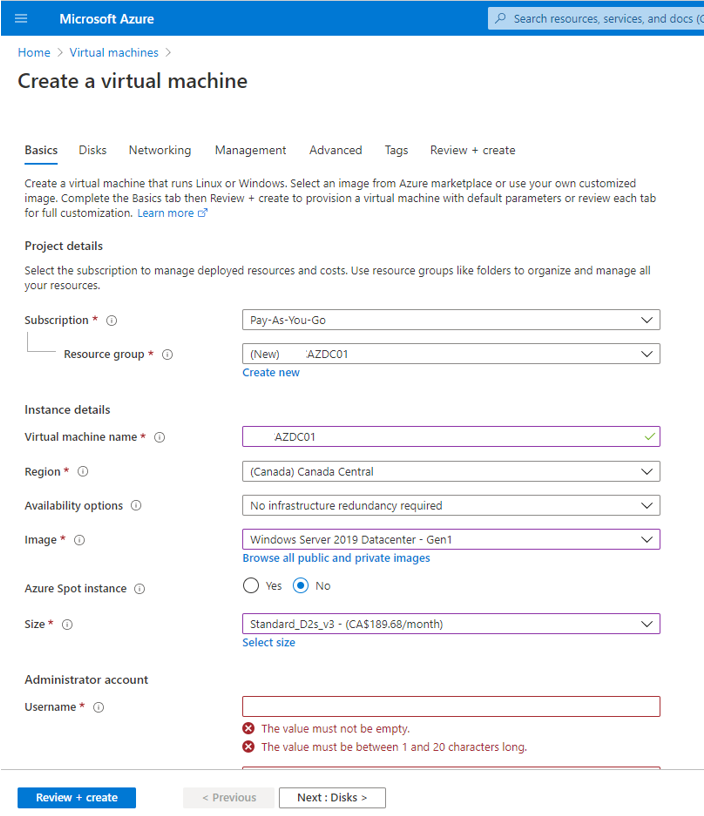
- Username: Type lotus
- Password: Type P@ssw0rd
- Confirm password: Type P@ssw0rd
- Inbound port rules: Select Allow selected ports.
- Select inbound ports: Select RDP (3389).
- Would you like to use an existing Windows Server license: Selected Yes.
- Select I confirm I have an eligible Windows Server license with Software assurance or Windows Server subscription to apply this Azure Hybrid Benefit.
6.Click Next : Disks.
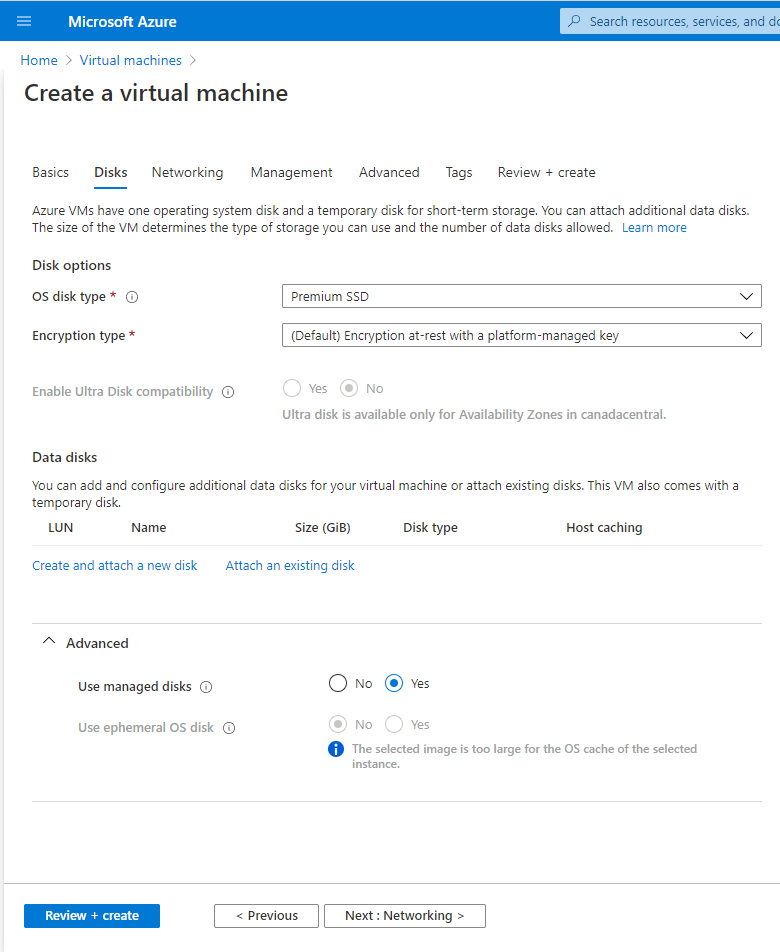
7.On the Disks tab, configure Disk options settings.
- OS disk type: Select Premium SSD.
- Encryption type: Select Default Encryption at-rest with a platform-managed key.
8.Click Next : Networking.
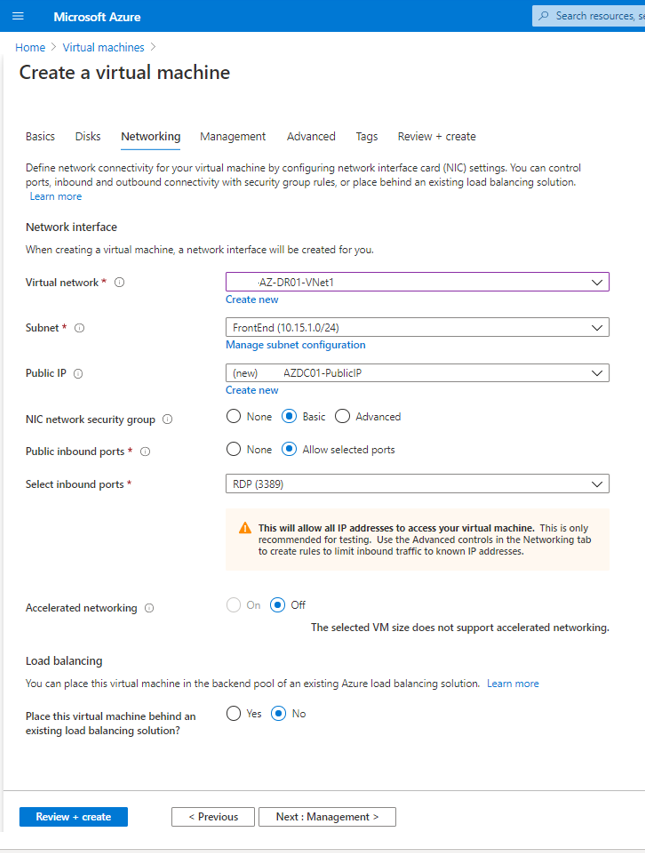
9.On the Networking tab, configure Network interface settings.
- Virtual network: Select AZ-DR01-VNet1.
- Subnet: Select FrontEnd (10.15.1.0/24)
- Public IP: Click New, type AZDC01-PublicIP in Name field, select Basic in SKU field, select Static in Assignment field, click OK.

- NIC network security group: Select Basic.
- Public inbound ports: Select Allow selected ports.
- Select inbound ports: Select RDP (3389).
- Accelerated networking: Select Off.
- Load balancing: Select No
10.Click Next : Management.
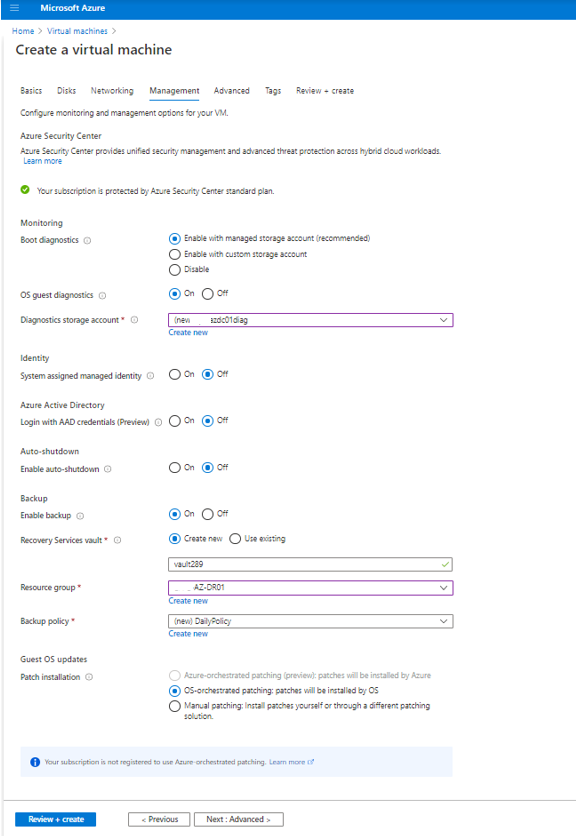
11.On the Management tab, configure Monitoring and Azure Active Directory and Auto-shutdown and Backup and Guest OS updates settings.
- Boot diagnostics: Select Enable with managed storage account (recommended).
- OS guest diagnostics: Select On.
- Diagnostics storage account: (new) azdc01diag.
- System assigned managed identity: Select Off.
- Login with AAD credentials (Preview): Select Off.
- Enable backup: Select On.
- Recovery Services vault: Select Create new.
- Resource group: Select AZ-DR01.
- Backup policy: Select (new) DailyPolicy.
- Patch installation: Select OS-orchestrated patching: patches will be installed by OS.
12.Click Advanced.
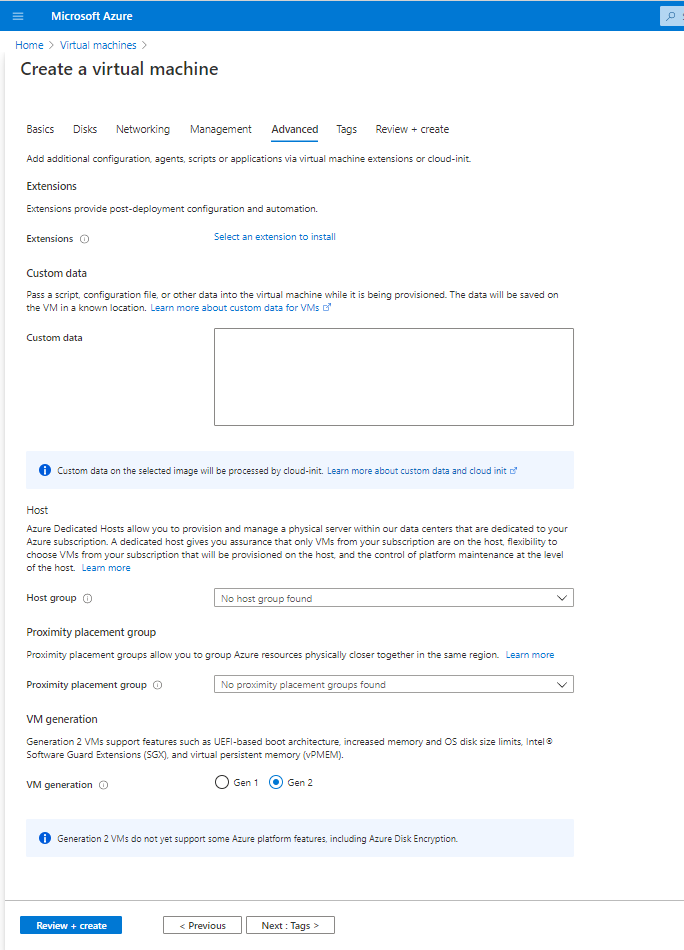
13.On the Advanced tab, configure Extensions and Host and VM generation settings.
- VM generation: Select Gen2.
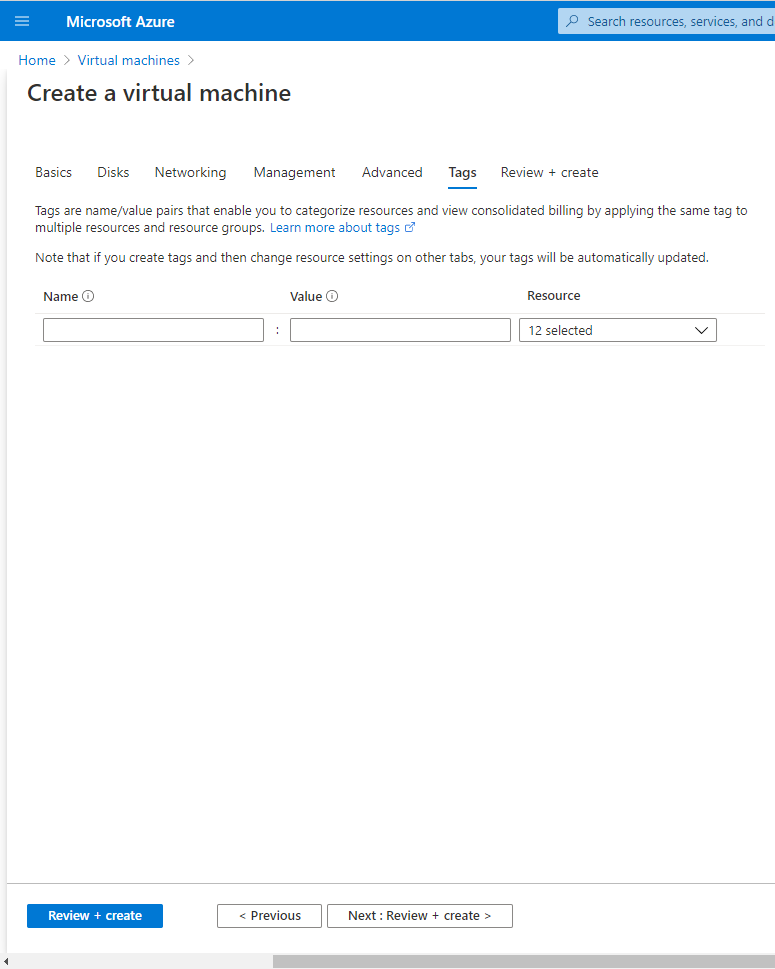
14.Click Next: Tags.
15.on the Tags page, click Next: Review + create.
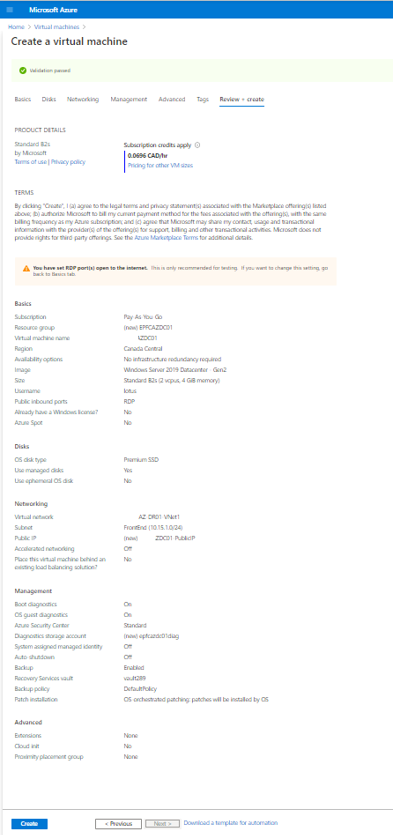
16.On the Review + create page, click Create.
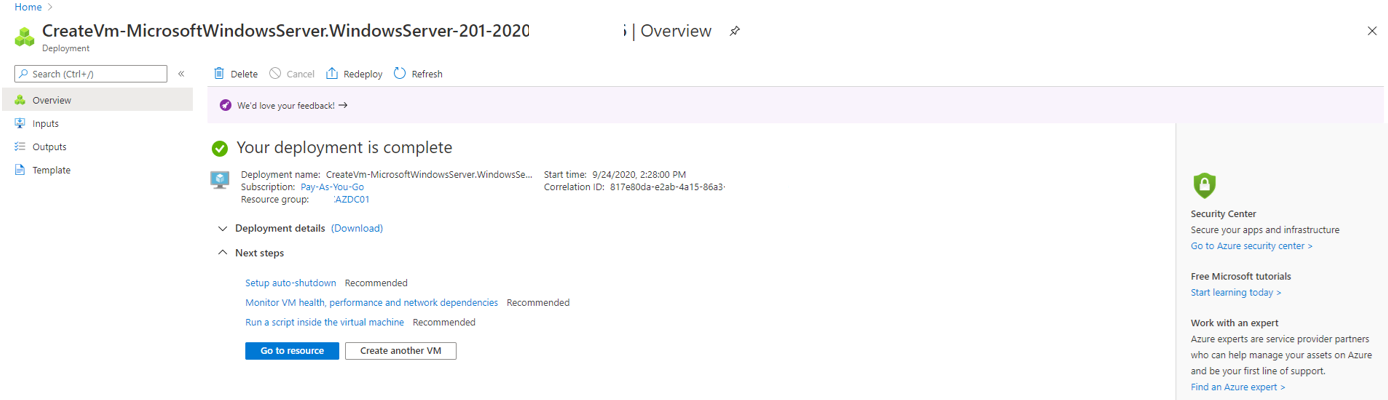
17.Make sure the VM deployment is completed and successes, click Go to resource.
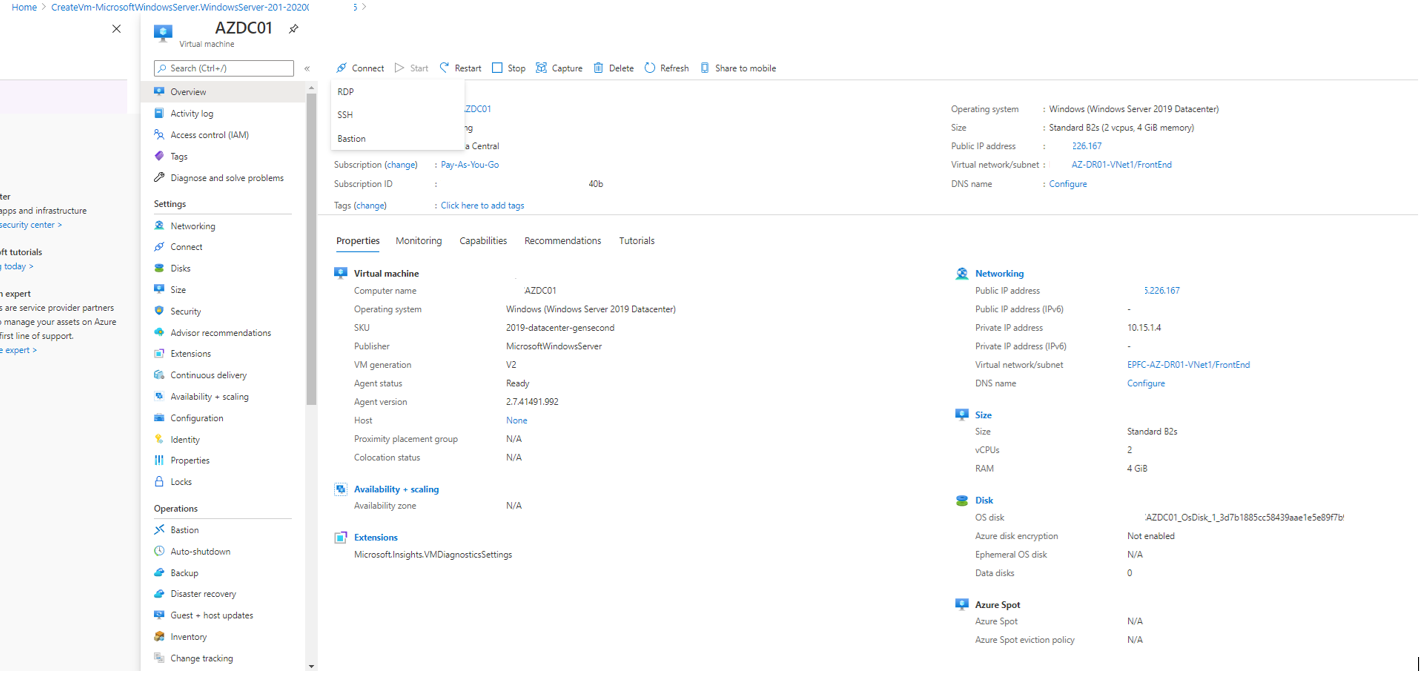
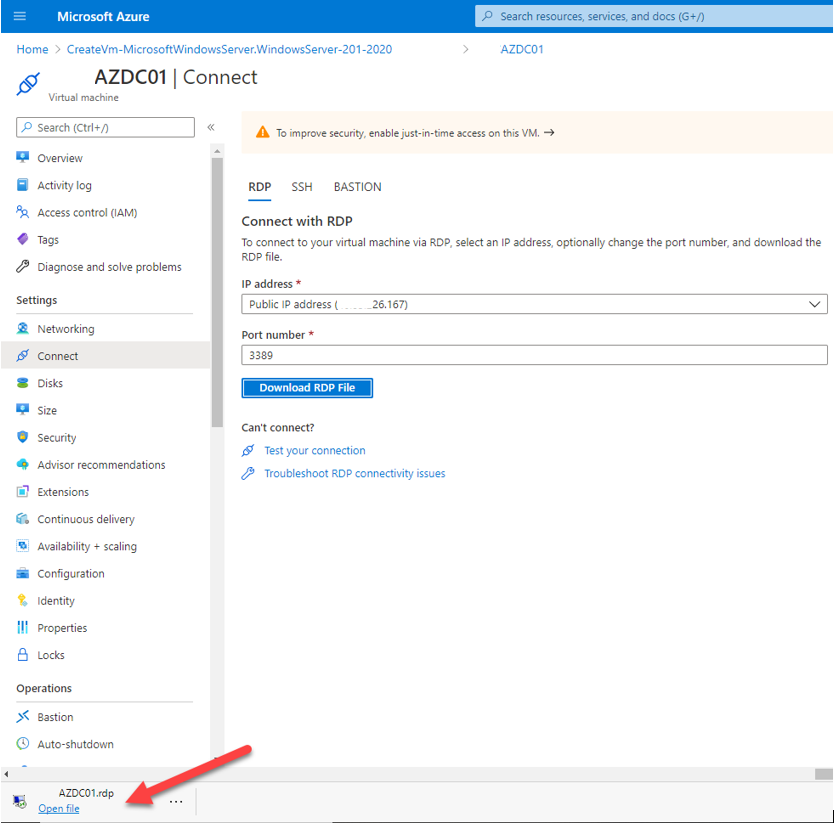
18.On the Virtual machine page, click Connect and select RDP.
19.On the Connect page, click Download RDP File.

20.Open EPFC-AZDC01.rdp file.
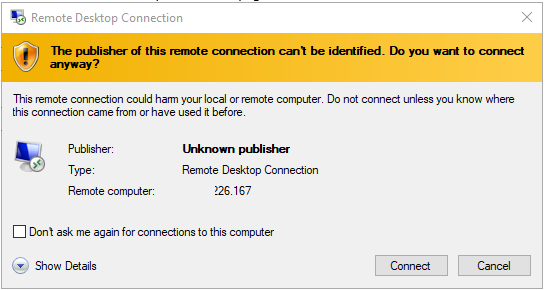
21.On the Remote Desktop Connection page, click Connect.
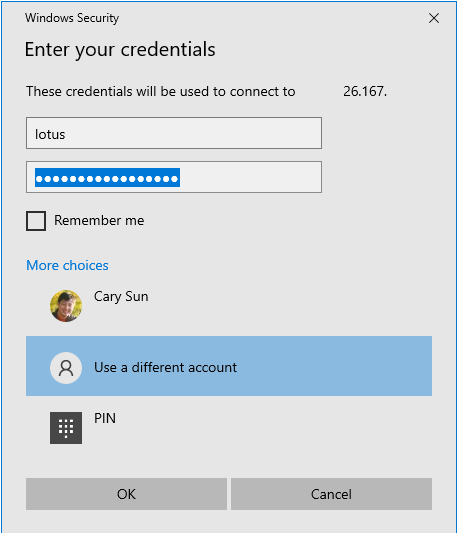
22.enter login credentials, click OK.
23.please ignore the certificate error, click Yes.

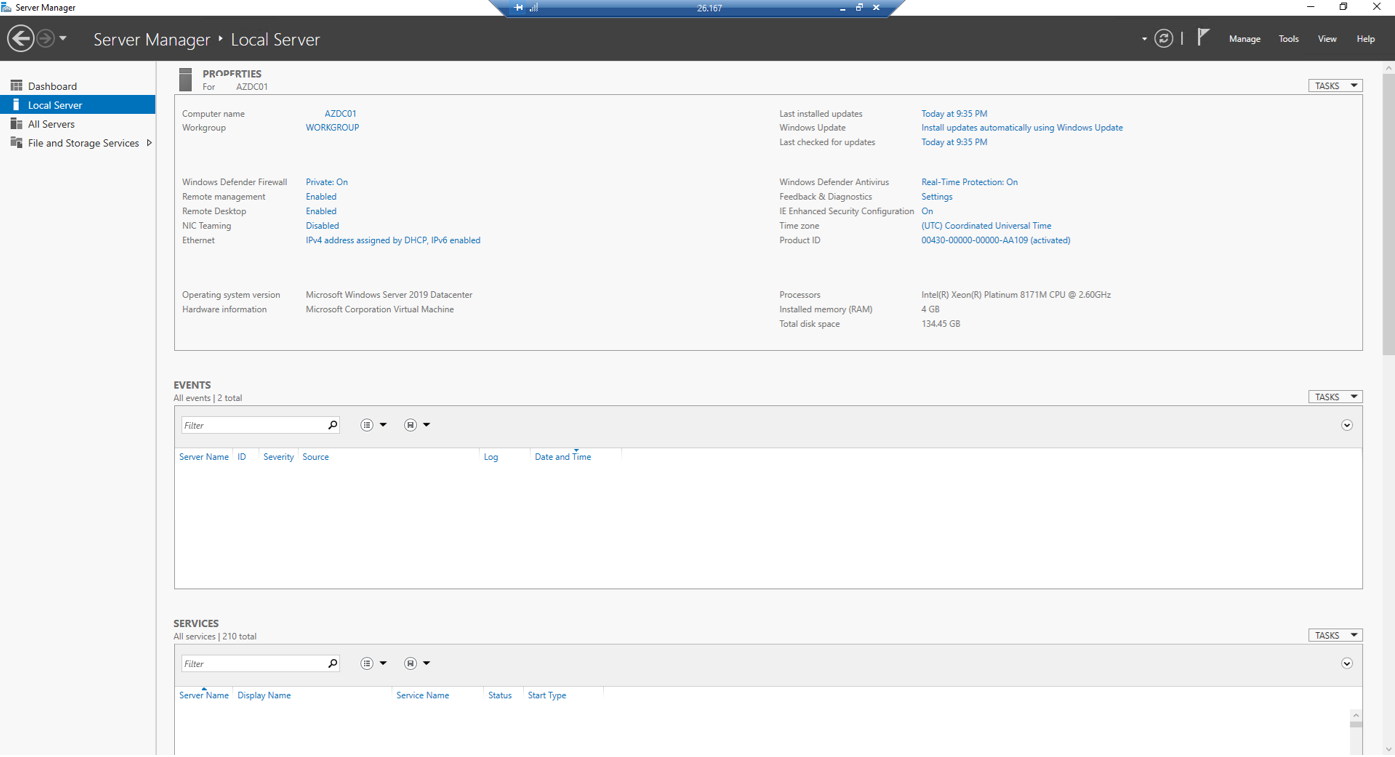
24.Make sure you can logon to the VM without issues.
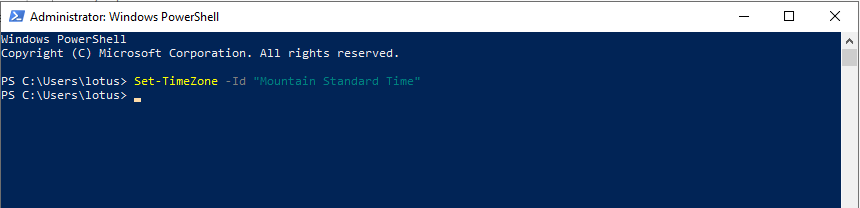
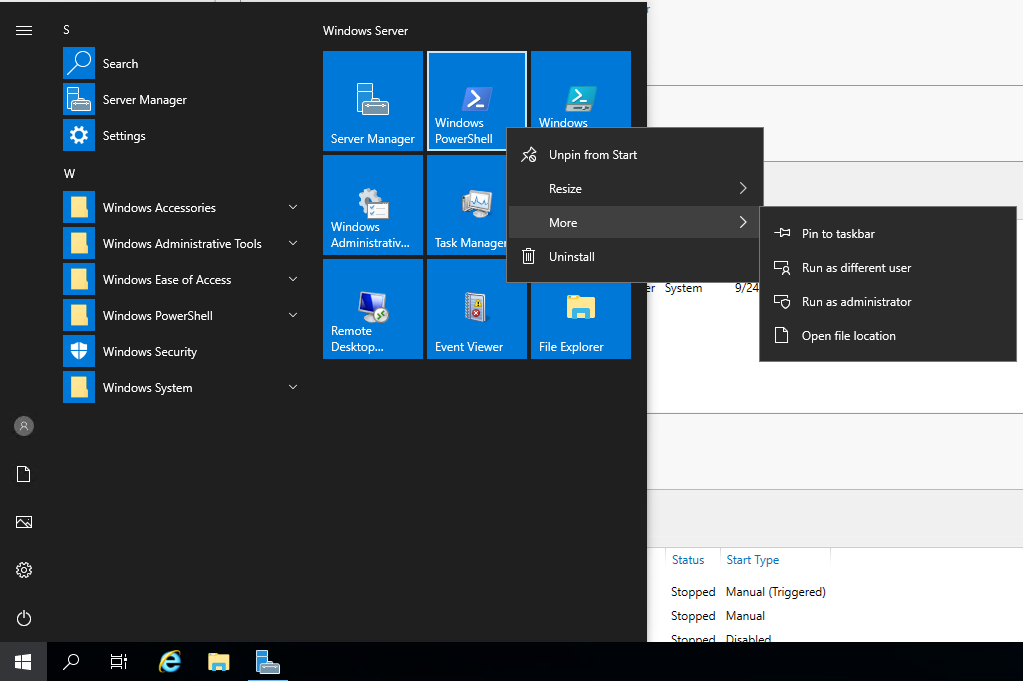
25.Open PowerShell Run as administrator.
26.Type following cmdlet to change time zone.
Set-TimeZone -Id “Mountain Standard Time”