As you know, Veeam released the service pack 4 on January 2019, it’s not fix bugs only, it also includes a lot of new features –
Support for Microsoft Windows Server 2019,
Application-level monitoring,
Dedicated view for job and disk-based alarms, Veeam Agents support, Enhanced Cloud Gateway view, Enhanced “Cloud Connect Inventory” report, Microsoft Hyper-V 2019 Support…
The details information you can check from Veeam website https://www.veeam.com/veeam_one_9_5_whats_new_wn.pdf and https://www.veeam.com/veeam_one_9_5_u4_release_notes_rn.pdf.
The steps are straightforward, but you still need to be careful about one thing, the first one is “If you use Veeam ONE to monitor Veeam Backup & Replication or Veeam Cloud Connect, be sure to install Update 4 for Veeam ONE 9.5 first” and the second is “If you are a tenant of a cloud provider, please contact your provider before upgrading to ensure the provider has applied Update 4 on their end”.
Ok, what are you waiting for? It’s the time to install them, let’s follow the steps and install them.
- Login to your Veeam one server.
-
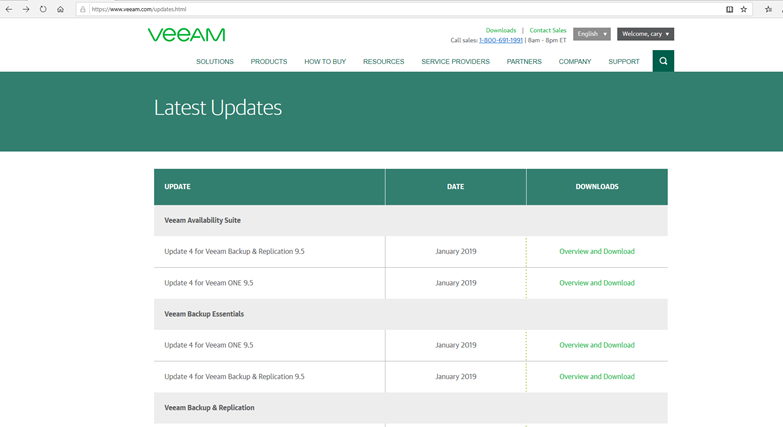
Download Veeam One 9.5 update 4 from https://www.veeam.com/kb2876.
-
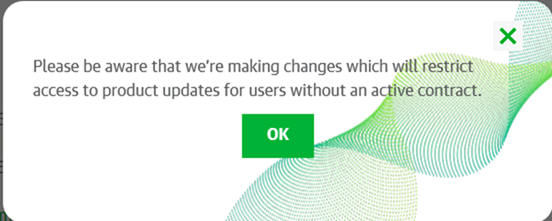
It will pop up a notification and said Please be aware that we’re making change which will restrict access to product updates for user without an active contract. Click OK. (you need to make sure your contract status still active).
-
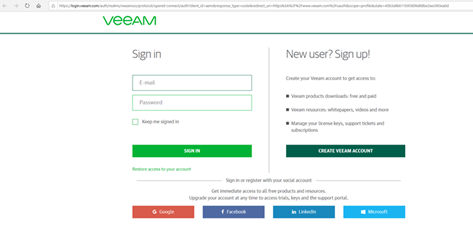
Sign in your Veeam account and download the update software.
- Open Veeam Backup & Replication console.
-
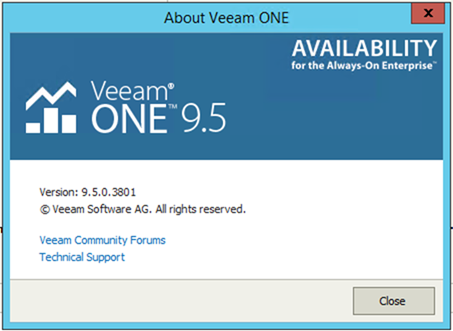
Please confirm you are running version 9.5.0.3201, 9.5.0.3254 or 9.5.0.3801 prior to installing this update. You can check this under Help | About in Veeam ONE console. After upgrading, your build will be version 9.5.4.4566.
-
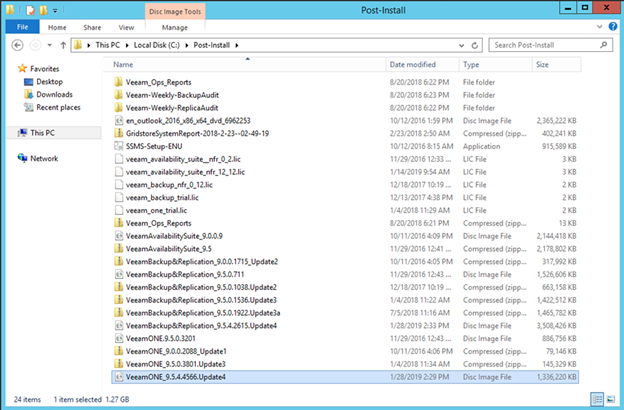
Open download folder and mount VeeamONE_9.5.4.4566.Update4 file.
-
Run Setup.exe file.

-
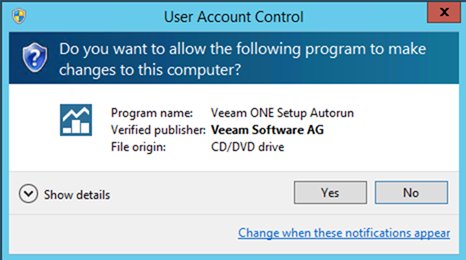
Click Yes on the User Access Control page.
-
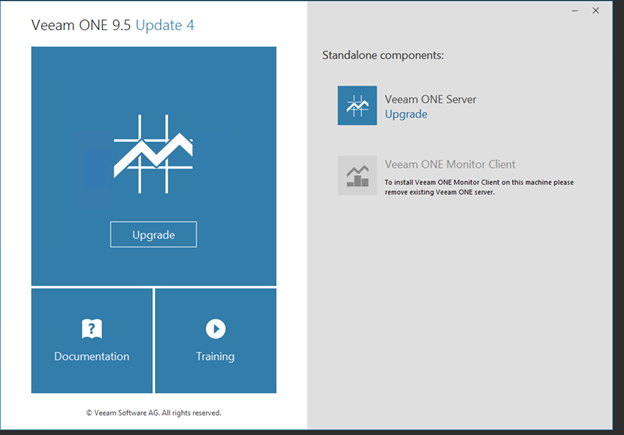
On the Veeam One 9.5 Update page, click Upgrade.
-
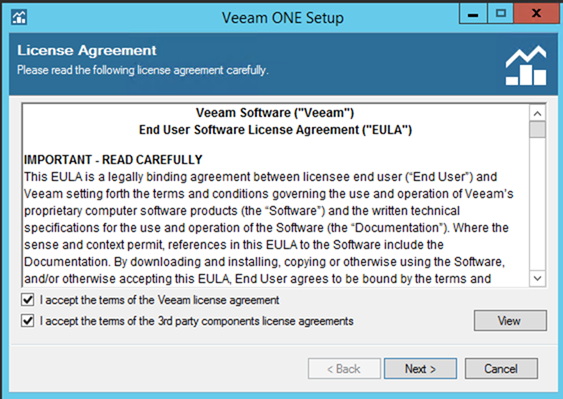
On the License Agreement page, select I accept the terms of the Veeam license agreement and I accept the terms of the 3rd party computers license agreements and then click Next.
-
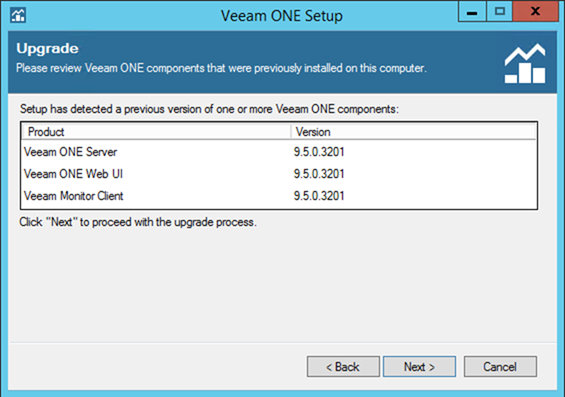
On the Upgrade page, click Next.
-
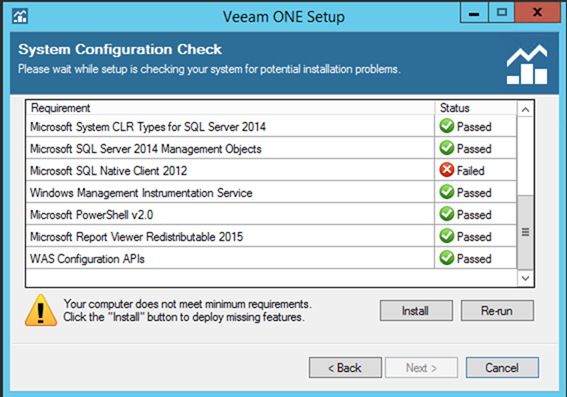
On the System Configuration Check page, make sure every requirements status is Passed, if not, click Install for Failed items.
-
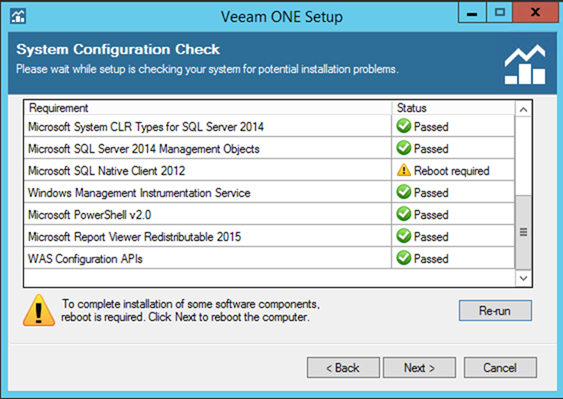
You may need to reboot server for some requirements installation.
-
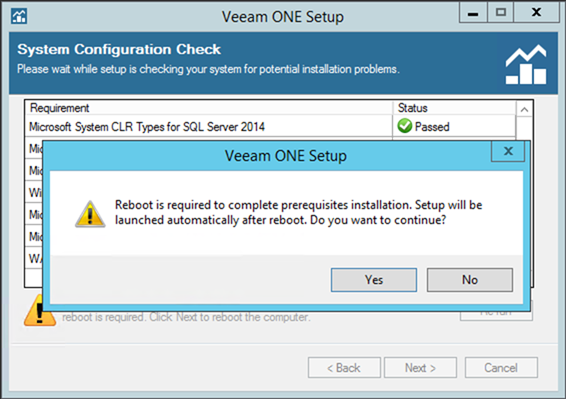
Setup will be launched automatically after reboot. If not, you just need to repeat above steps.
-
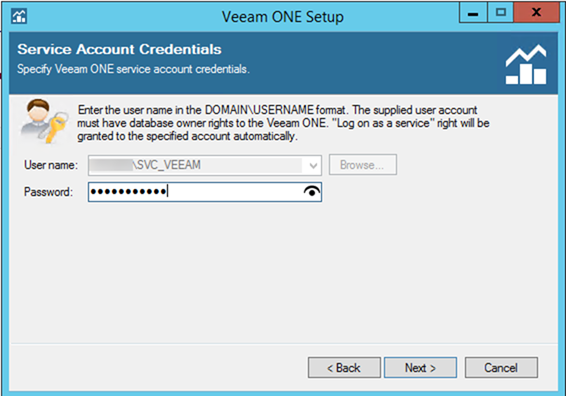
Enter the service account user name and password on the Service Account page.
-
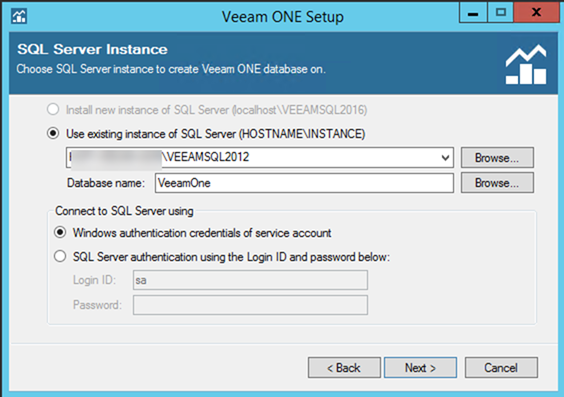
On the SQL Server Instance page, select Use existing instance of SQL Server (HOSTNAME\INSTANCE), and then click Next.
-
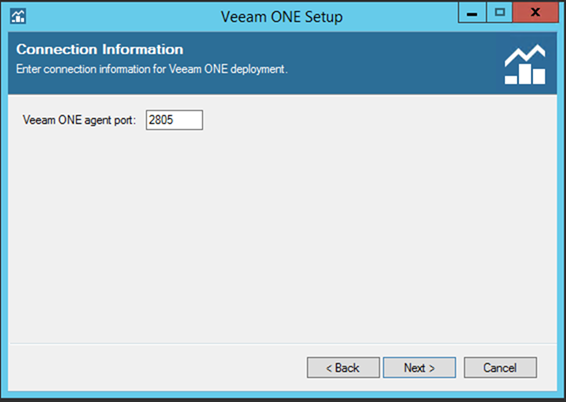
On the Connection Information page, click Next.
-
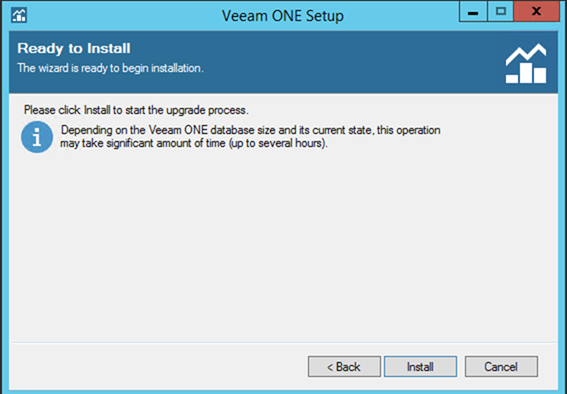
Click Install on the Ready to Install page.
-
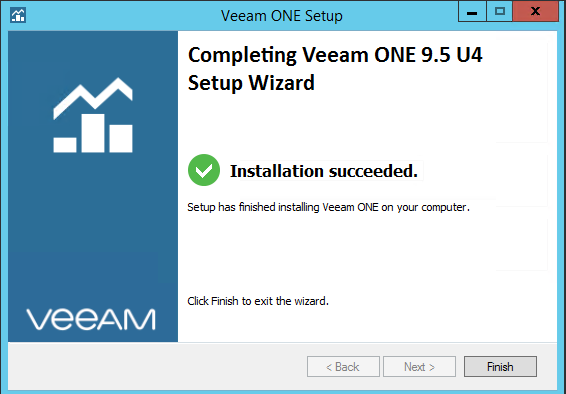
Make sure installed successfully and click Finish.
Hope you enjoy this post.
Cary Sun
Twitter: @SifuSun
