Today, I am going to show you how to upgrade Citrix ADC to version 13.1.
1.Sign in to Citrix.com portal My Account.
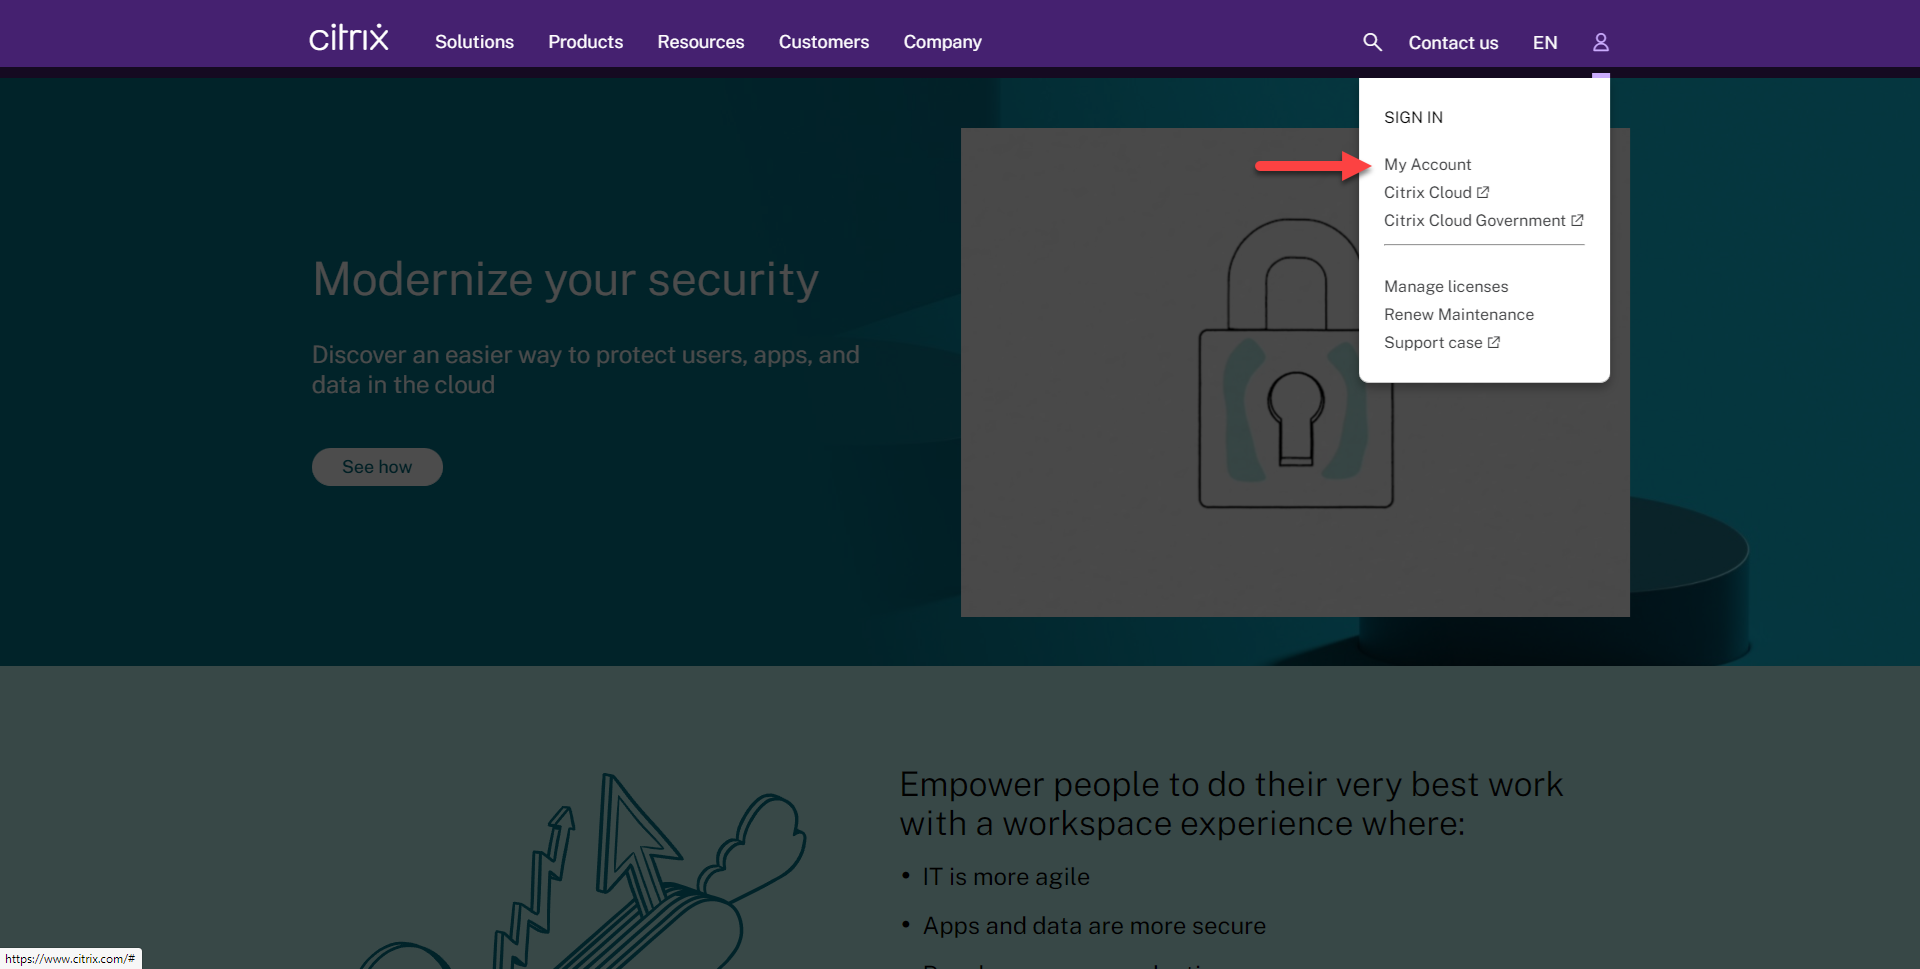
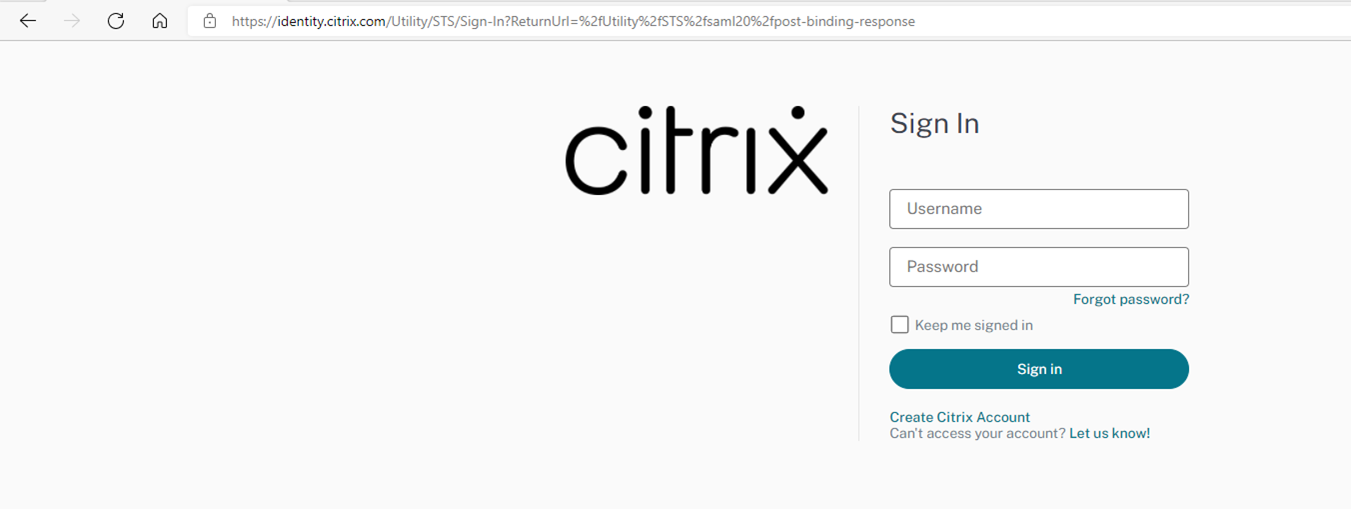
2.Enter your user name and password, click Sign in.
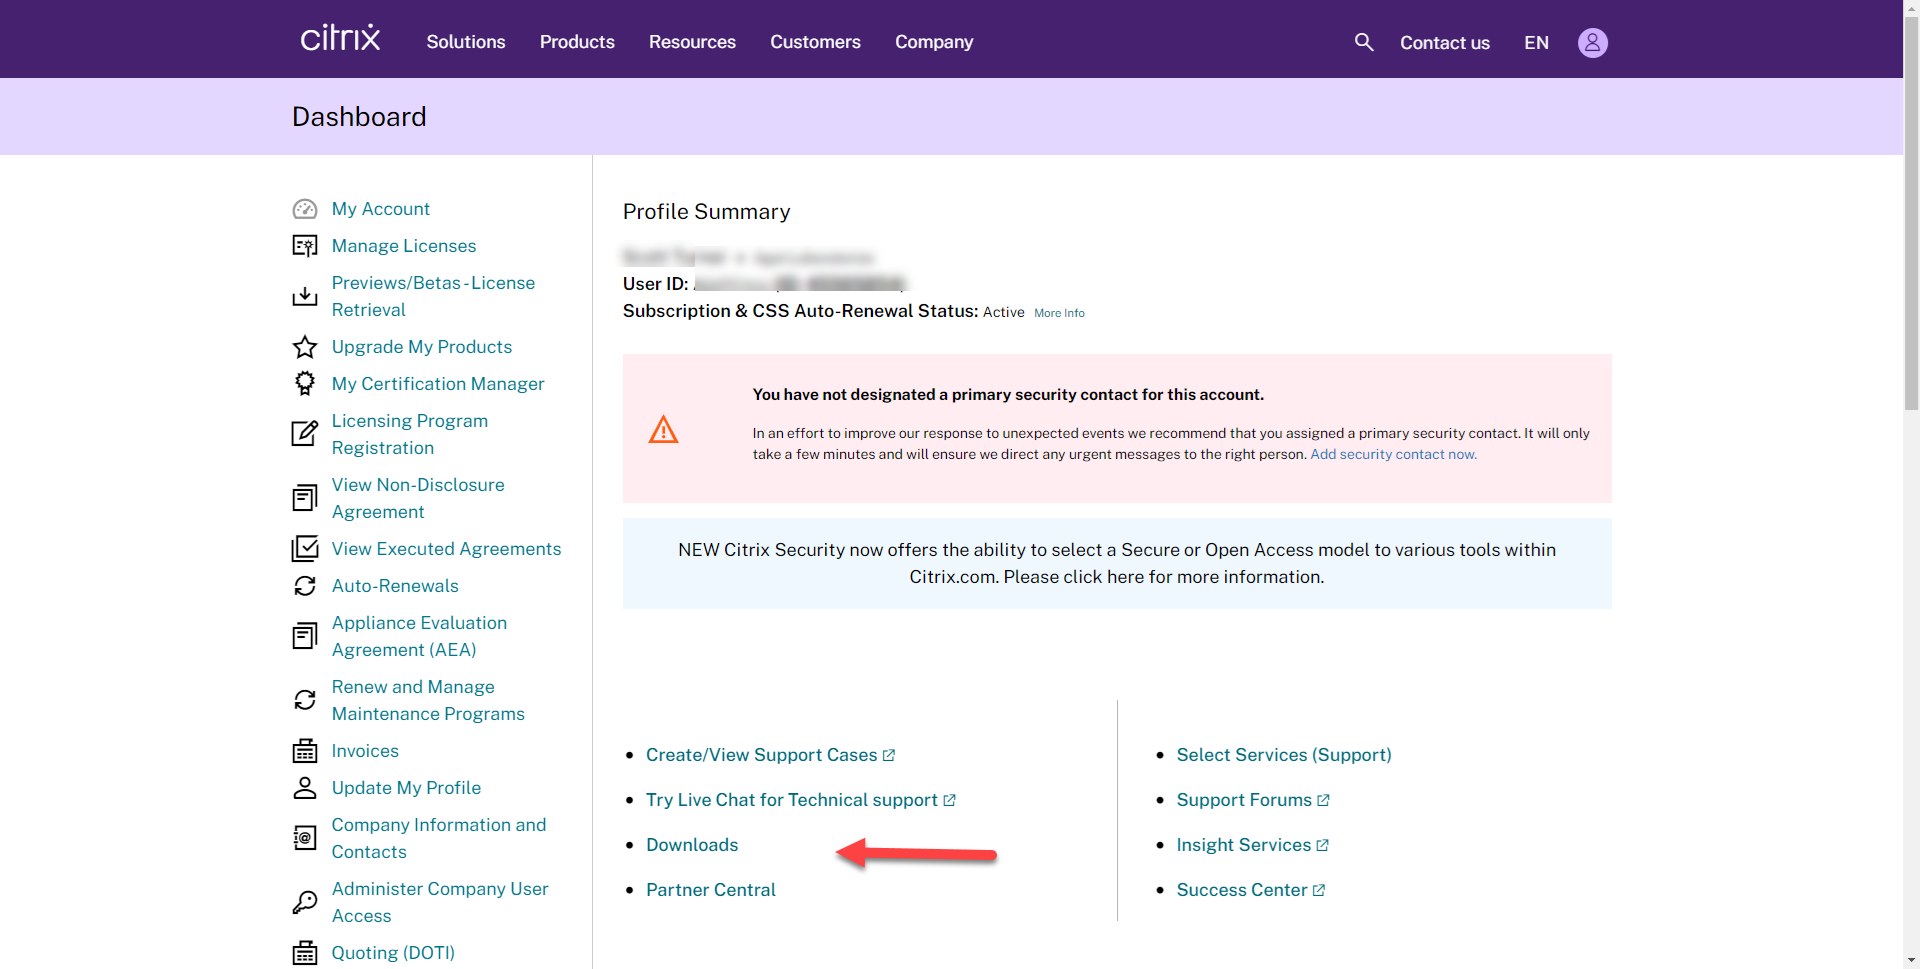
3.On the Dashboard page, select Downloads.
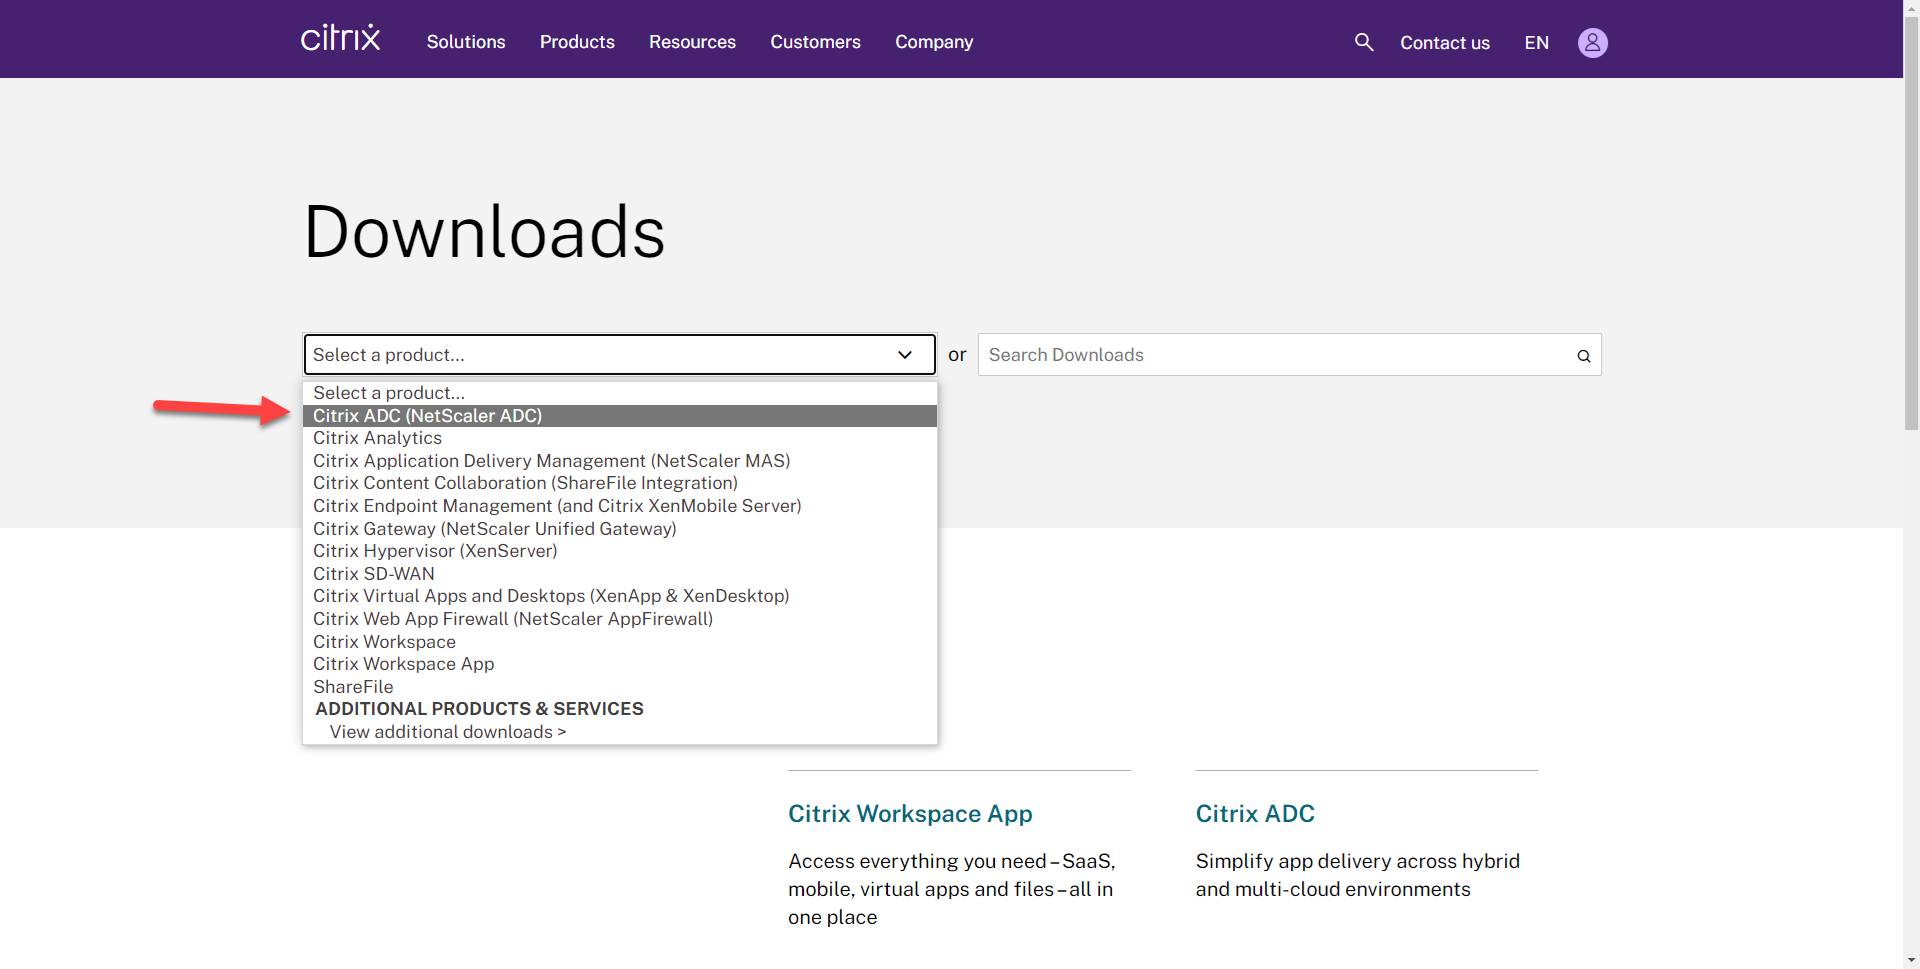
4.On the Download page, select Citrix ADC (NetScaler ADC).
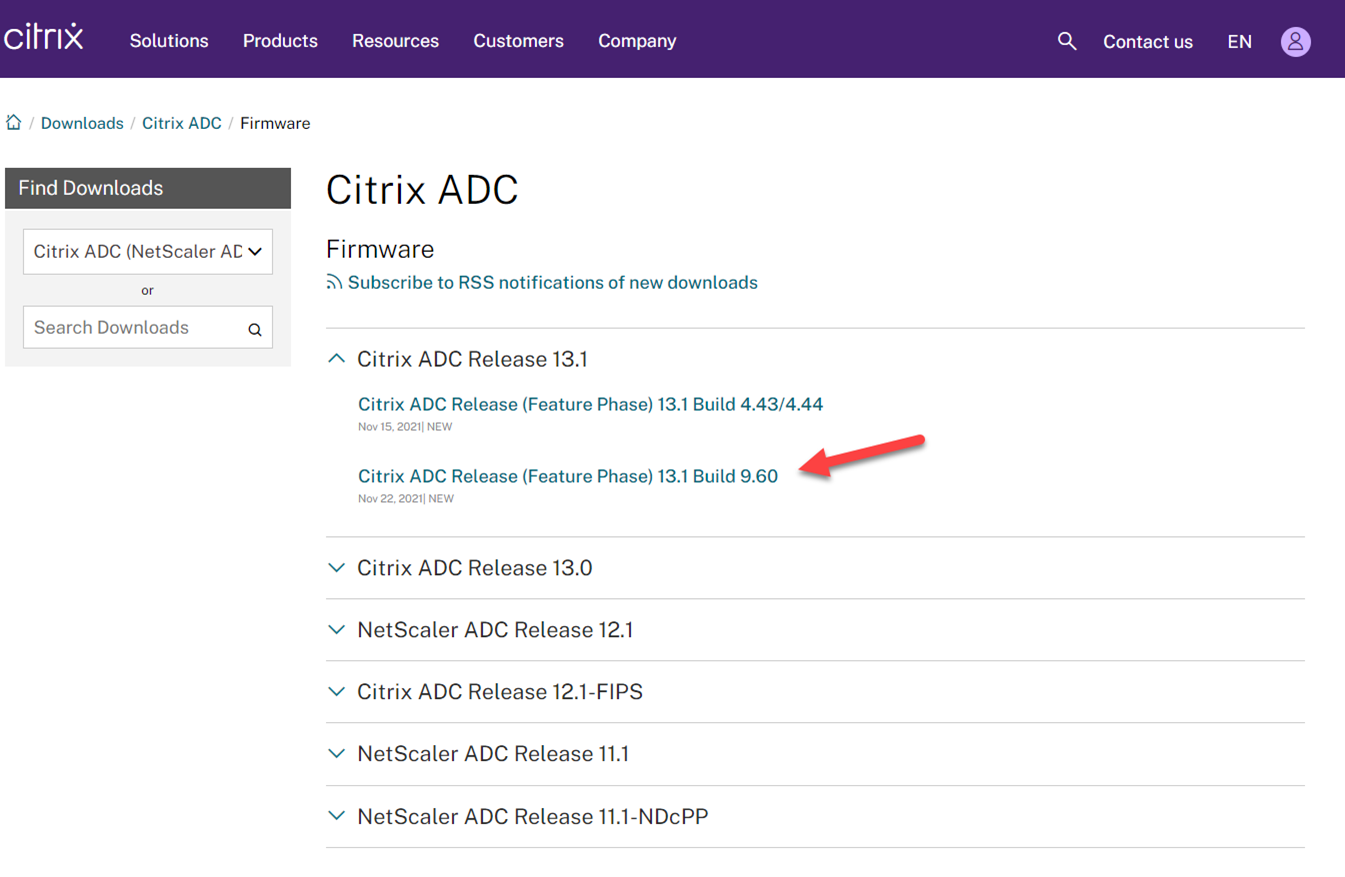
5.On the Citrix ADC page, select Citrix ADC Release 13.1, select Firmware, Click NetScaler Release (Feature Phase 13.1 Build xxxxx).
6.On the NetScaler Release (Feature Phase) 13.1 Build xxxxx page, select Build, click Download File.
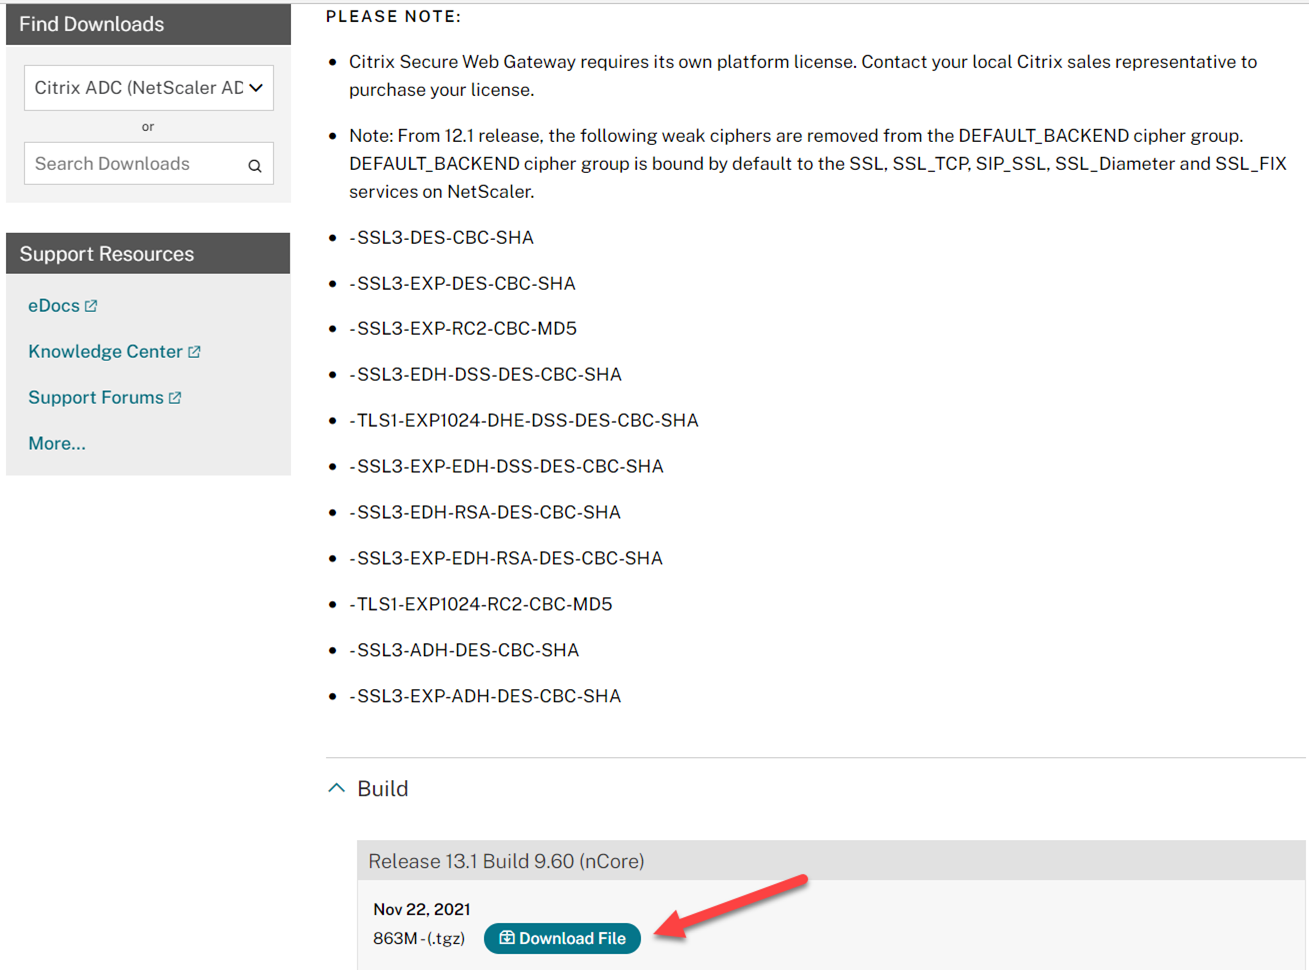
Note: if this firmware addresses security vulnerabilities issues, you need to follow the CTX document for updates.
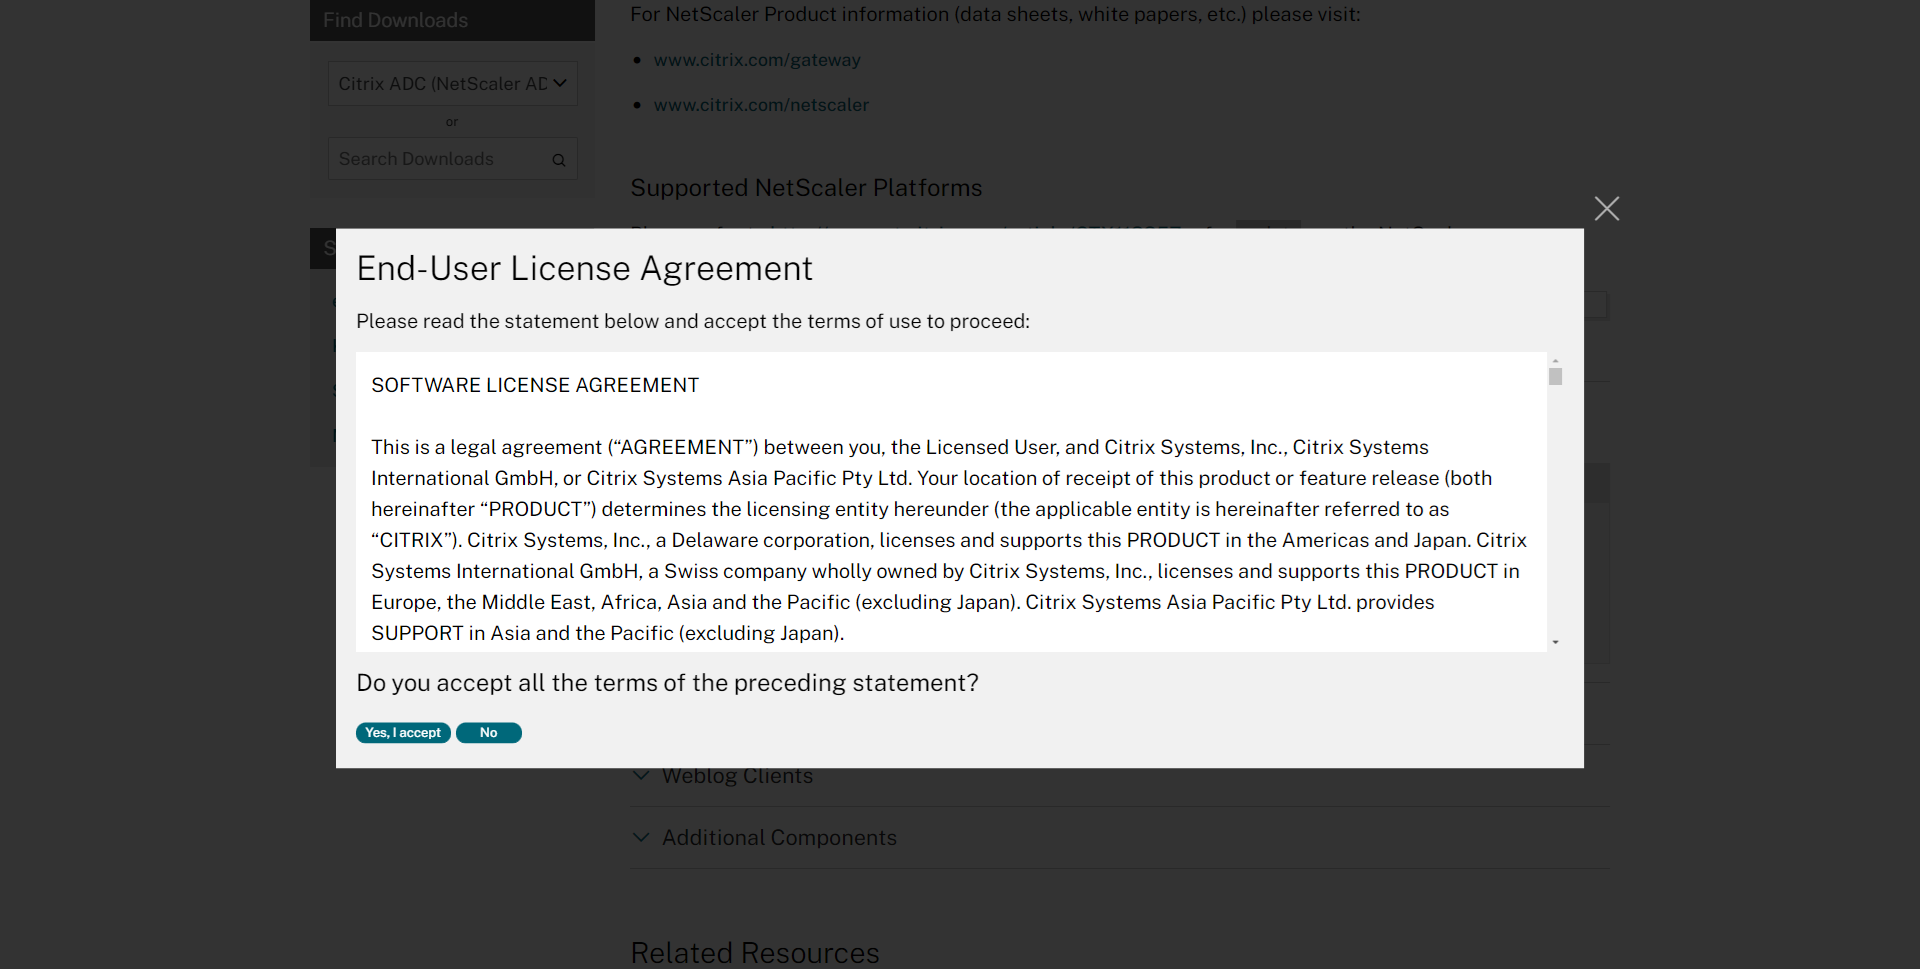
7.On the End-User License Agreement page, click Yes, I accept.
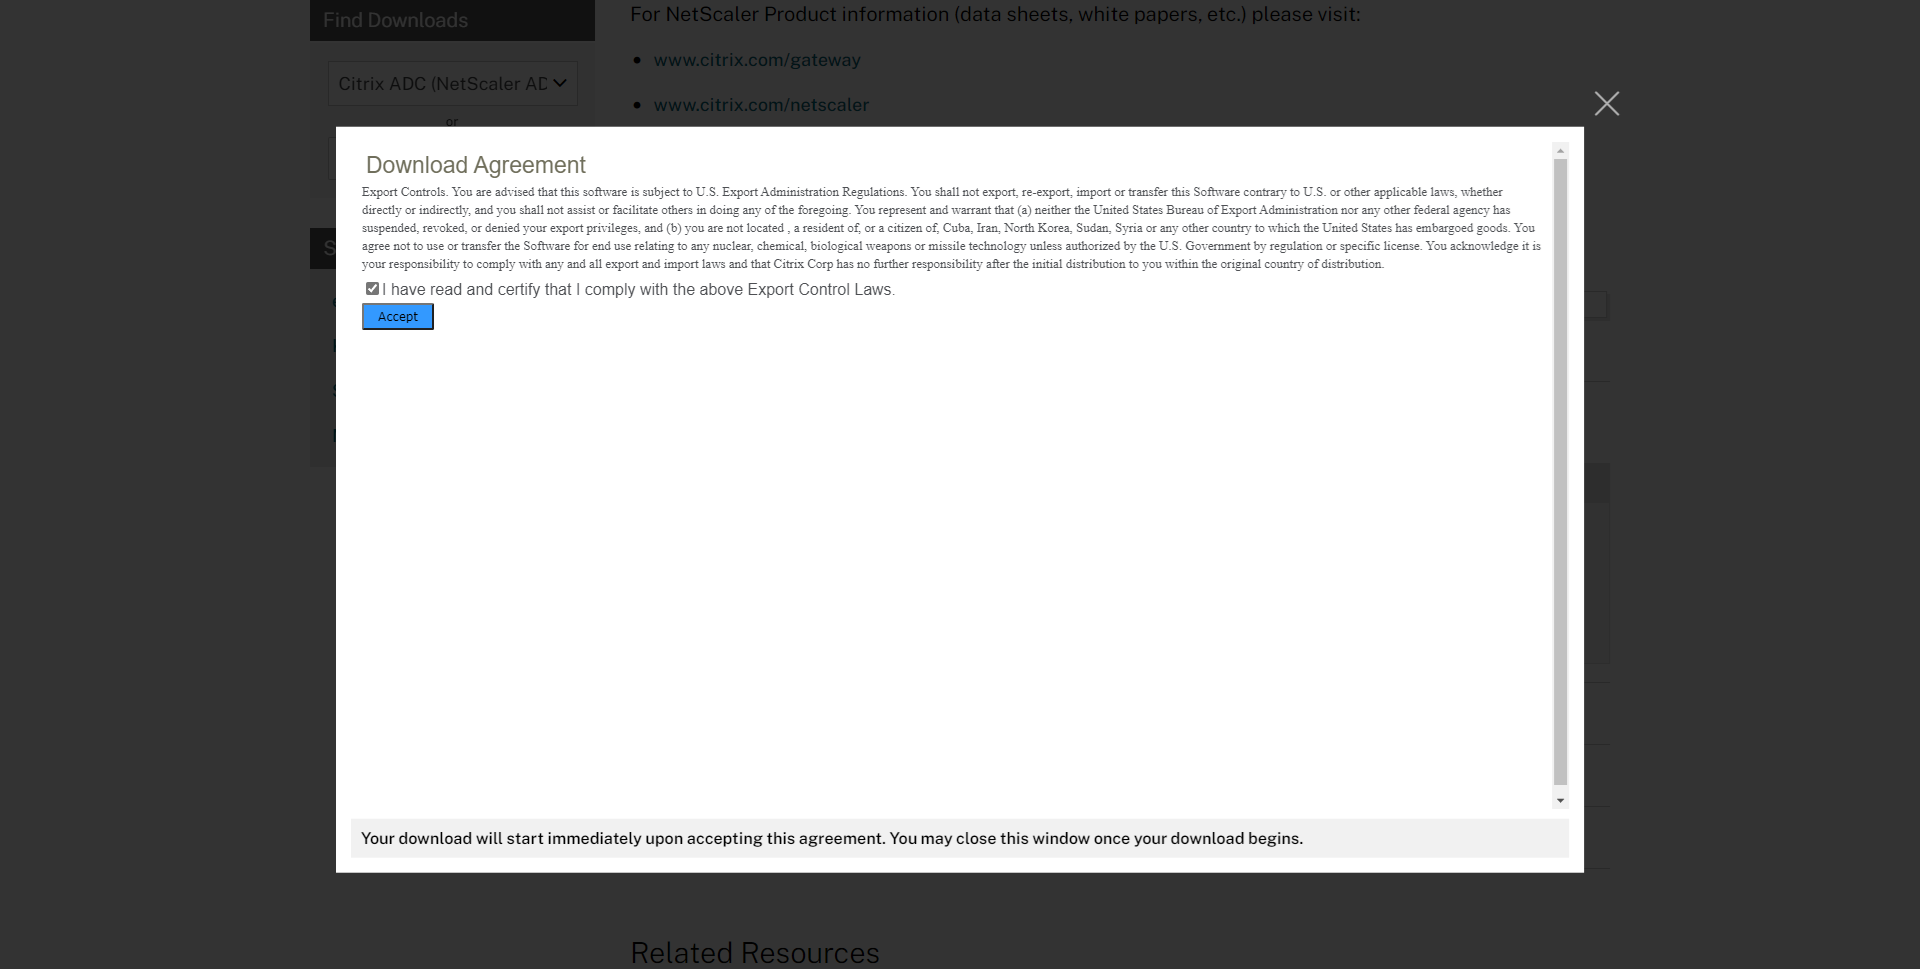
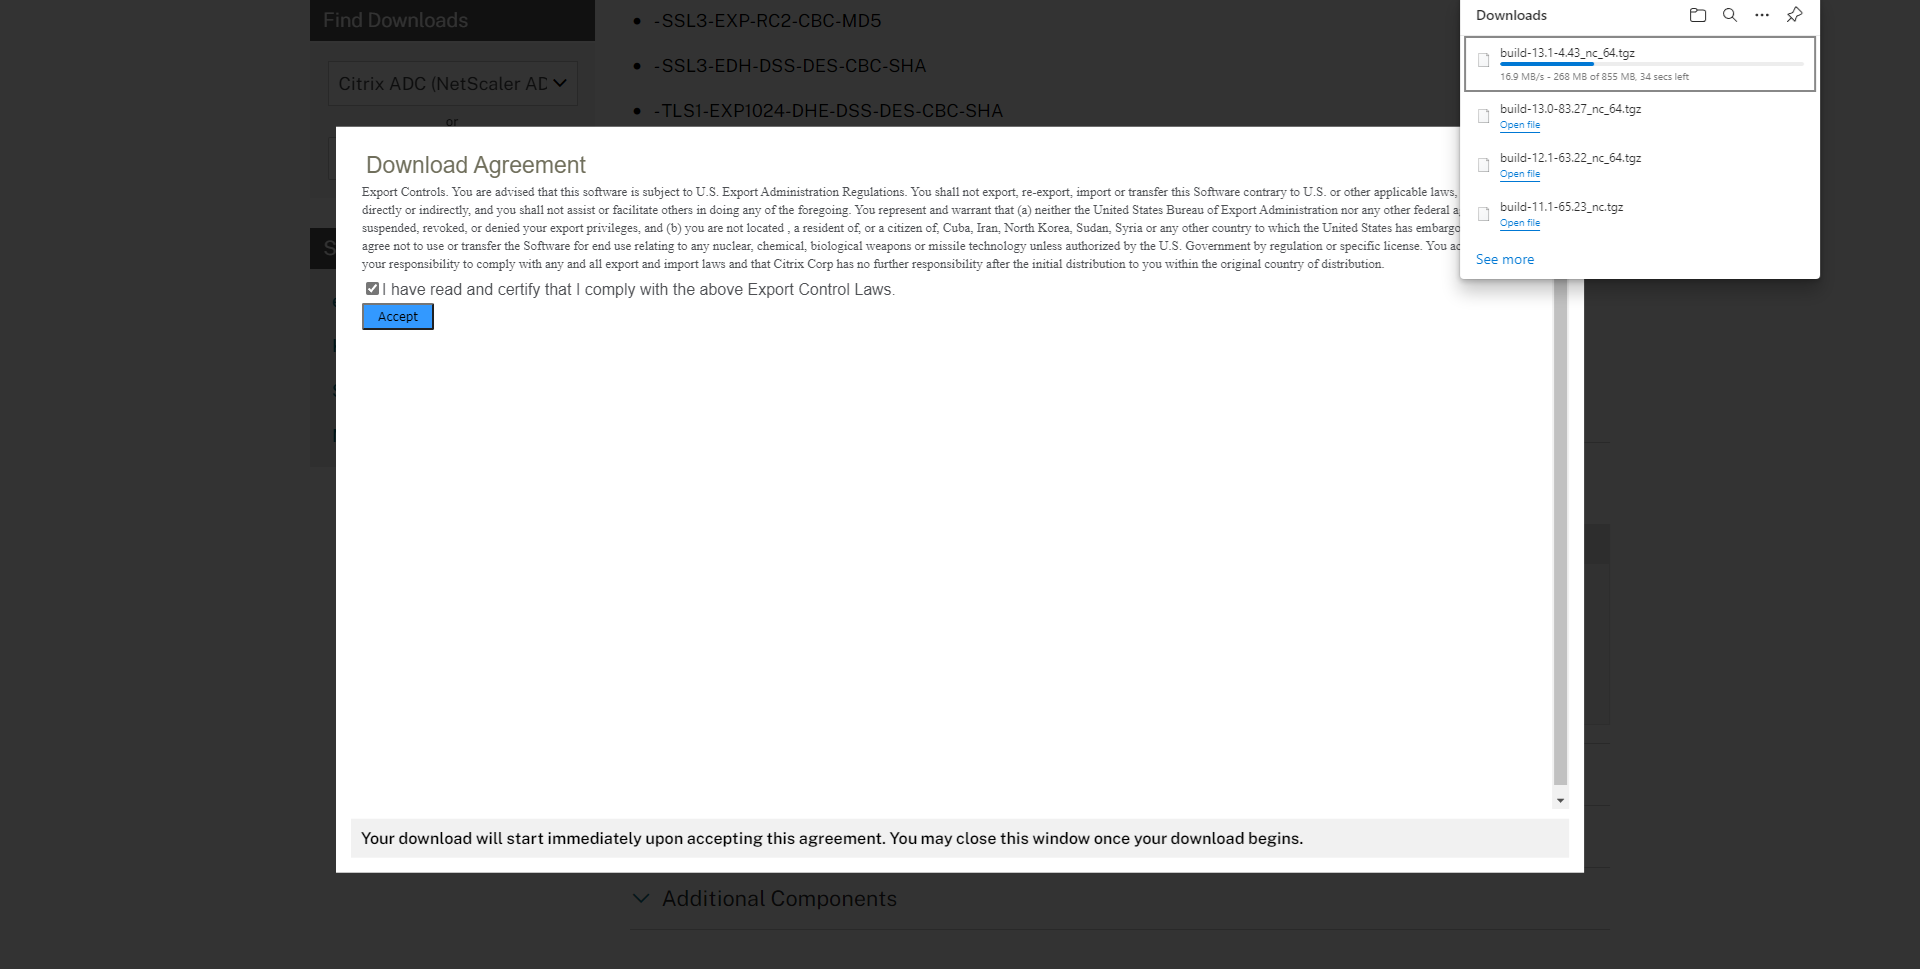
8.On the Download Agreement page, select I have read and certify that I comply with the above Export Control Laws, click Accept.
9.The .tgz file is starting to download.
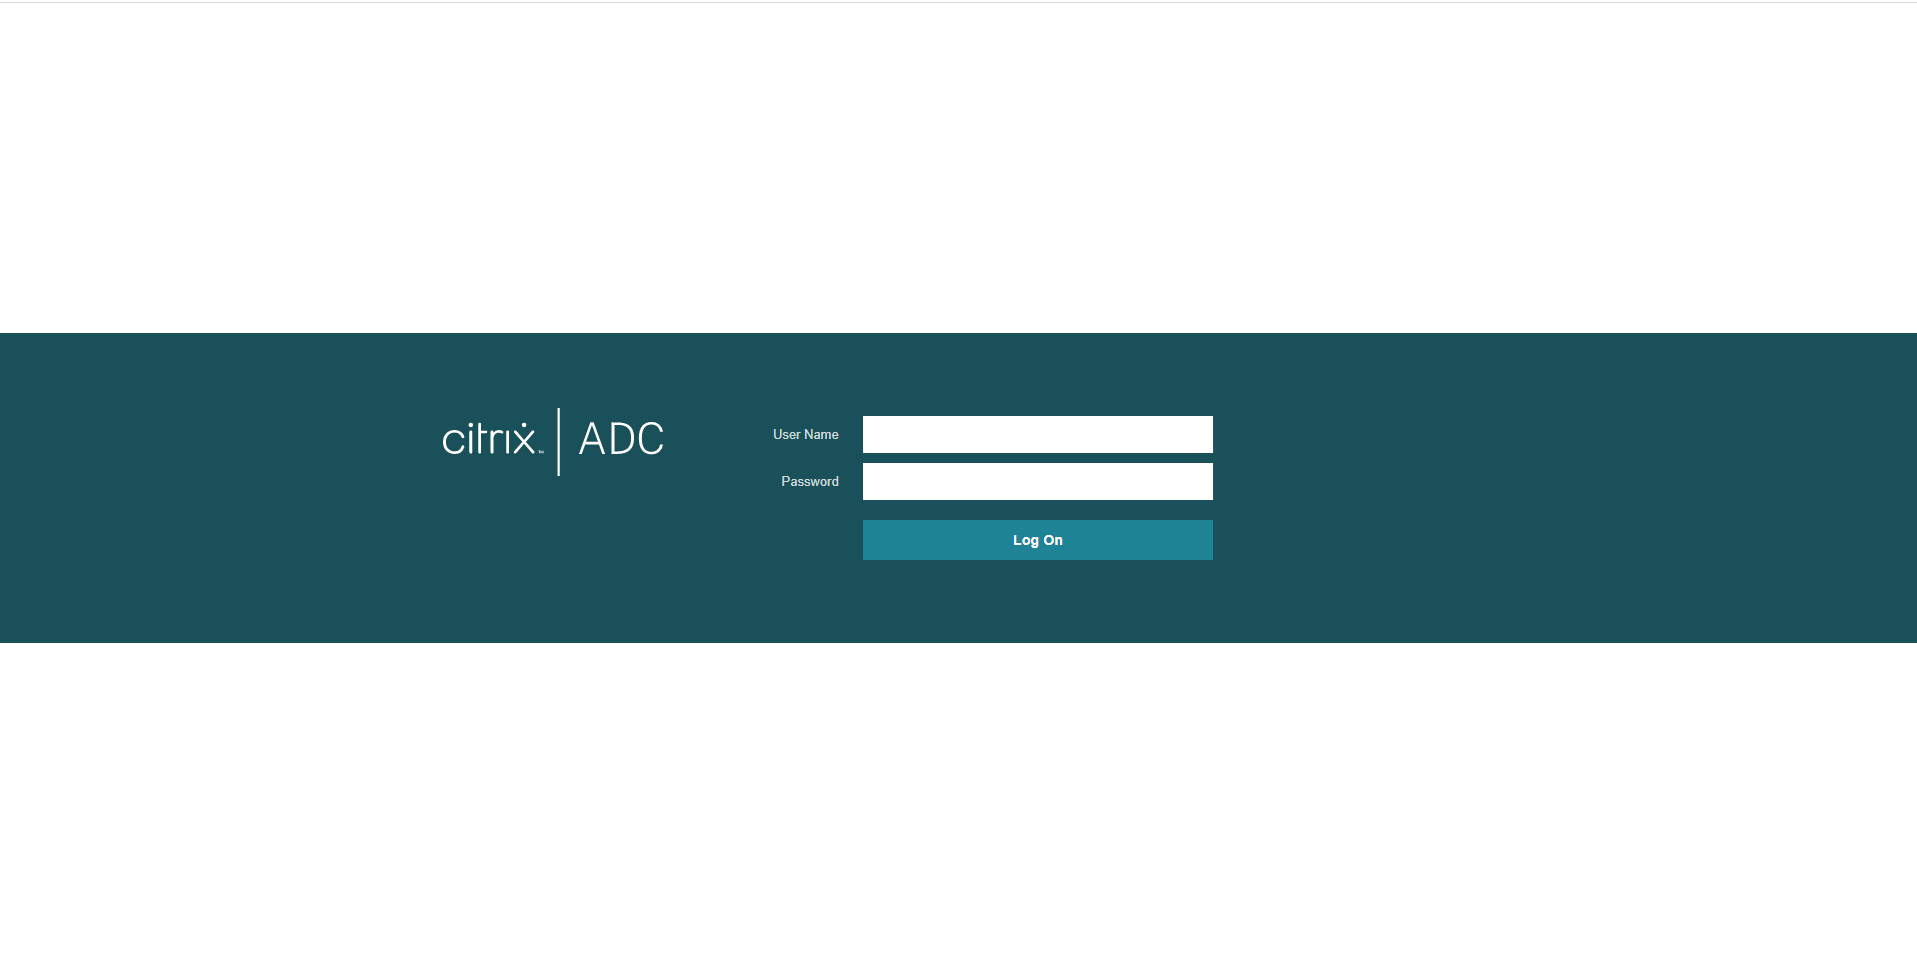
10.Open the Citrix NetScaler web console, enter user name and password.
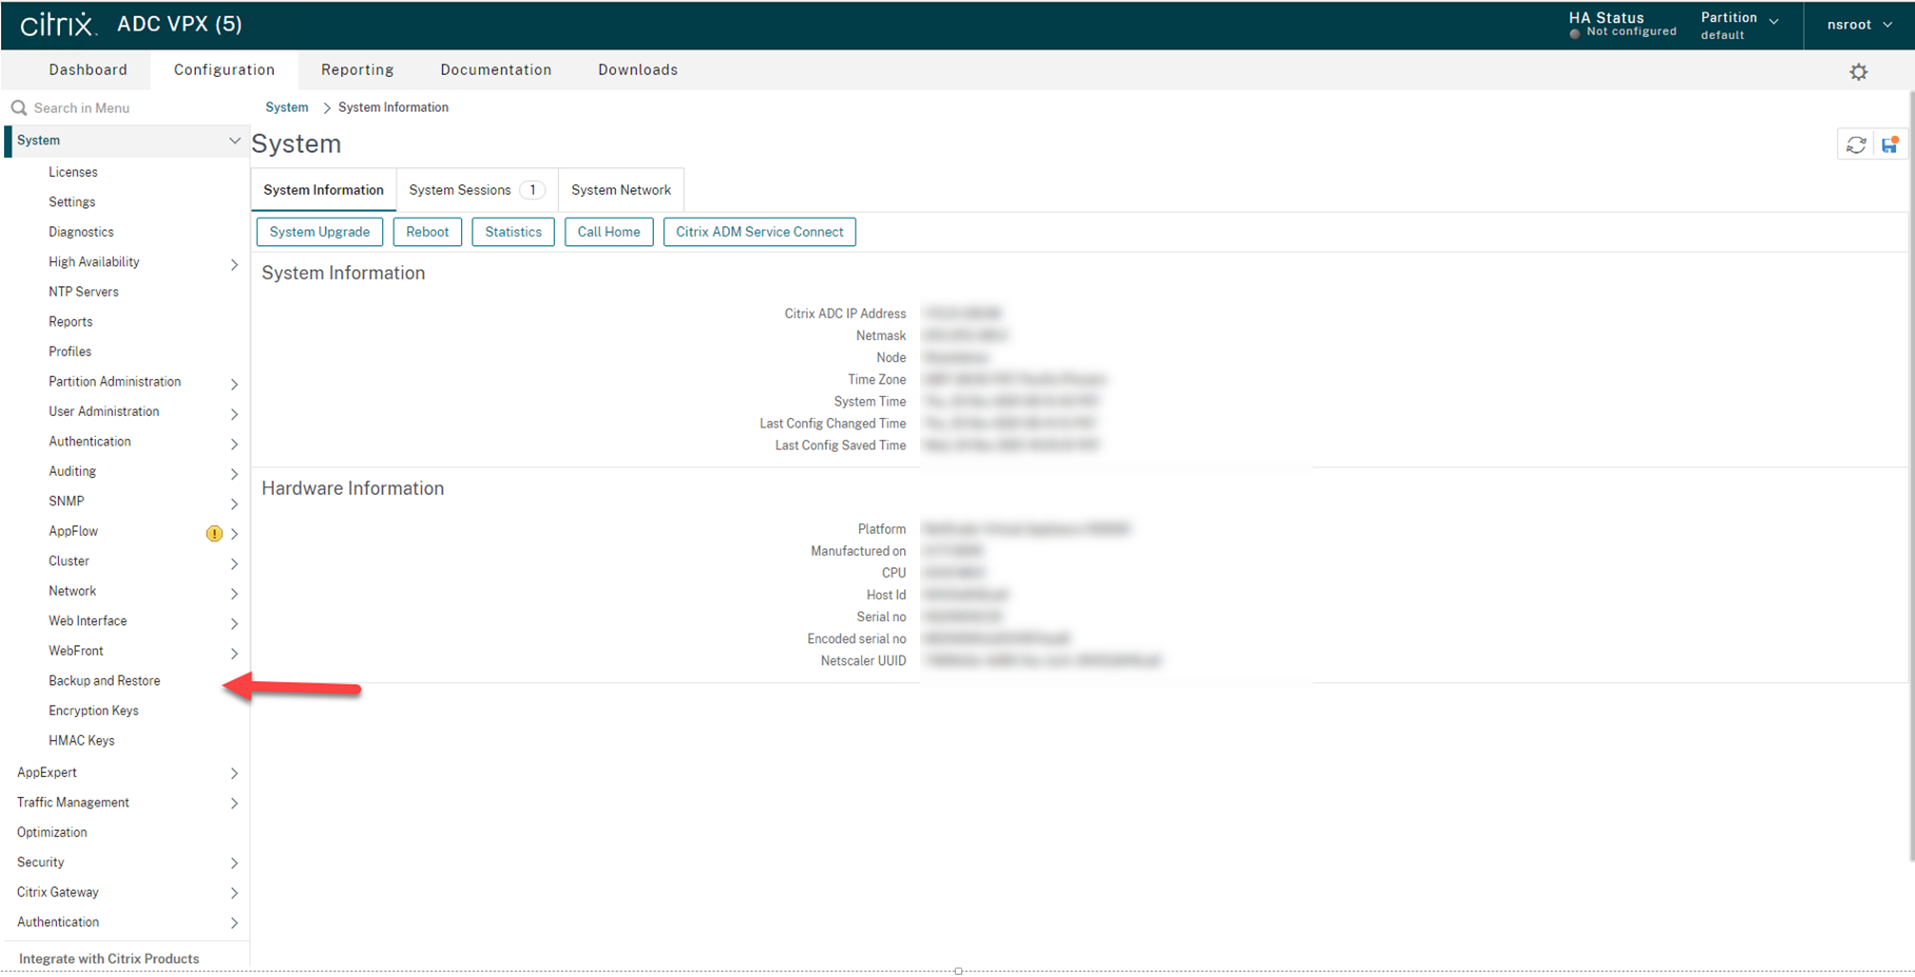
11.Expand System, select Backup and Restore.
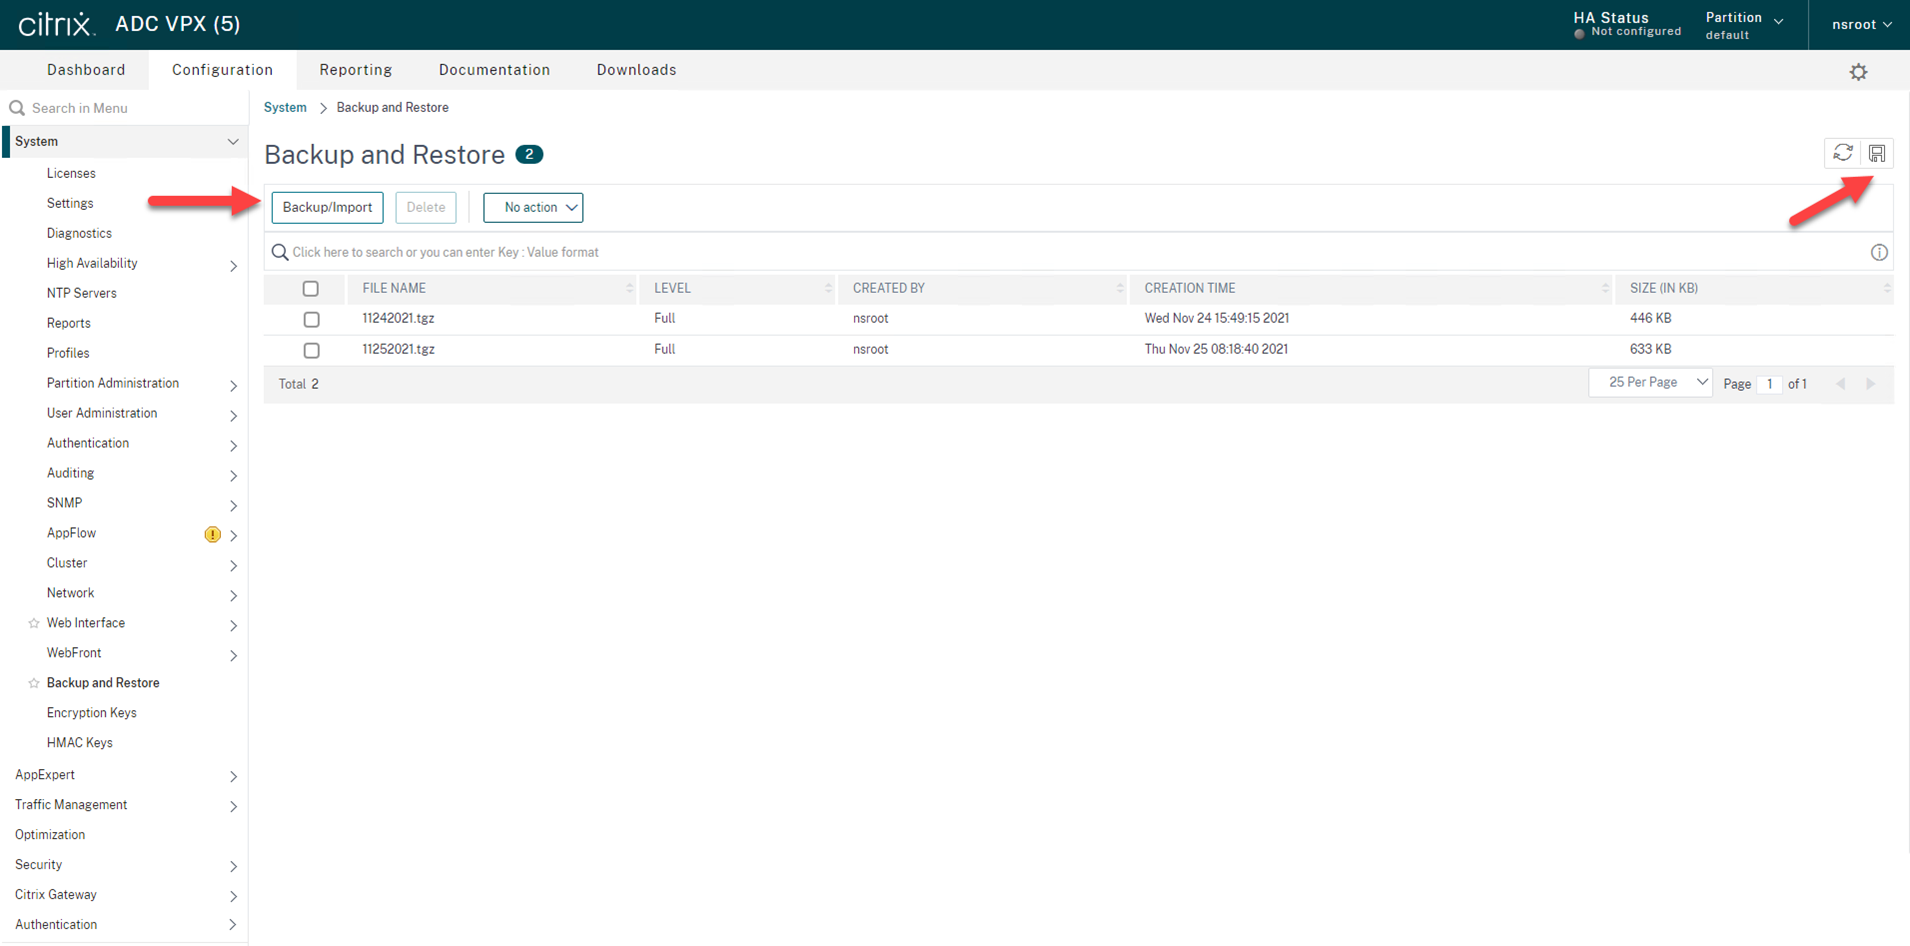
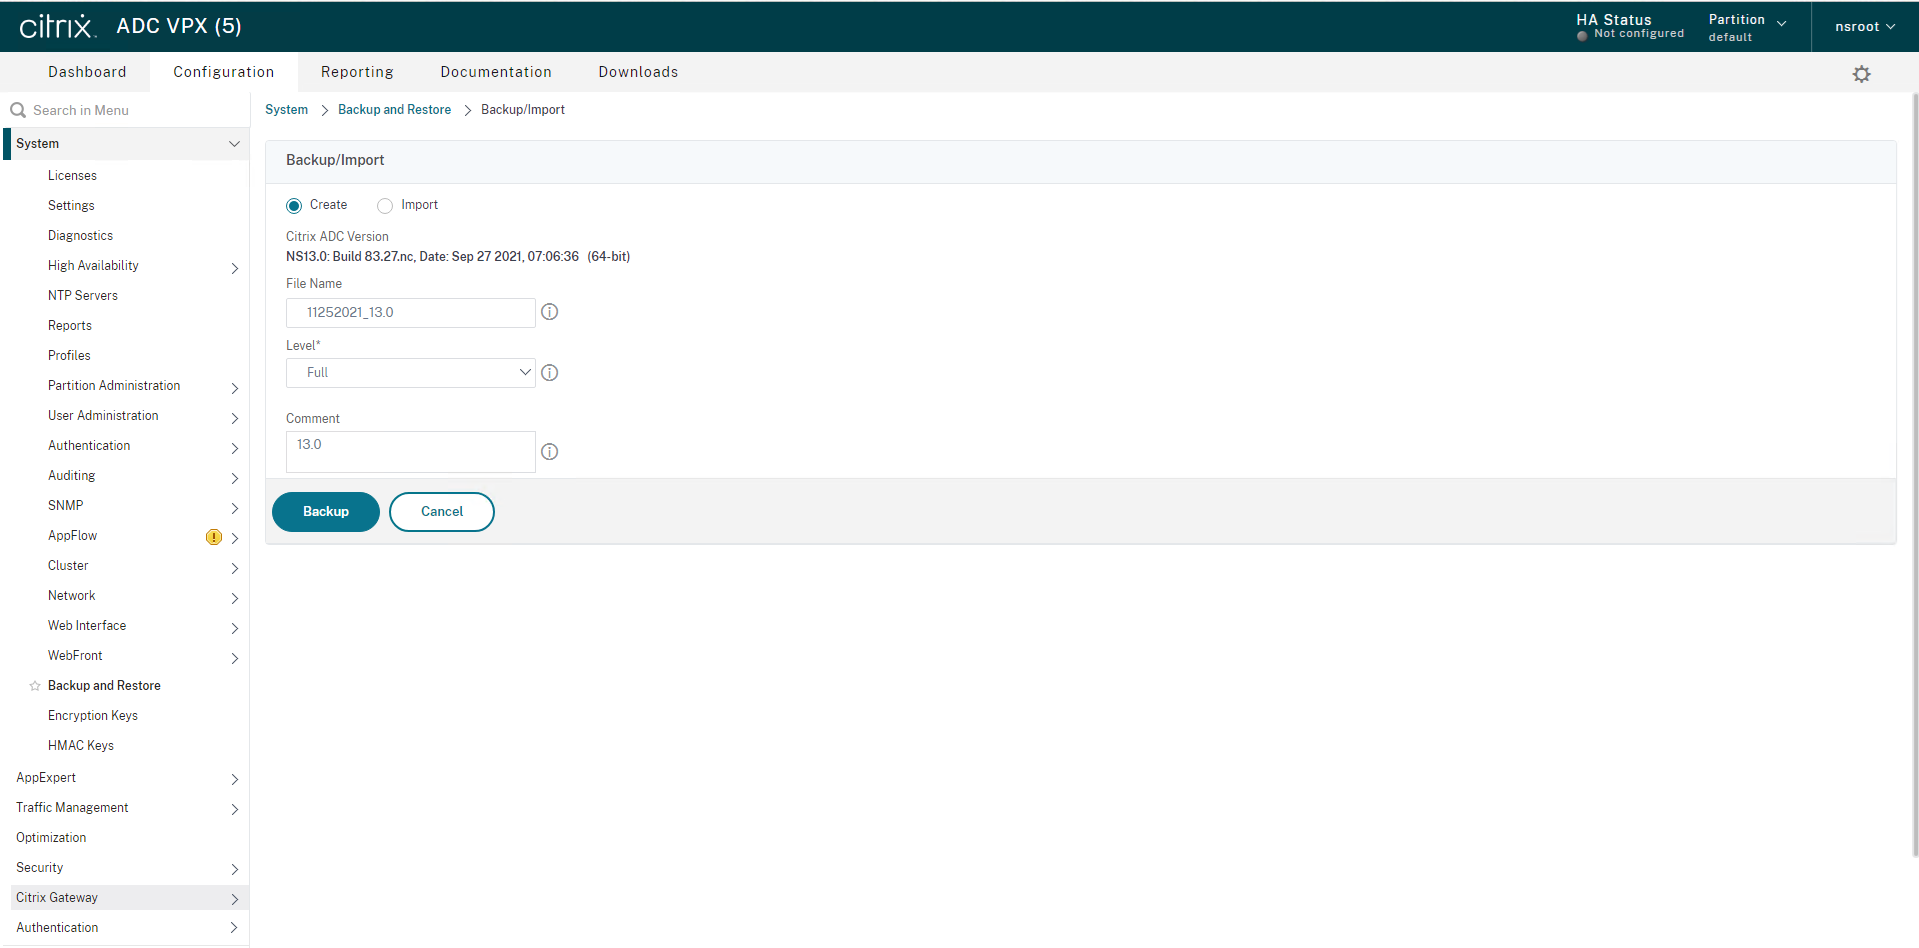
12.On the Backup and Restore page, click Backup/Import, make sure save configuration before Backup.
13.On the Backup page, select Create, type the file name and select full level, click Backup.
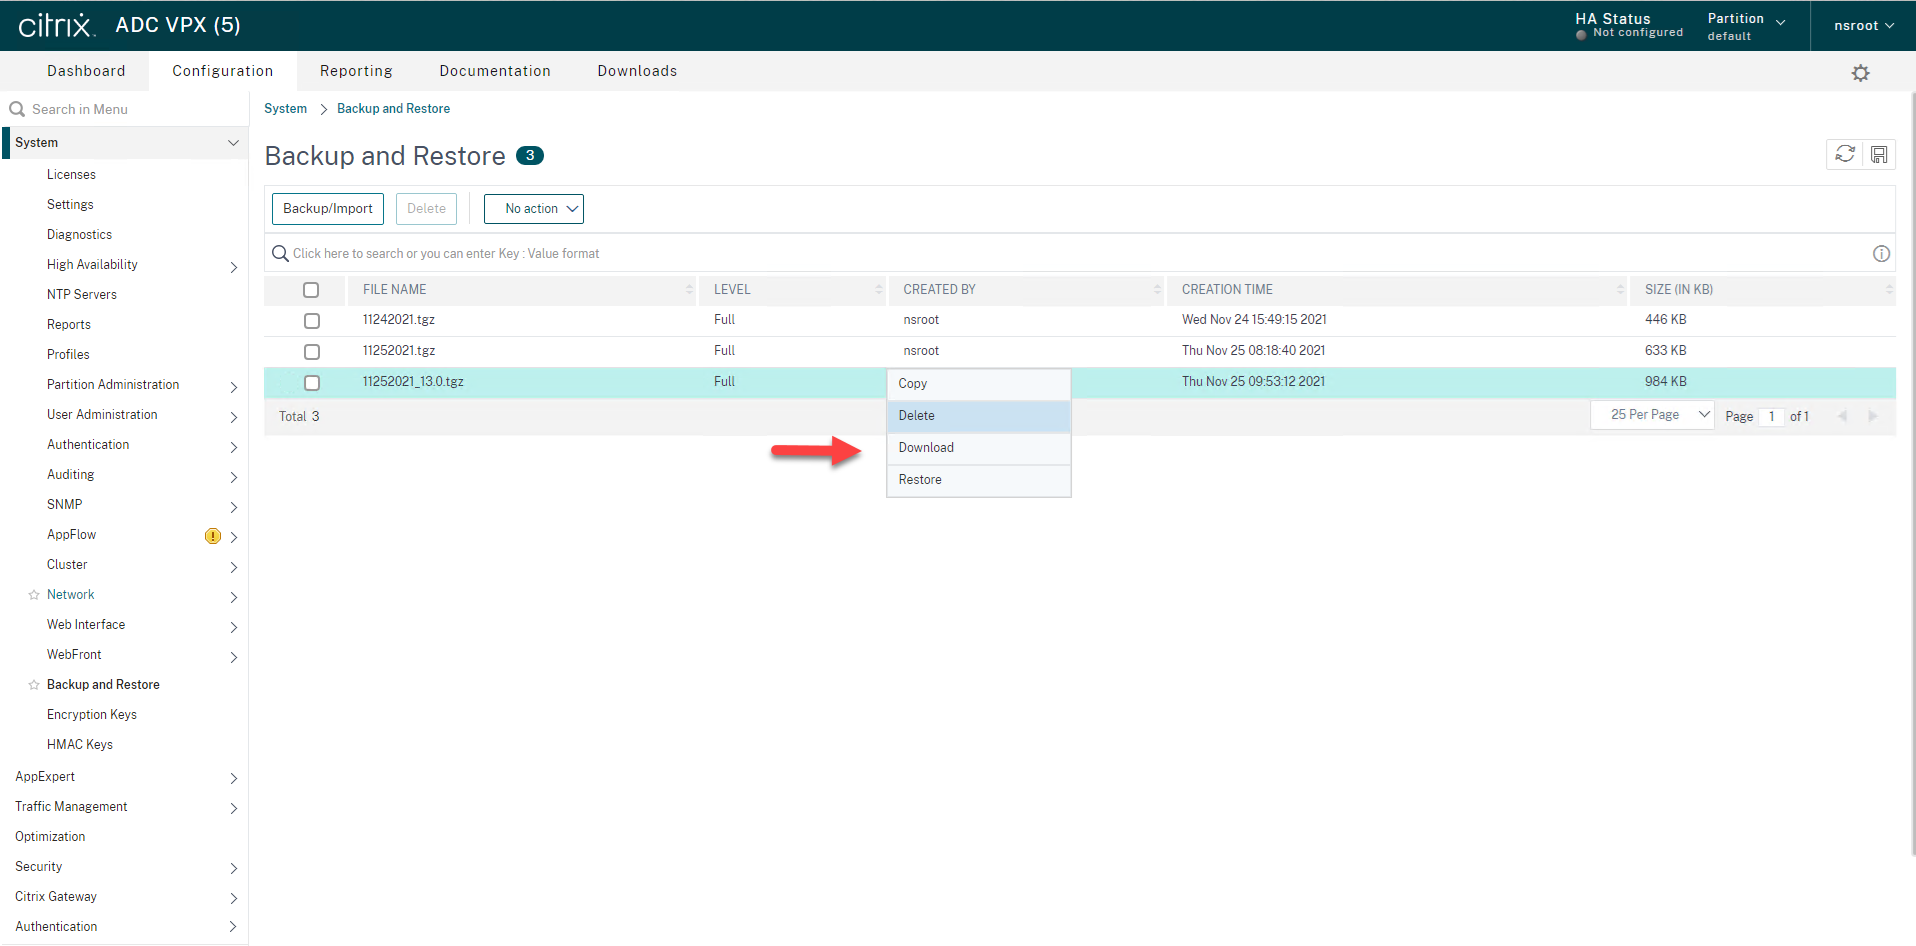
14.Righ-click the Backup file and select Download, if you need to save it to local machine.
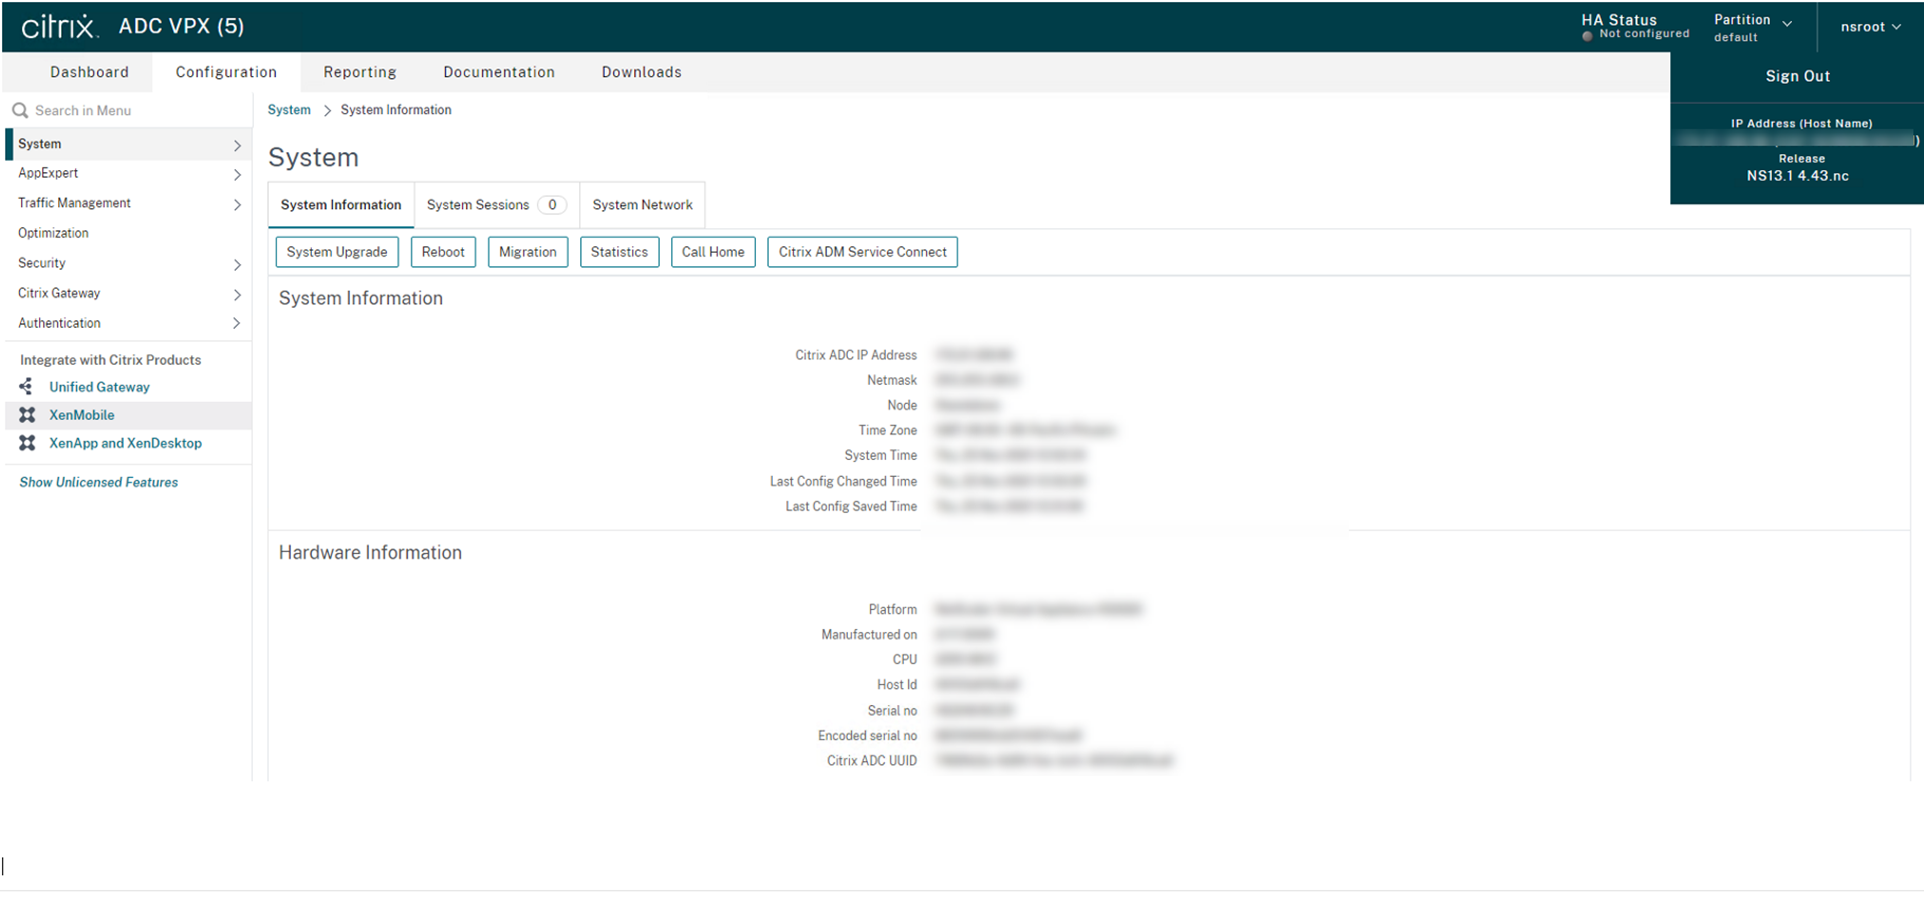
15.On the Configuration page, select System.
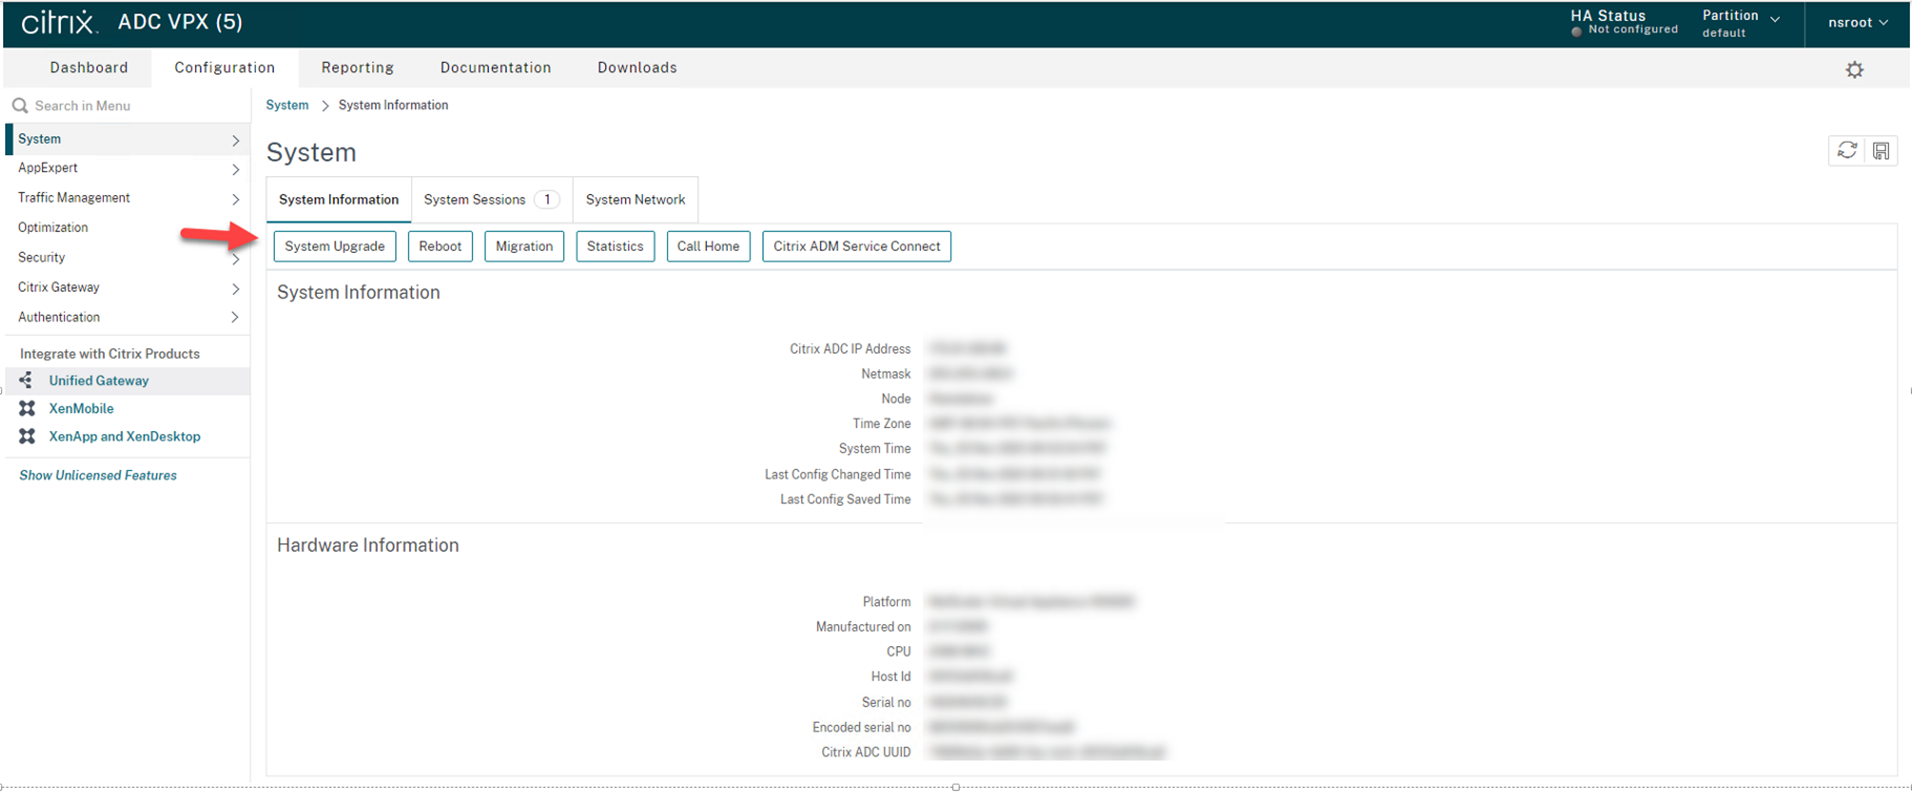
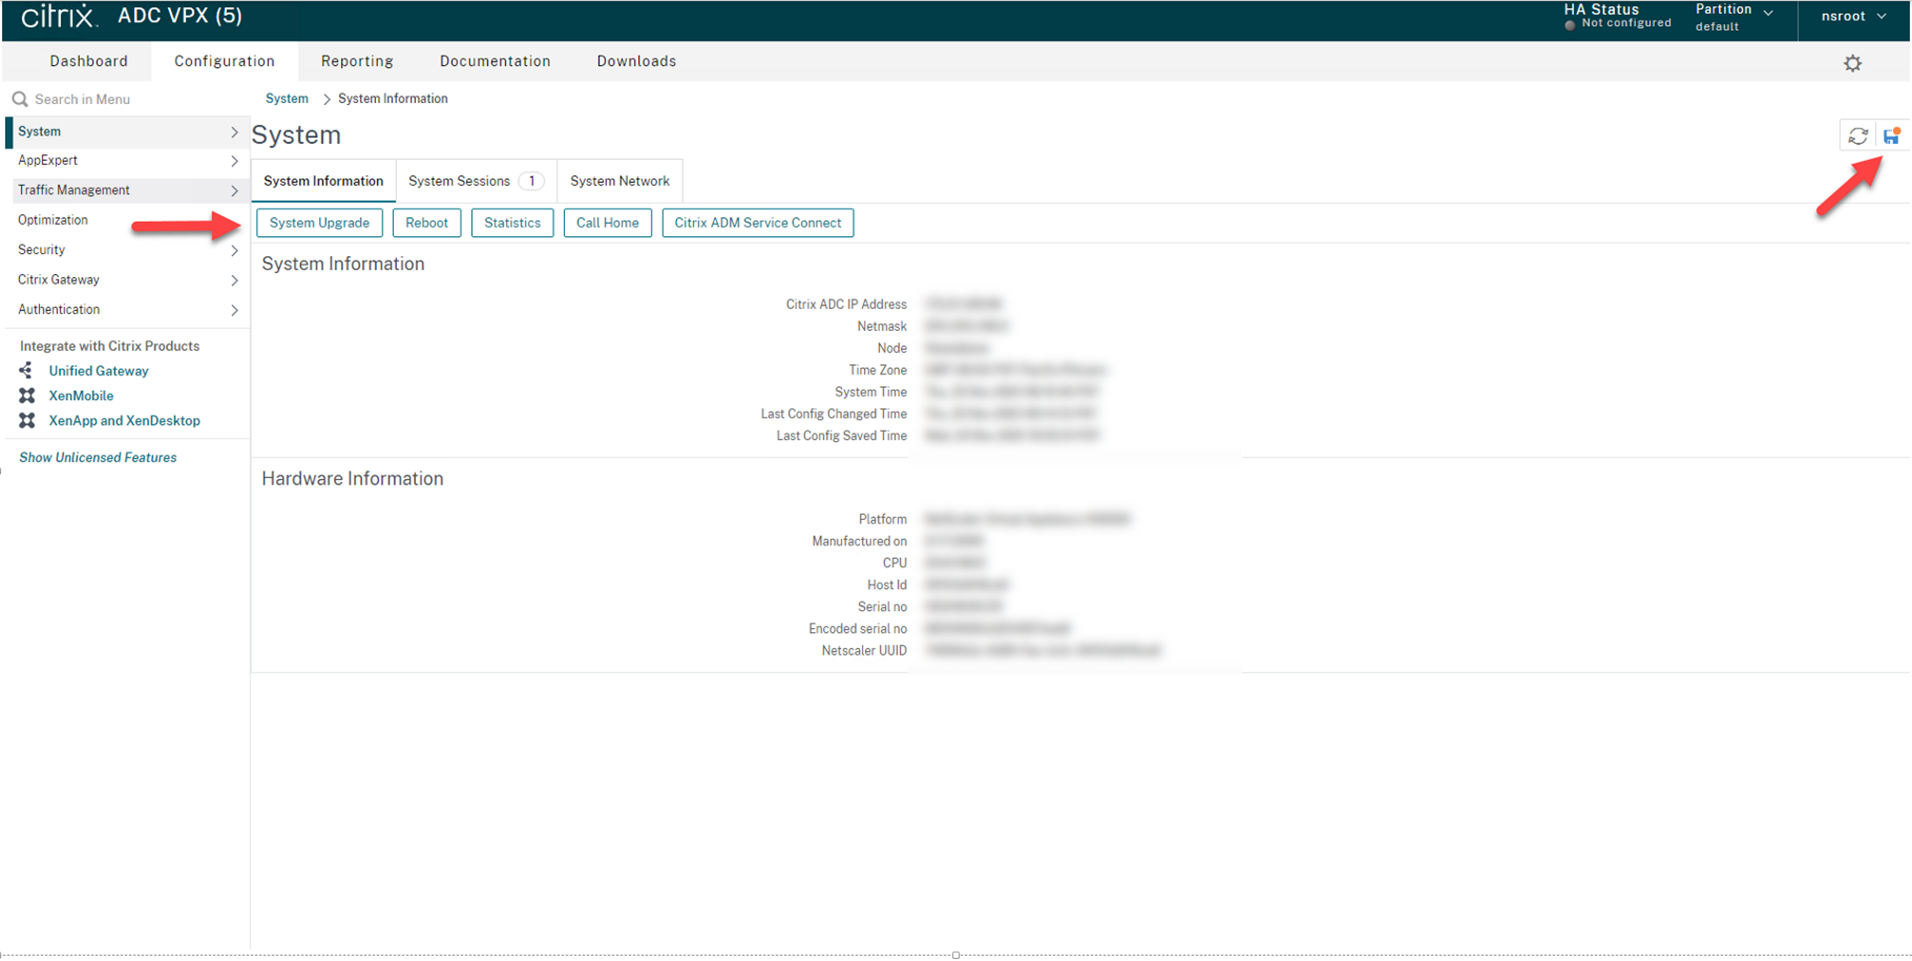
16.On the System Information page, select System Upgrade, I would recommend save configure before click System Upgrade.
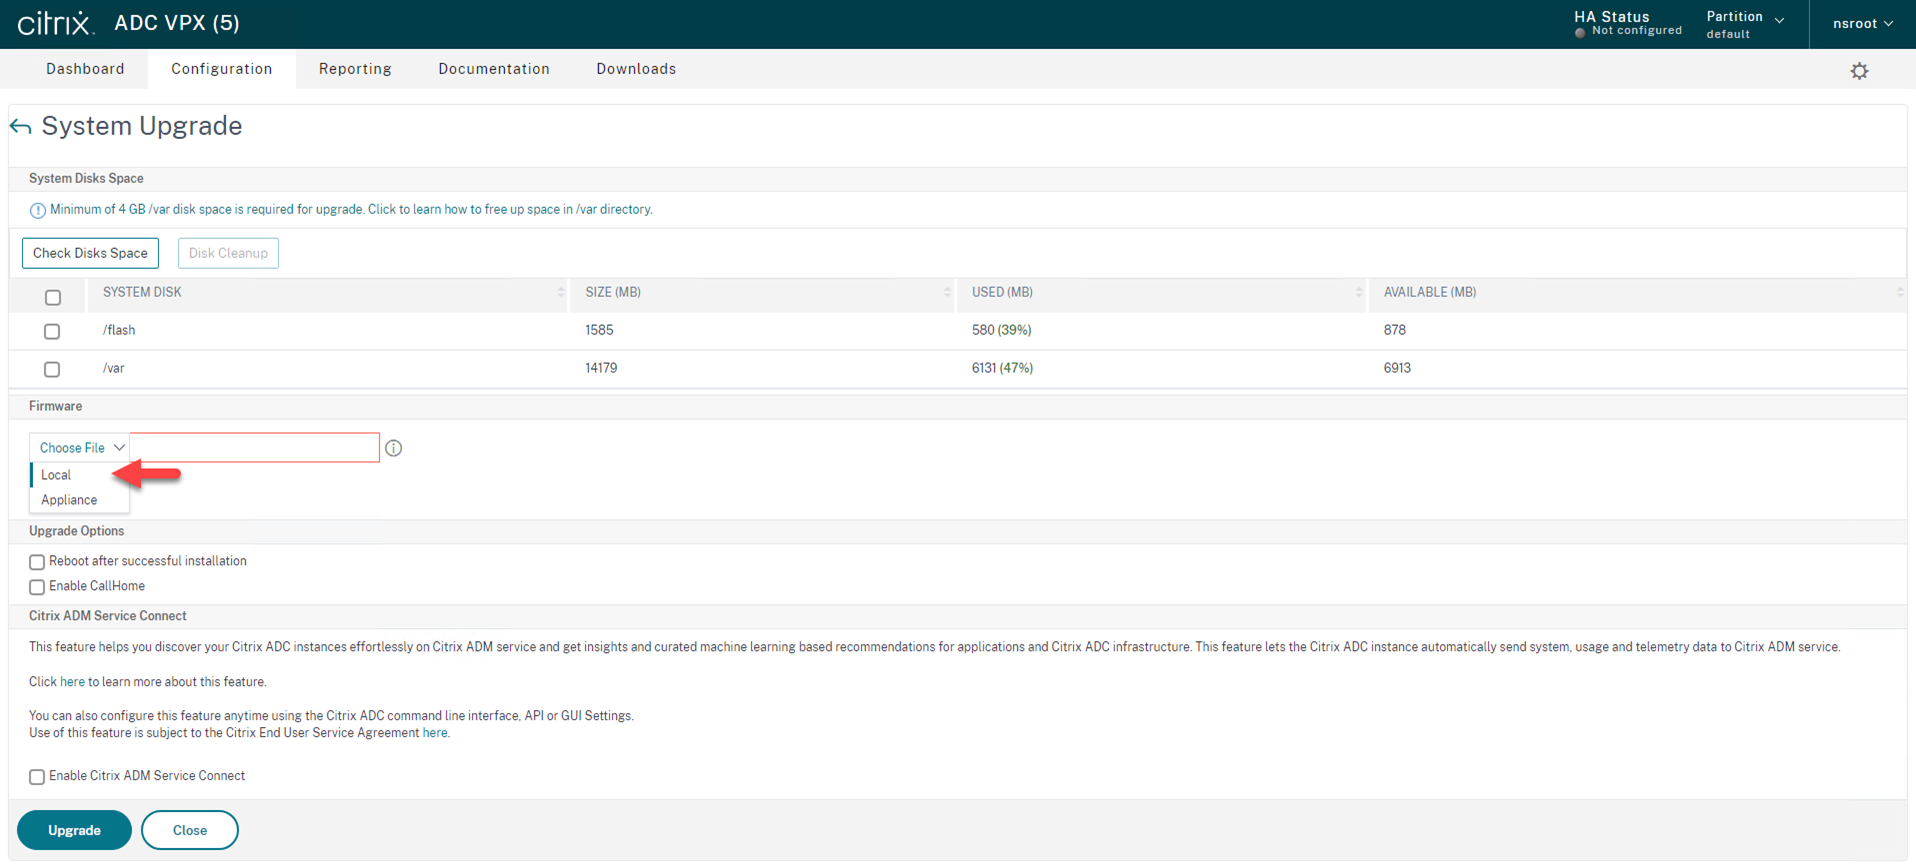
17.On the System Upgrade page, click Choose File, select Local.
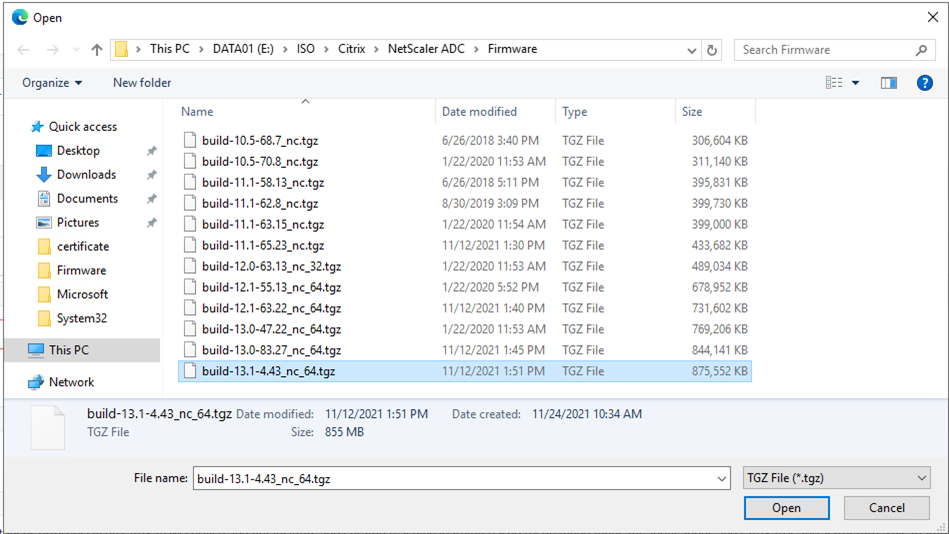
18.Select the new firmware, click Open.
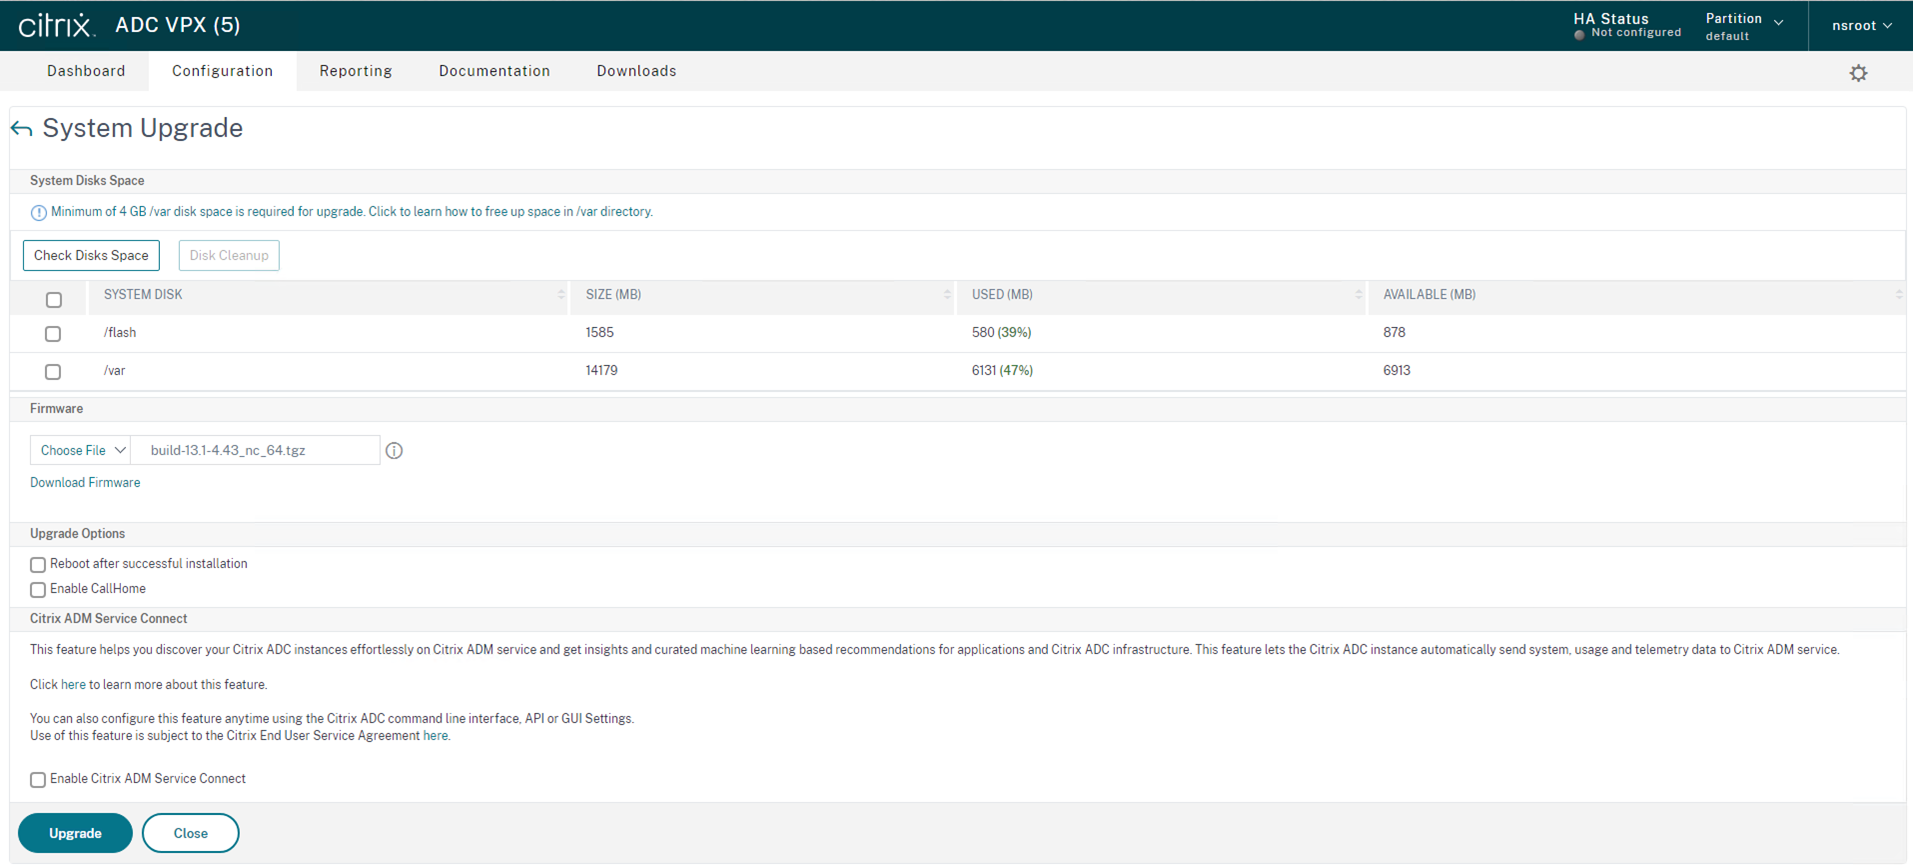
19. Click Upgrade.
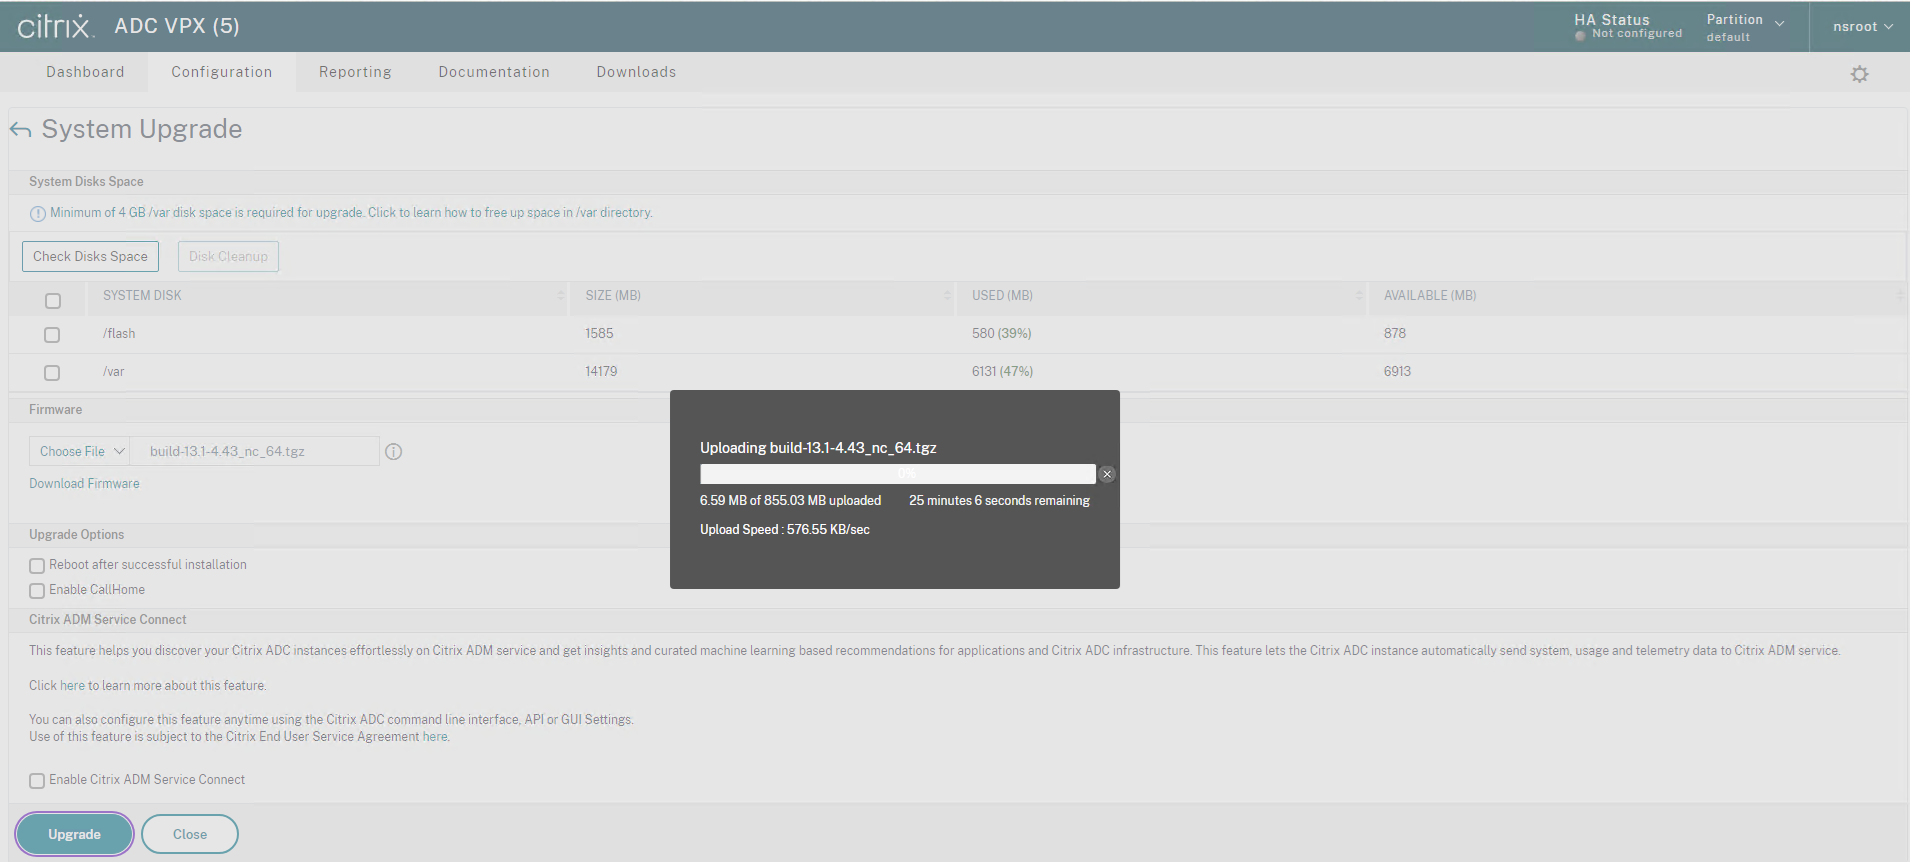
20.On the System Upgrade page, click Close after Installation completed.
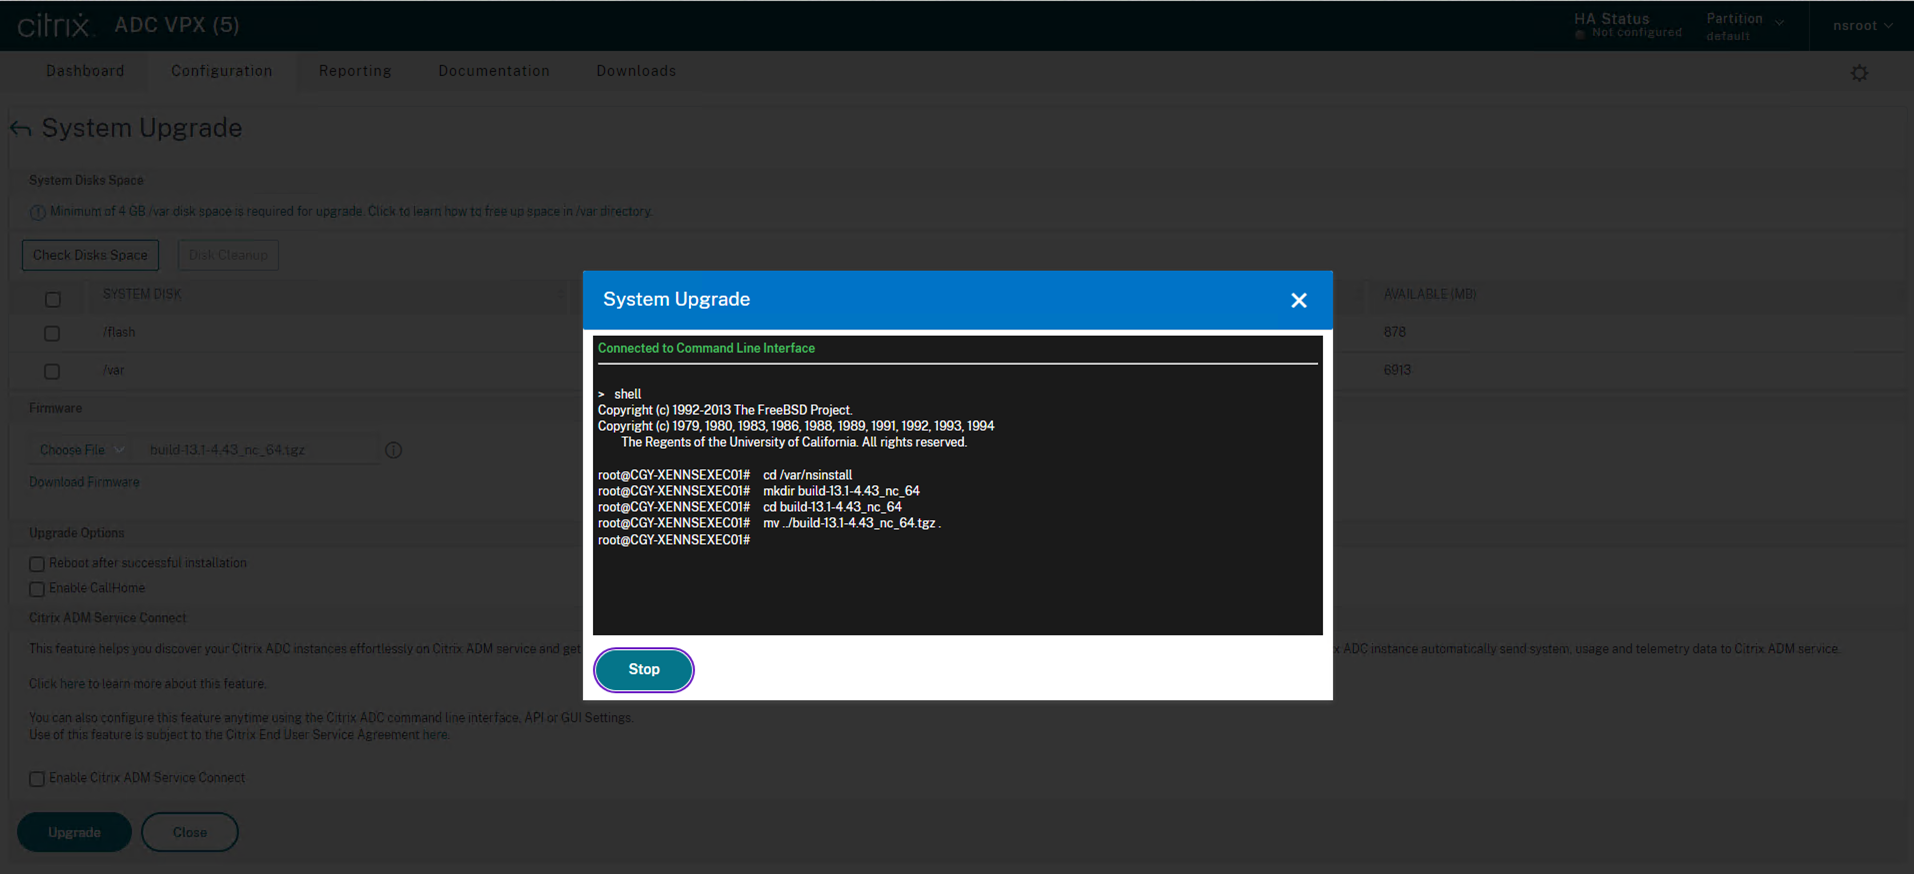
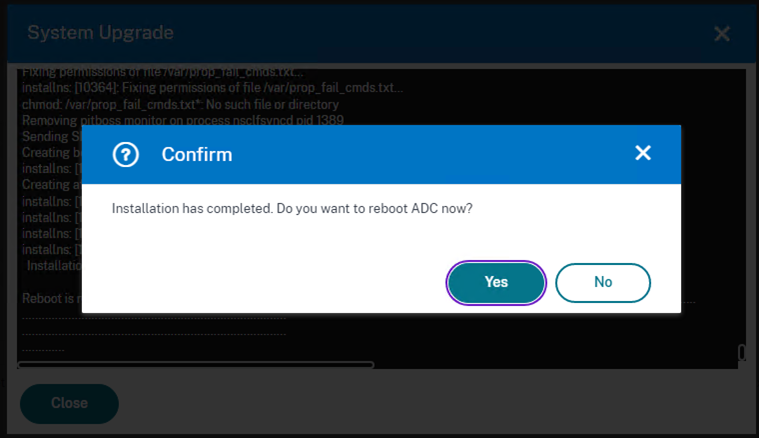
21.On the reboot confirm page, click Yes.
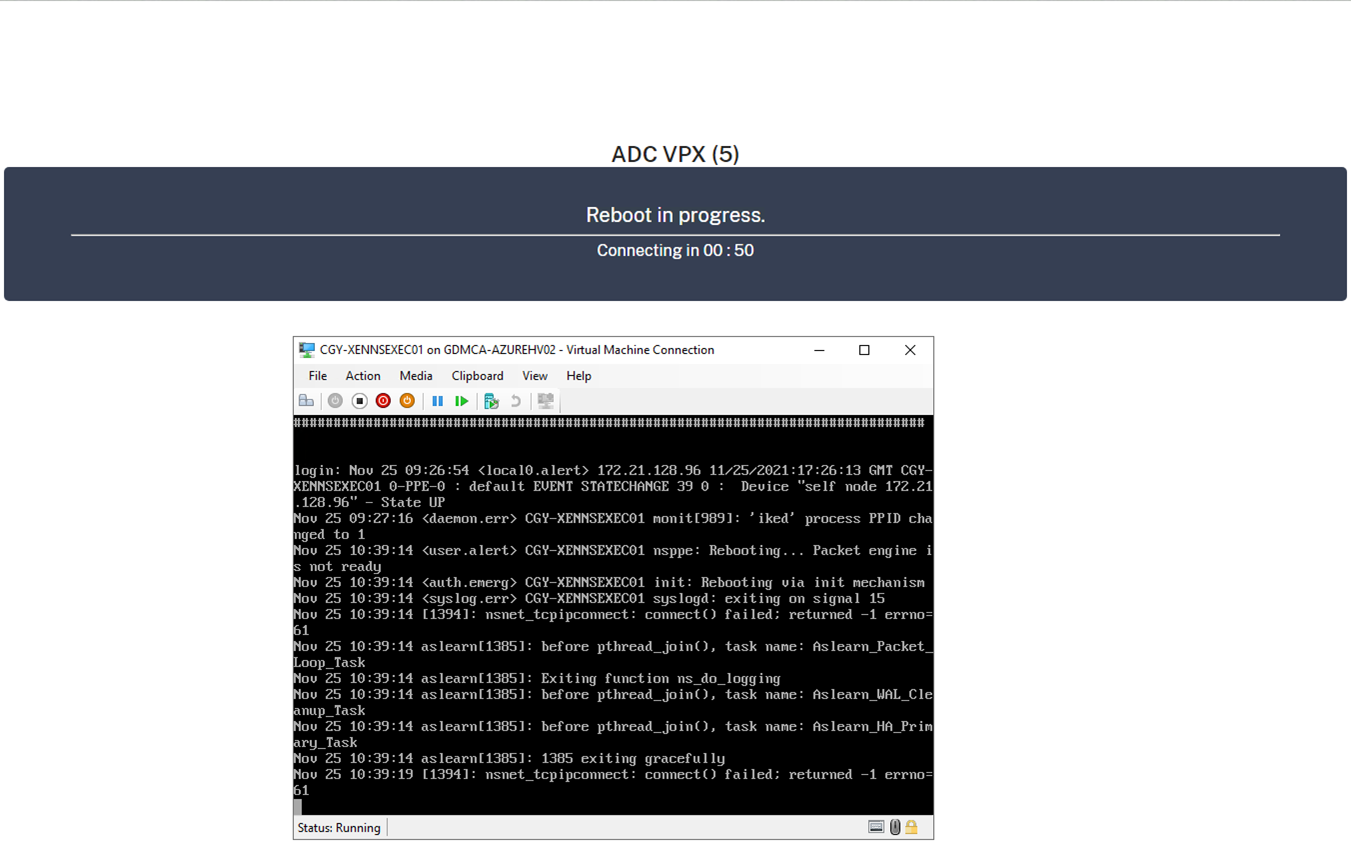
22.On the Citrix NetScaler web console, enter user name and password.
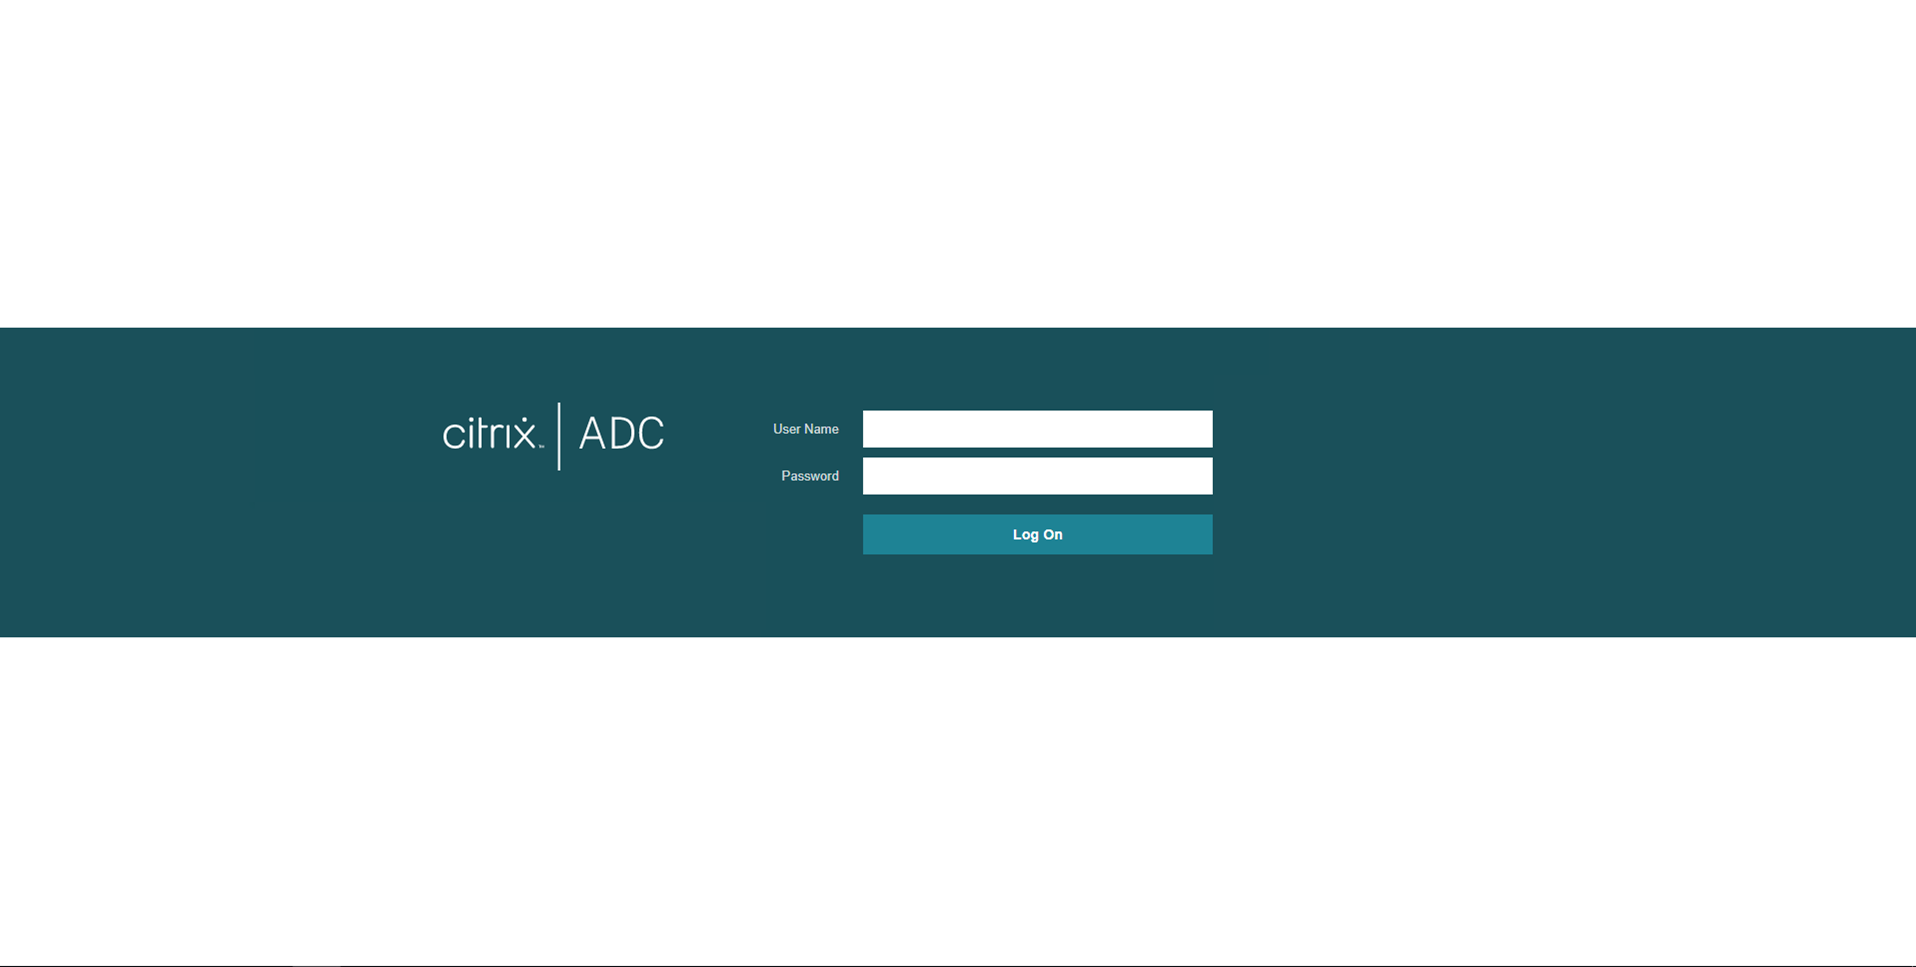
23.Check the Citrix ADC version.
Hope you enjoy this post.
Cary Sun
Twitter: @SifuSun
Web Site: carysun.com
Blog Site: checkyourlogs.net
Blog Site: gooddealmart.com
