Veeam released Veeam Backup for Microsoft Office 365 V3 on November 26 2019, there are lots of function be increased and improved, including Object storage support, Increased Information security, Faster backup performance, Exclude retention for contacts and calendars, Group-based targeting, Enhanced reporting…etc.
Today, I am going to show you how to upgrade Veeam Backup for Microsoft Office 365 V3 to V4. Before upgrading to Veeam Backup for Microsoft Office 365 4.0, please read following notes carefully.
Veeam Backup for Microsoft Office 365 application upgrade to version 4.0 is supported for the following versions:
- Veeam Backup for Microsoft Office 365 2.0 (product builds 2.0.0.567, 2.0.0.594 and 2.0.0.814).
- Veeam Backup for Microsoft Office 365 3.0 (product builds 3.0.0.422).
Consider the following:
- All modifications made to the Config.xml file manually will be lost.
- Upgrade of backup jobs created with version 2.0 is only required if these jobs contain Microsoft SharePoint sites.
- Backup jobs that have not been upgraded to Veeam Backup for Microsoft Office 365 version 2.0 will be removed.
For example, if you are still using Veeam Backup for Microsoft Office 365 version 1.5 or 1.0 and have not upgraded to version 2.0 prior to upgrading to version 4.0.
- Login to Veeam server.
-
Download the Veeam Backup for Microsoft Office 365 installation package from following link. (you need to sign in)
https://www.veeam.com/free-backup-microsoft-office-365-download.html
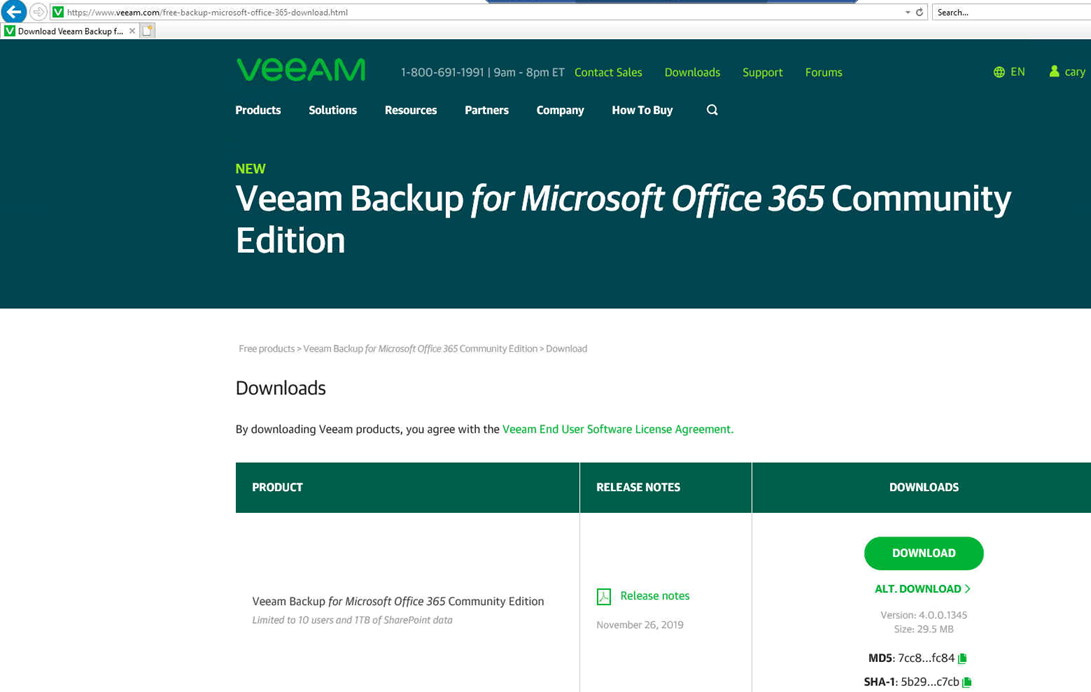
- Unzip VeeamBackupOffice365_4.0.0.1345.zip file.
-
Open the unzip folder and double click Veeam.Backup365_4.0.0.1345.msi.

-
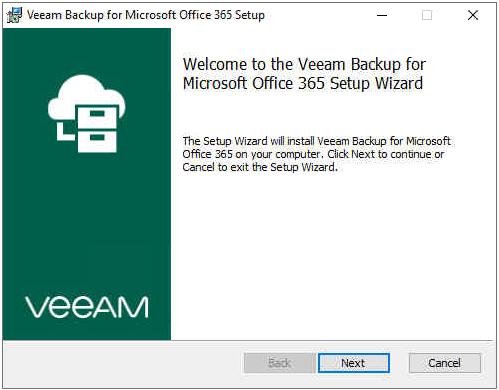
On the Welcome to the Veeam Backup for Microsoft Office 365 Setup Wizard page. Click Next.
-
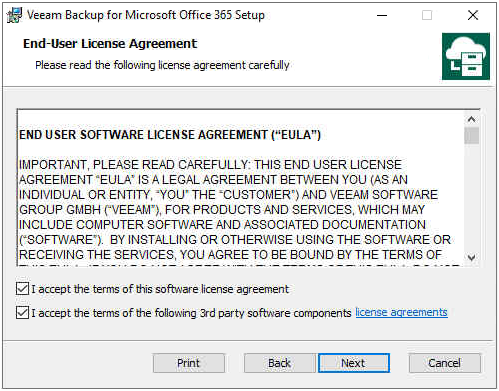
On the End-User License Agreement page, select I accept the terms of this software license agreement and I accept the terms of the following 3rd party software components license agreements, click Next.
-
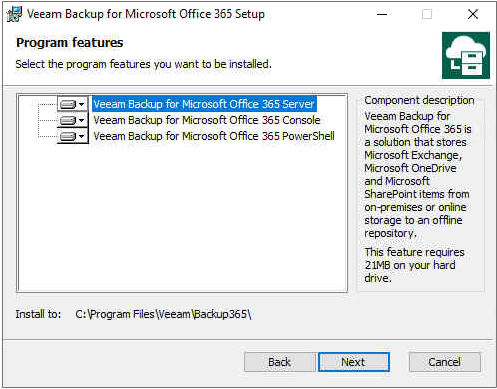
On the Program features page, click Next.
-
On the Ready to install Veeam Backup for Microsoft office 365 page, click Install.

-
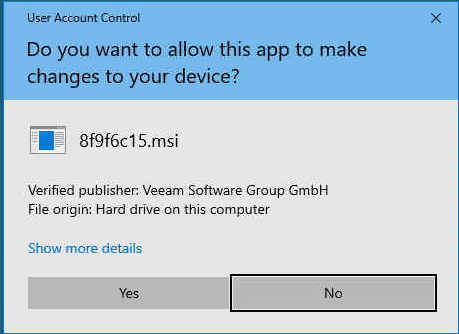
Click Yes on User Account Control page.
-
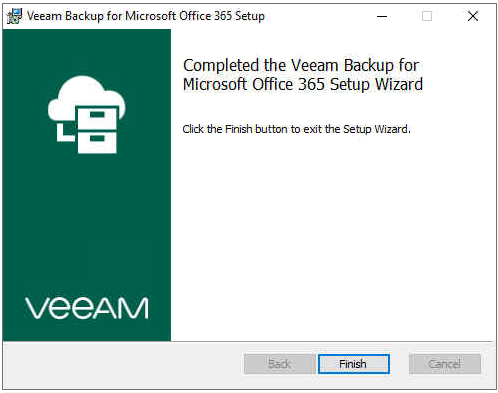
On the Completed the Veeam Backup for Microsoft Office 365 Setup Wizard page, click Finish.
-
Open unzip folder and double click VeeamExplorerForExchange_4.0.0.1345.msi file.

-
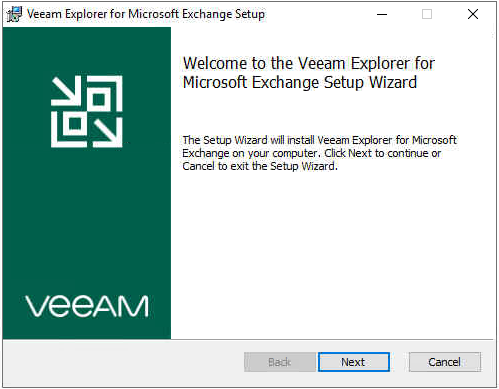
On the Welcome to the Veeam Explorer for Microsoft Exchange Setup Wizard page, click Next.
-
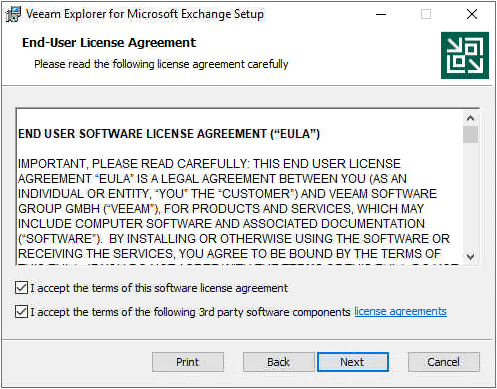
On the End-User License Agreement page, select I accept the terms of this software license agreement and I accept the terms of the following 3rd party software components license agreements, click Next.
-
On the Program features page, click Next.

-
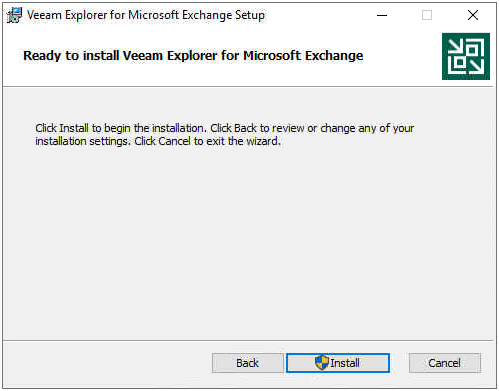
On the Ready to install Veeam Explorer for Microsoft Exchange page, click Install.
-
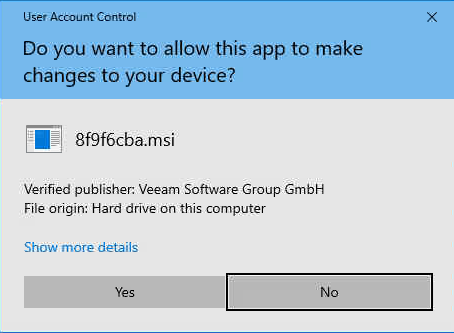
Click Yes on the User Account Control page.
-
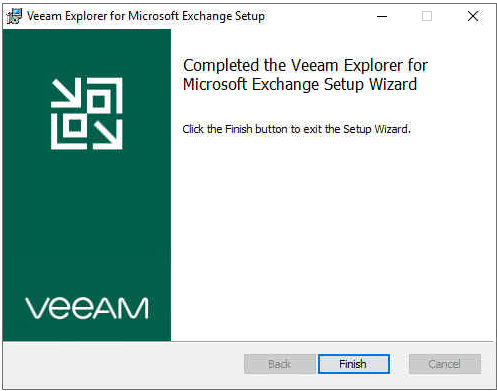
On the Completed the Veeam Explorer for Microsoft Exchange Setup Wizard page, click Finish.
-
Open unzip folder and double click VeeamExplorerForSharePoint_4.0.0.1345.msi file.

-
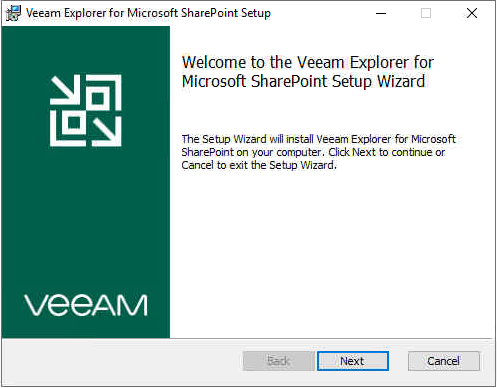
On the Welcome to the Veeam Explorer for Microsoft SharePoint Setup Wizard, click Next.
-
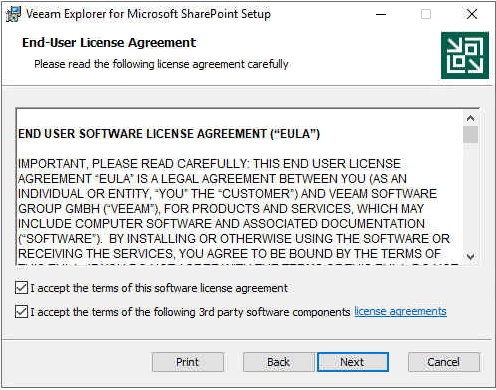
On the End-User License Agreement page, select I accept the terms of this software license agreement and I accept the terms of the following 3rd party software components license agreements, click Next.
-
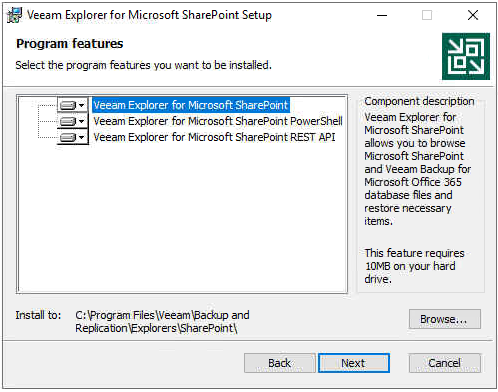
On the Program features page, click Next.
-
On the Ready to install Veeam Explorer for Microsoft SharePoint page, click Install.

-
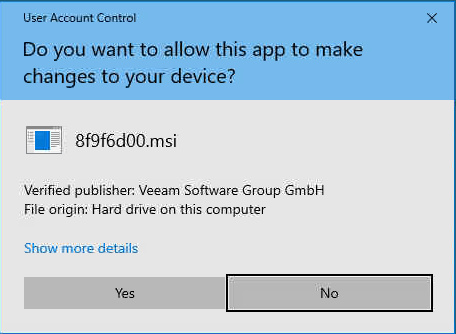
On the User Account Control page, click Yes.
-
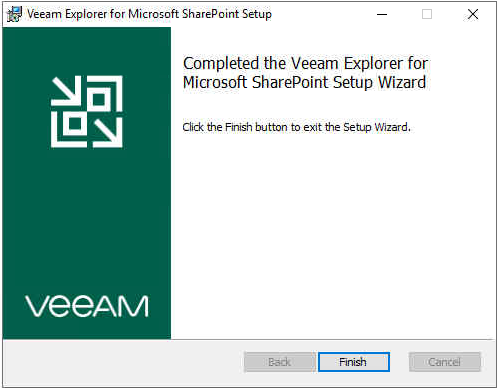
On the Completed the Veeam Explorer for Microsoft SharePoint Setup Wizard page, click Finish.
-
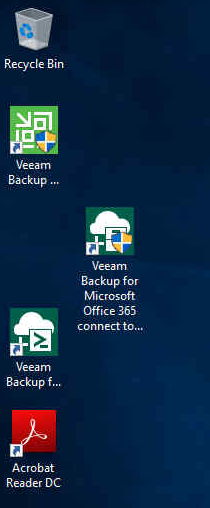
Open Veeam Backup for Microsoft Office 365 connect to…. Console.
-
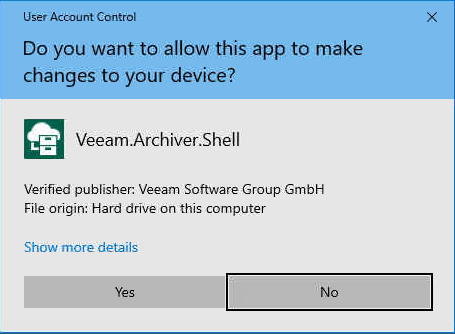
On the User Account Control page, click Yes.
-
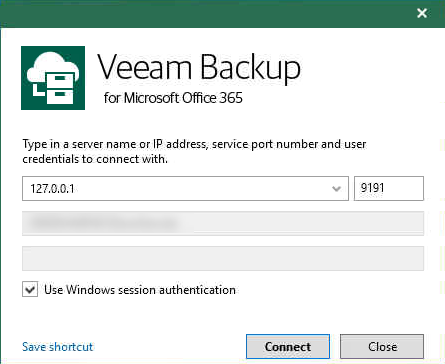
Click Connect on the Veeam Backup for Microsoft Office 365 console connect page.
-
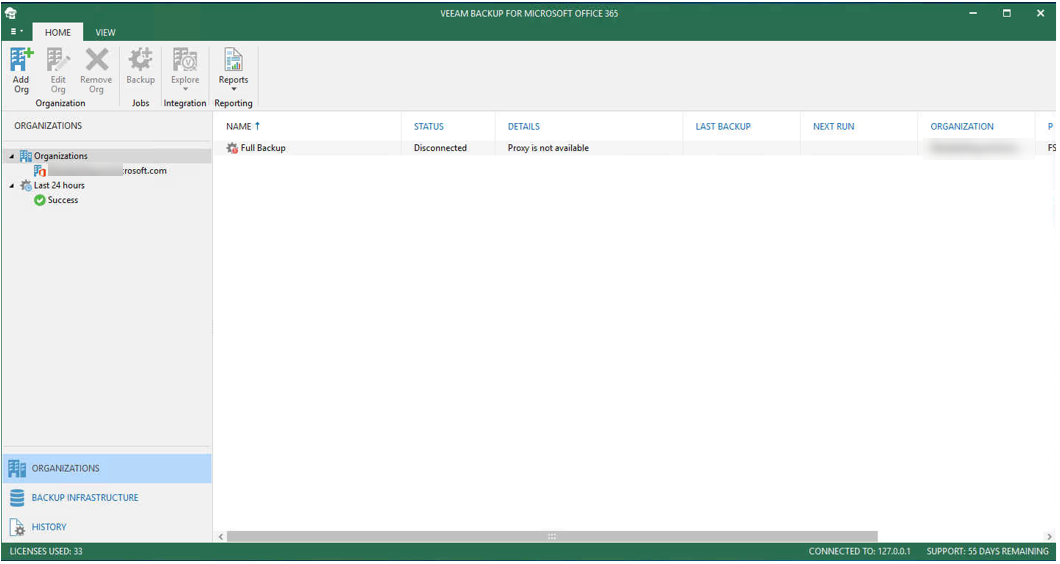
You will see backup jobs status are disconnected and show Proxy is not available, this is normal.
-
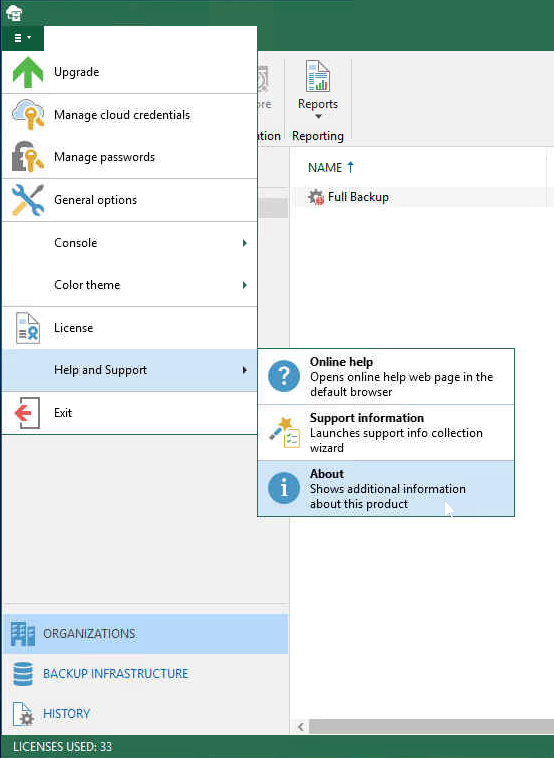
Select Help and Support, click About.
-
Please make sure the Veeam Backup for Microsoft Office 365 Version is 4.0.0.1345 version.

-
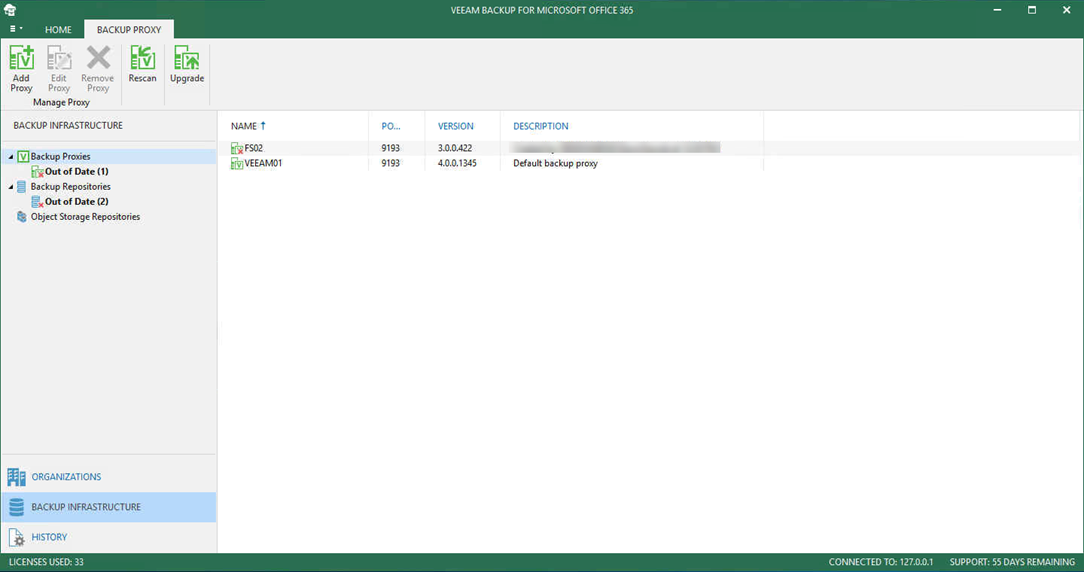
Select BACKUP INFRASTRUCTURE, it will show Backup Proxies and Backup Repositories.
-
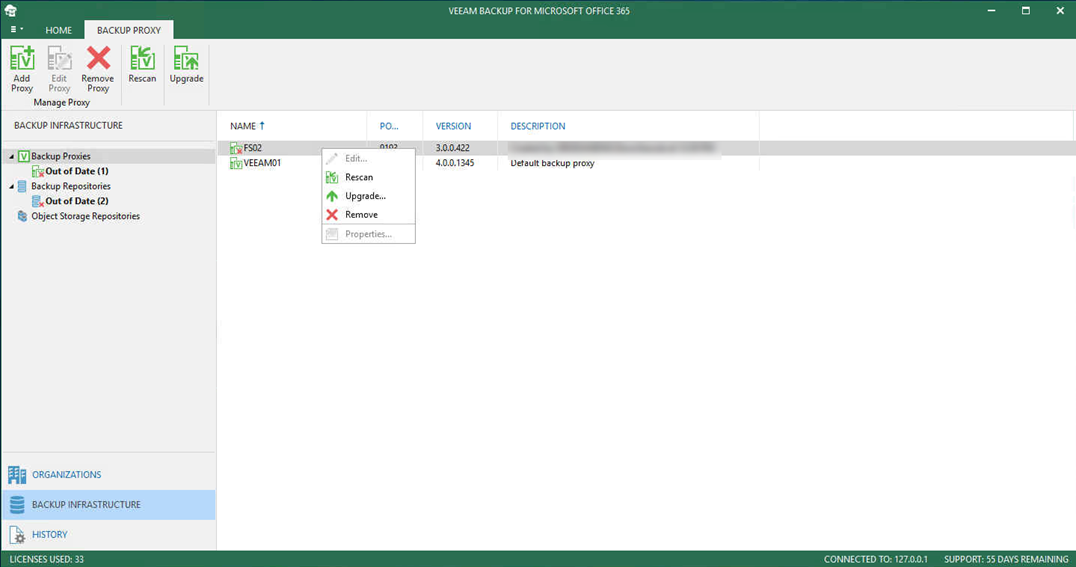
Right-click Backup Proxy server name and select Upgrade.
-
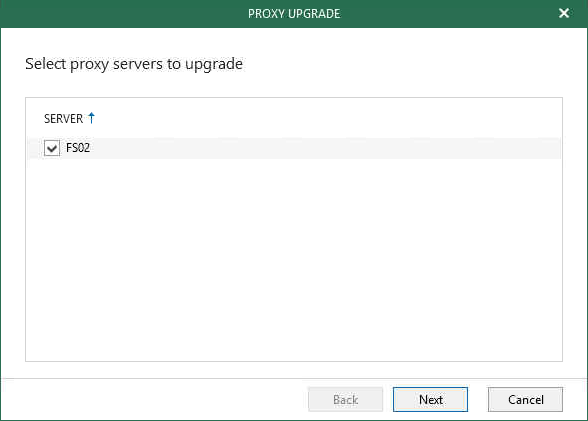
On the Select proxy servers to upgrade, select all proxy servers and click Next.
-
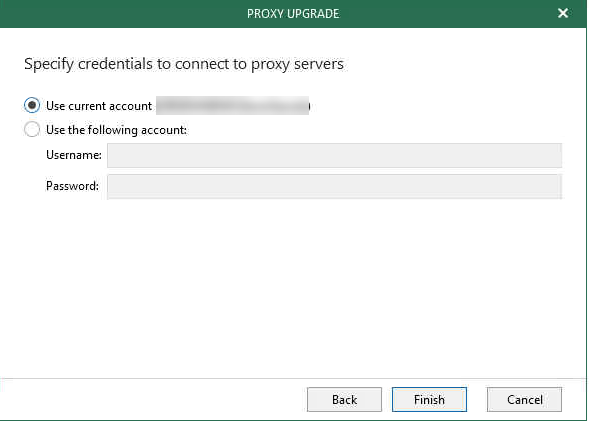
On the Specify credentials to connect to Proxy servers page, click Finish.
-
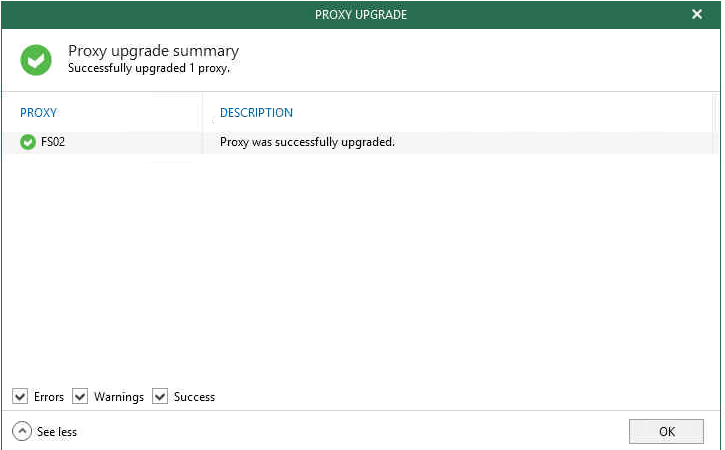
On the Proxy Upgrade page, make sure all proxy servers upgraded successfully, click OK.
-
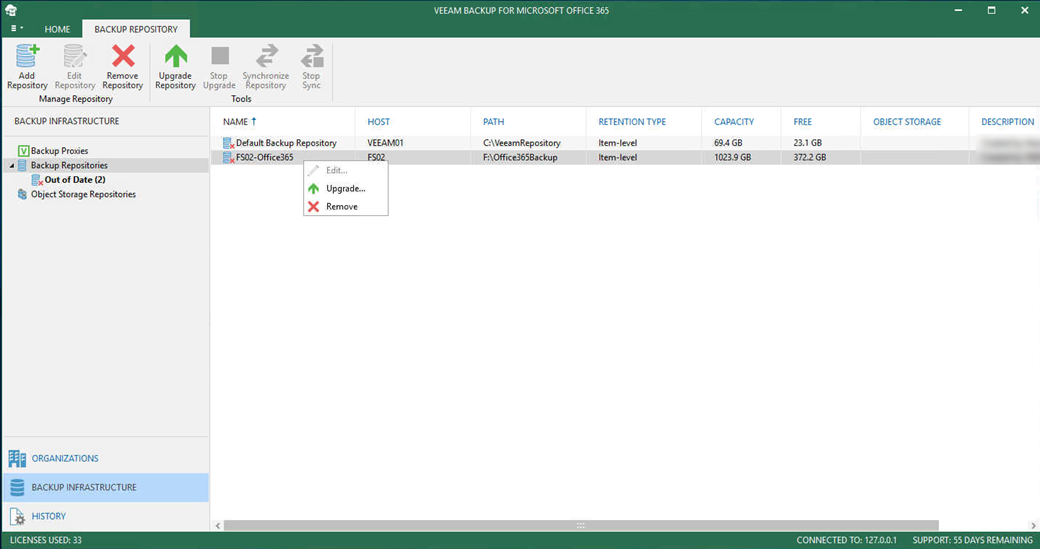
Select Backup Repositories and select out of Date, right-click Repository Name and select Upgrade.
-
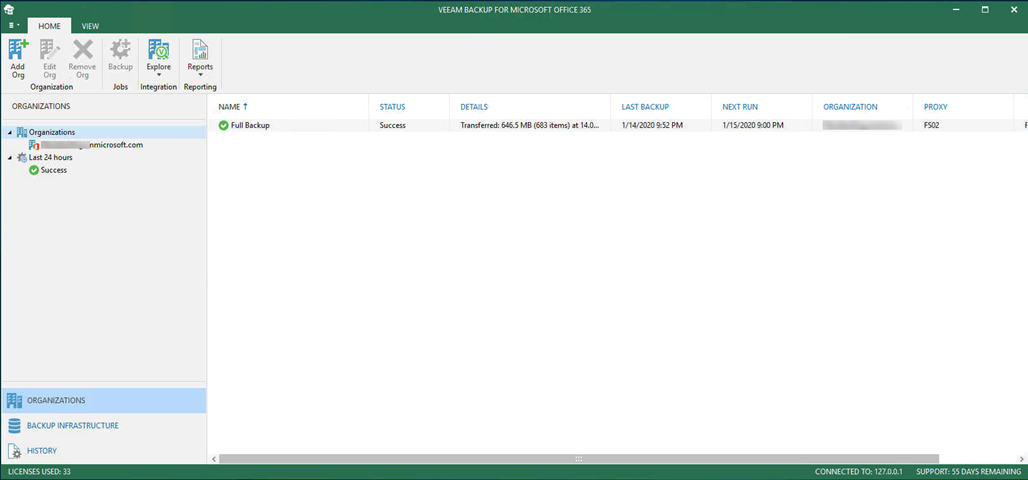
Please make sure all Backup Repositories upgraded successfully and select ORGANIZATIONS, the backup jobs status are normal now.
Hope you enjoy this post.
Cary Sun
Twitter: @SifuSun
