My customer asked me to upgrade their Windows 2003 web server last week, as we know, Windows Server 2003 extended support ended on July 14,2015, Microsoft will no longer issue security updates for any version of Windows Server 2003. Unfortunately, I noticed the Web server is Windows 2003 x86 server, there is no way to in-place upgrade it to x64, the only way is upgrade it to Windows Server 2008 x86, it will give a couple years to prepare web server migration plan at least. Let’s follow step by step to upgrade it.
- Logon to Windows 2003 Server and mount Windows 2008 Server OS media to it.
- Copy all files and folders from Windows 2008 server OS media to Windows 2003 Server local drive.
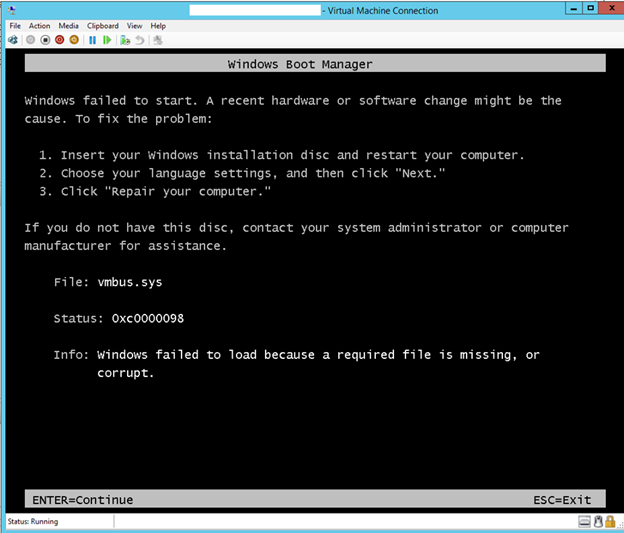
- Uninstall Hyper-V integration services from Windows 2003 server, you will show follow error after upgrade if you didn’t uninstall it.
4. Uninstall FrontPage 2002 Server Extensions from Add or Remove Programs.
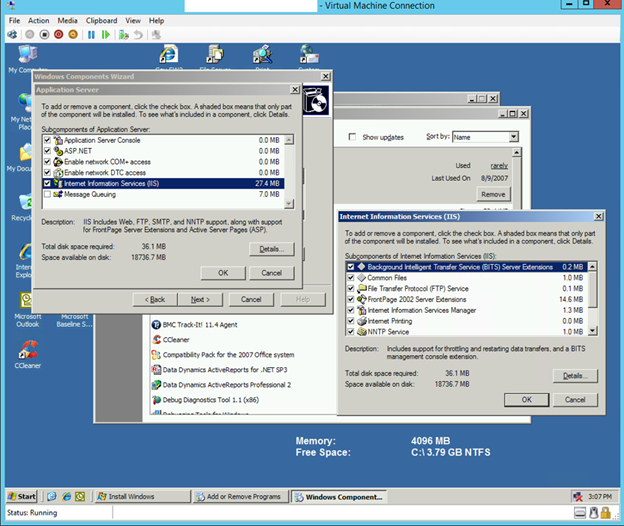
5. The Upgrade is grey out if you didn’t uninstall FrontPage 2002 Server Extensions.

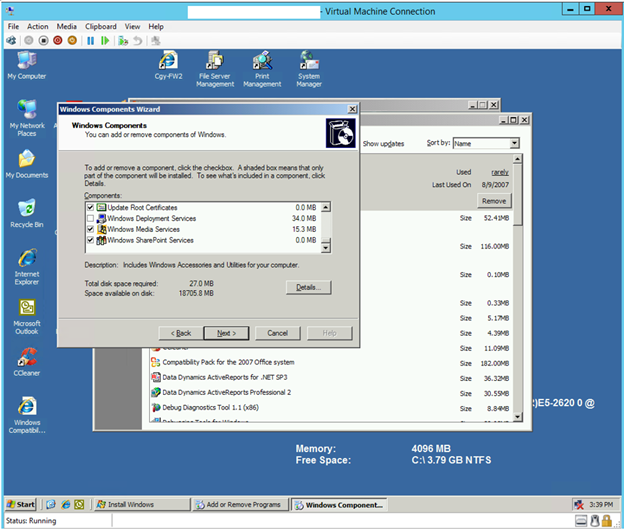
6. Uninstall Windows SharePoint Services from Add or Remove Programs.
7. You may happen follow error when you upgrade Windows Server 2003 to 2008 if you forgot to uninstall PowerShell before upgrade.
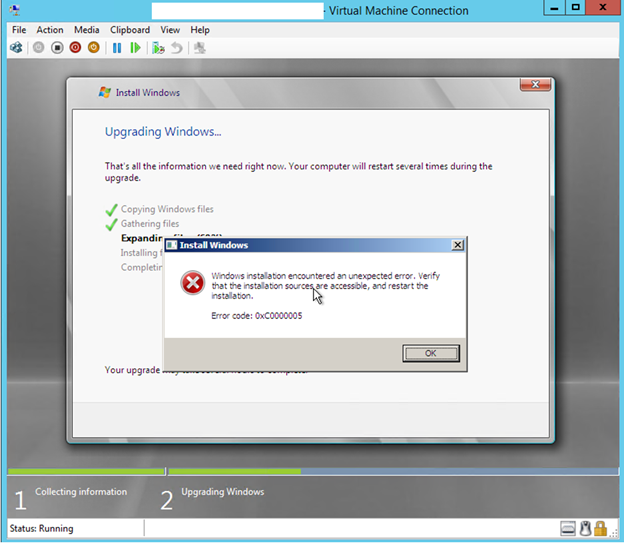
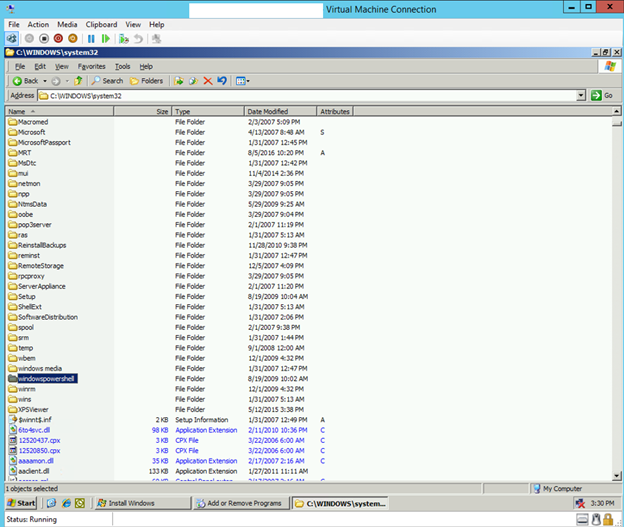
8. I know that there is no easy way to uninstall PowerShell from Windows Server 2003, so you can just rename the windowspowershell folder at C:\WINDOWS\system32.
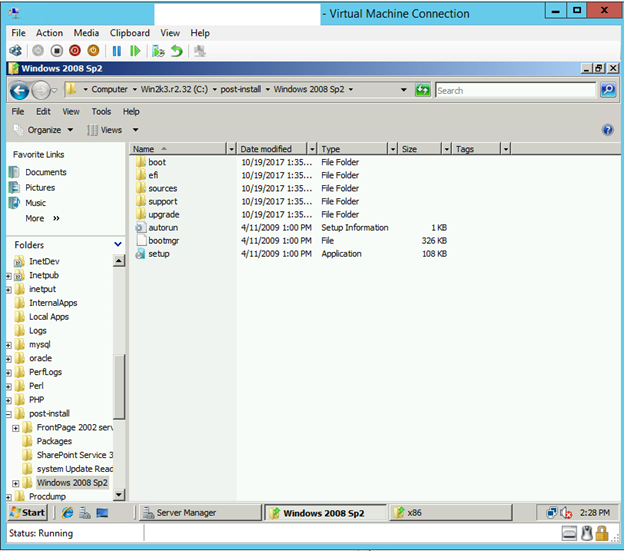
9. After uninstall all of above programs, you can run the Windows Server 2008 setup.exe from local drive (c:\Post-Install\Windows 2008 SP2), select Upgrade and then follow the steps to do upgrade process.
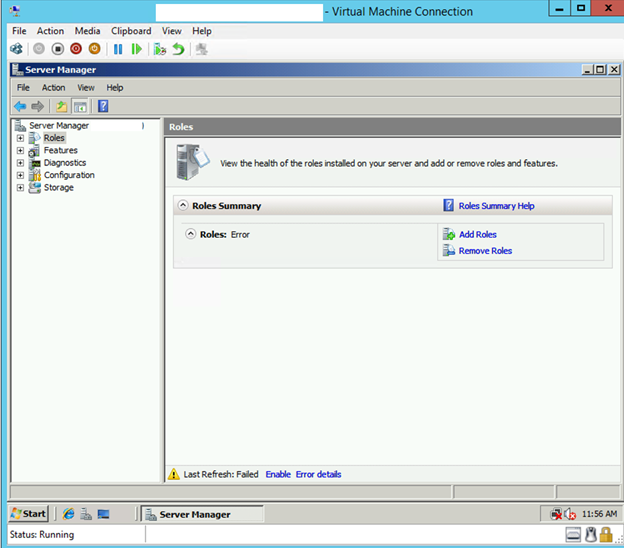
10. You may notice follow error after upgrade Windows 2003 Server to Windows 2008 Server, then you need continue steps to fix issues.
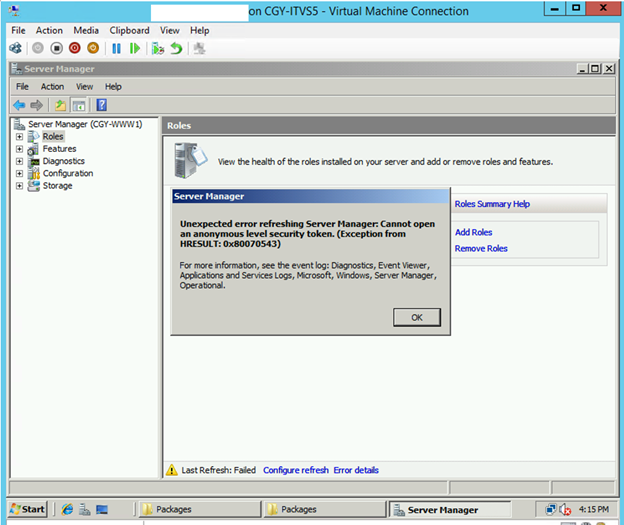
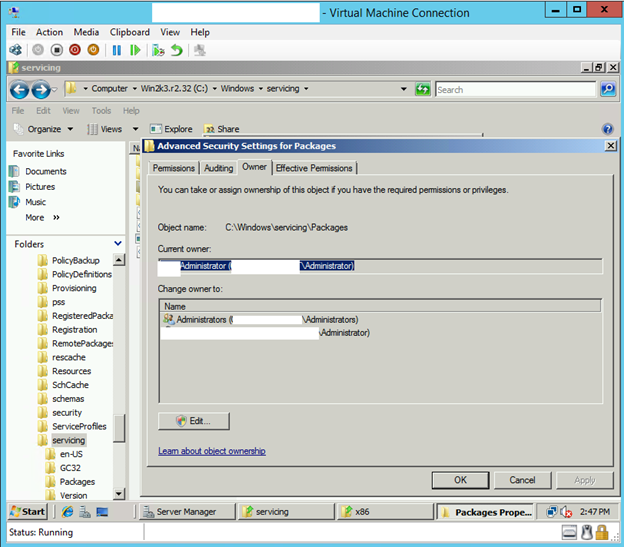
11. Change C:\Windows\servicing\Packages folder owner to local administrator.
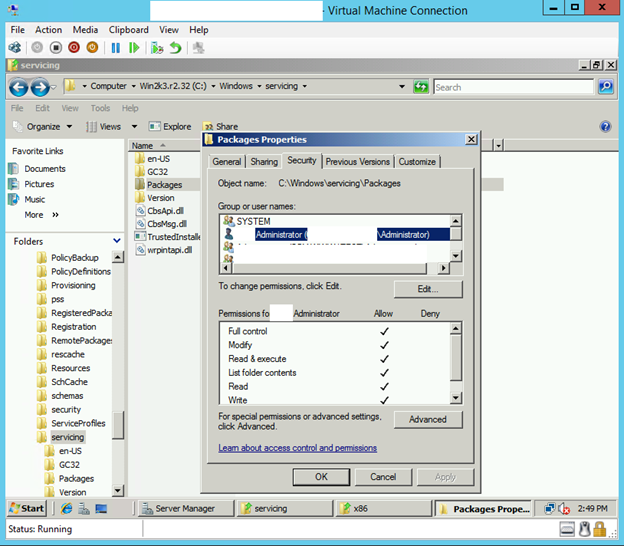
12. Change Administrator permissions to Full Control.
13. Copy C:\Windows\servicing\Packages from other windows 2008 server (which is without issues) to this server.
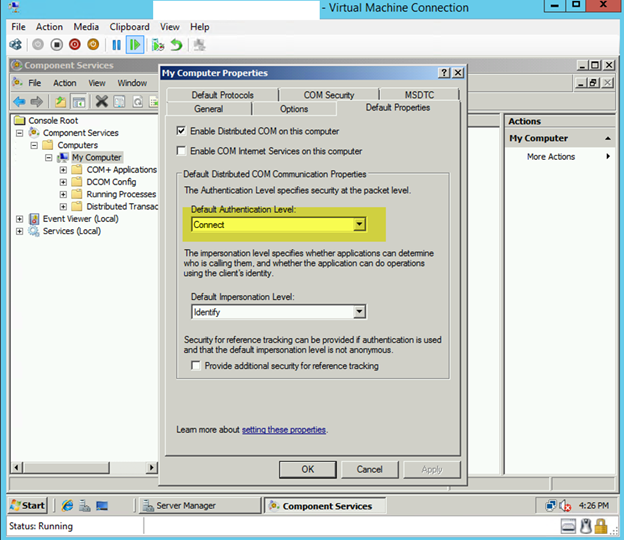
14. Click Start and type Dcomcnfg.exe.
15. On the Component Services page, expand Component Services and then expand Computers.
16. Right click My Computer and select Properties.
17. Select Default Properties and select Connect for Default Authentication Level and then click OK.
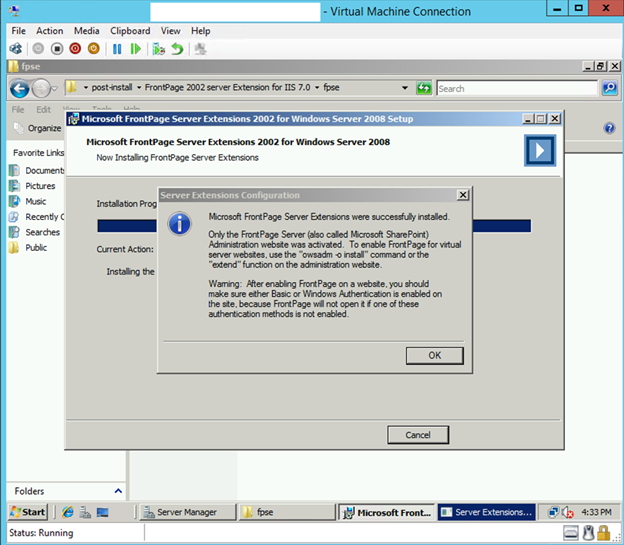
18. Now, everything should have no problem, you can download Microsoft FrontPage Server Extensions from follow link and install it.
19. Install Hyper-V integration services.
Hope you enjoy this post.
Cary Sun @SifuSun
