I helped lots of customers to upgrade Veeam Backup & Replica service from 9.0 to 9.5, most of them are very smooth without issues, but if their server was being upgraded from 8.0 (7.0) to 9.0 previously, you should do upgrade very carefully, they are not just click next, next ….and then done. Let’s have a look the upgrade steps and troubleshooting the issues.
- Backup Veeam server virtual machine files (for Hyper-V, we can copy or backup VHDX file).
- Ensure that the latest run for all existing jobs has completed successfully. If some jobs have failed, re-run the failed jobs.
- Disable any periodic and backup copy jobs temporarily to prevent them from starting during the upgrade.
-
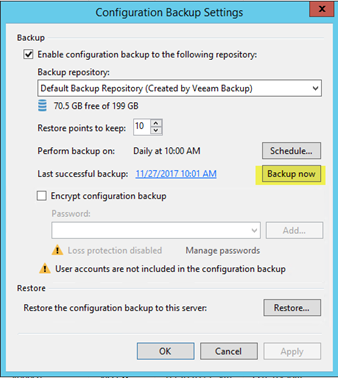
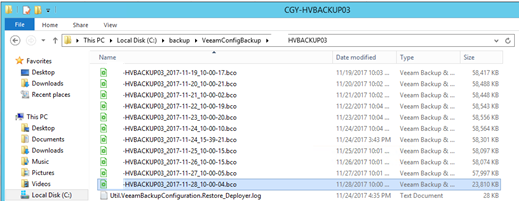
Backup Veeam Configuration Backup Settings.
-
Download the latest version of Veeam Backup & Replication (or Veeam Availability Suite 9.5) ISO from your Veeam account.
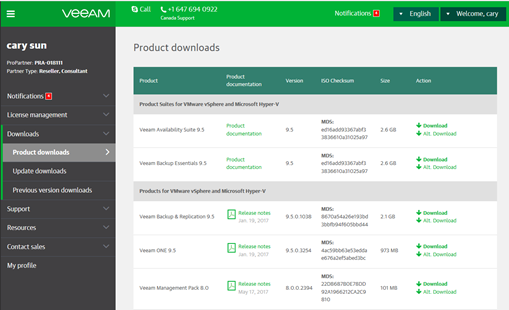
- Mount the product ISO and run the Setup.exe file.
-
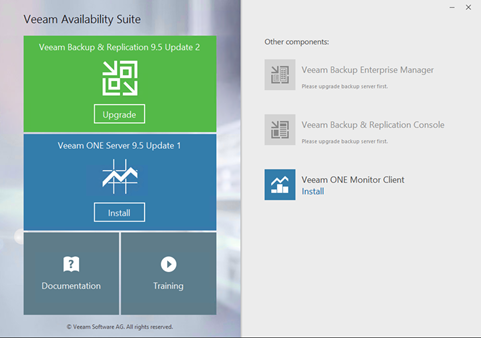
Click Veeam Backup & Replication 9.5 Update 2 Upgrade.
-
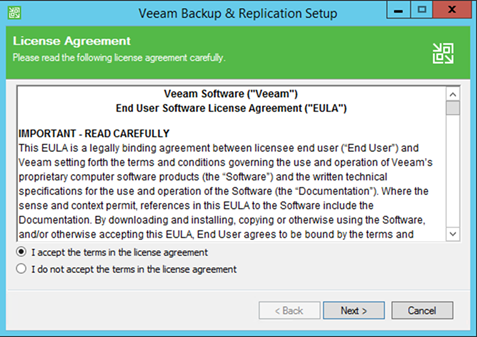
On License Agreement page, select I Accept the terms in the license agreement and then click Next.
-
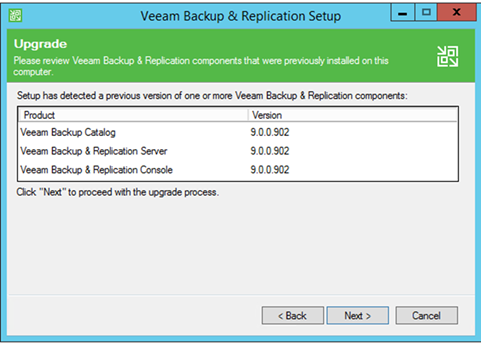
On the Upgrade page, click Next.
-
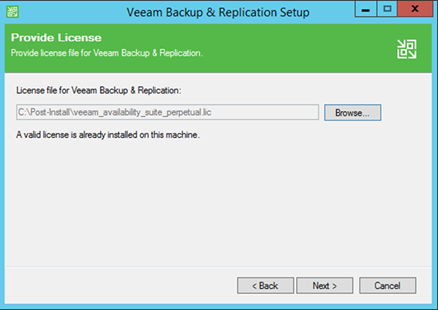
On the Provide License page, Browse and select the Veeam license file and click Next.
-
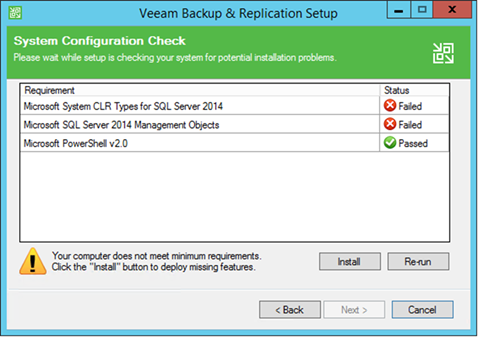
On the System Configuration Check page, click Install.
-
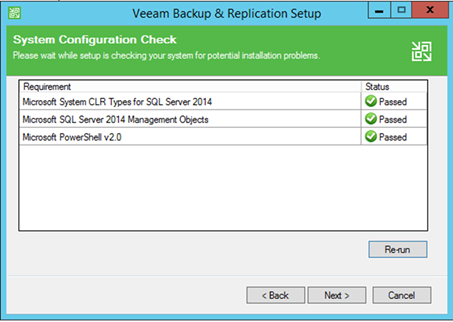
Make sure install status Passed and click Next.
-
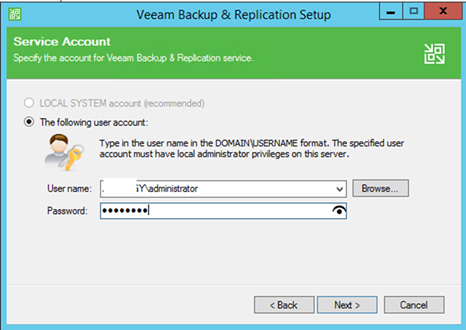
Open Service Account page, enter you service account credential and password and then click Next.
14. On SQL Server Instance page, select Install new instance of SQL server (localhost\VEEAM2012), click Next.
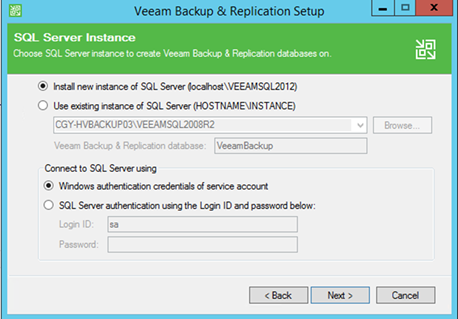
 Note NotePlease don’t select Use existing instance of SQL Server, if it shows VEEAMSQL 2008R2. It will happen the error message as follow.
|
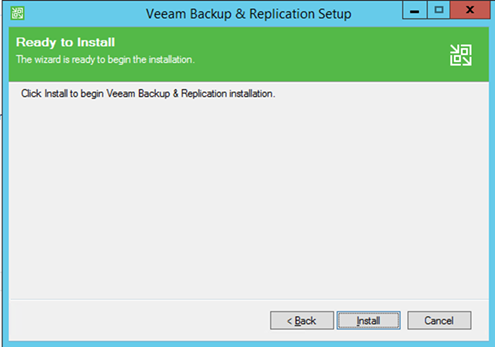
15. On the Ready to Install page, click Install.
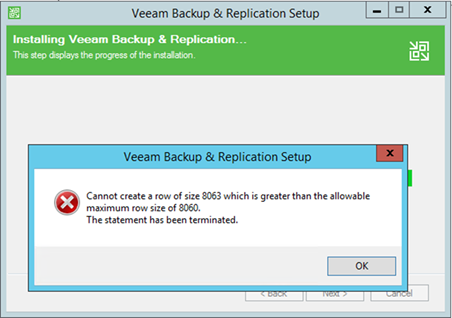
16. In general, it should be good to go, but in this case, it happens error message as follow.
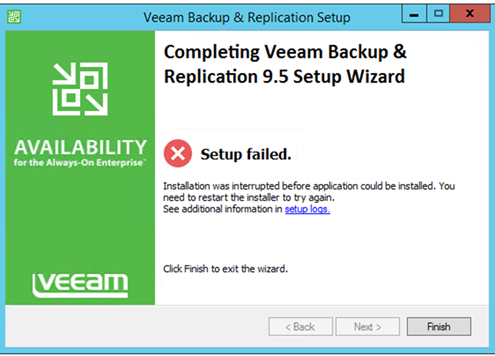
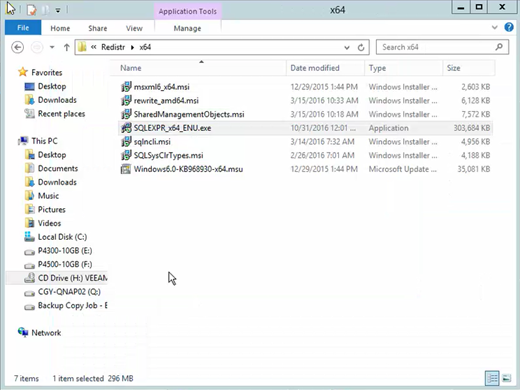
17. We need to install SQL 2012 Express manually, run SQLEXPR_x64_ENU.exe from D:\Veeam Availability Suite v9.5\Redistr\x64\.
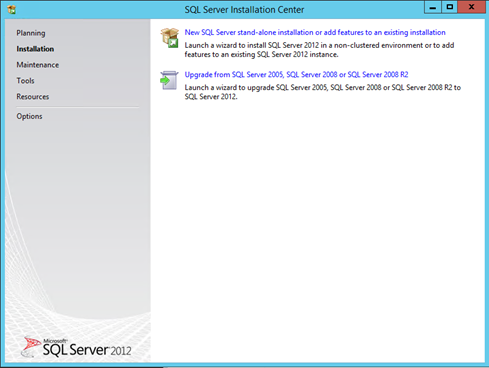
18. On the SQL Server Installation Center page, select Installation and then click New SQL Server stand-alone installation or add feature to an existing installation.
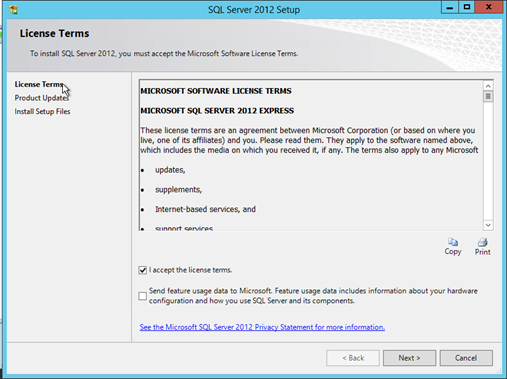
19. On the License Terms page, select I accept the license terms, click Next.
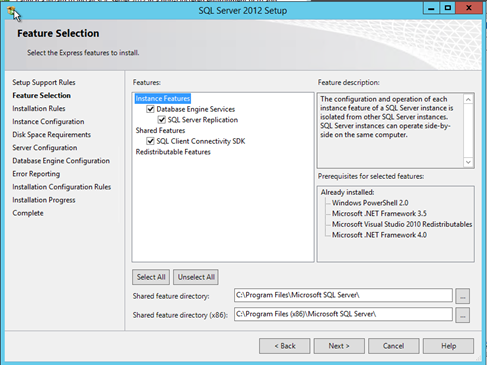
20. On the Feature Selection page, click Next.
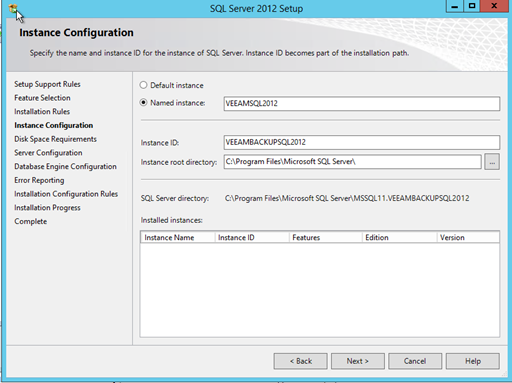
21. On the Instance Configuration page, enter VEEAMSQL2012 to Name instance, Instance ID is VEEAMBACKUP2012 and then click NEXT.
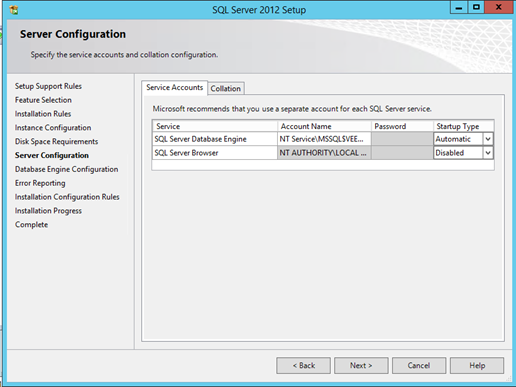
22. On Server Configuration page, click Next.
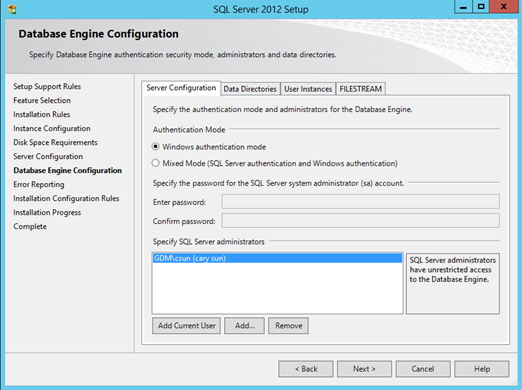
23. On the Database Engine Configuration page, click Next.
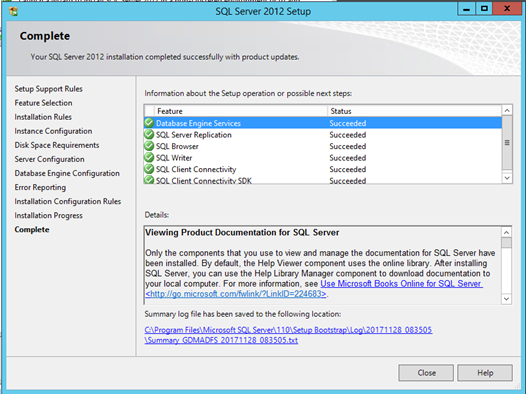
24. On Complete page, click Close.
25. Double-click to open Veeam Configure Backup file.
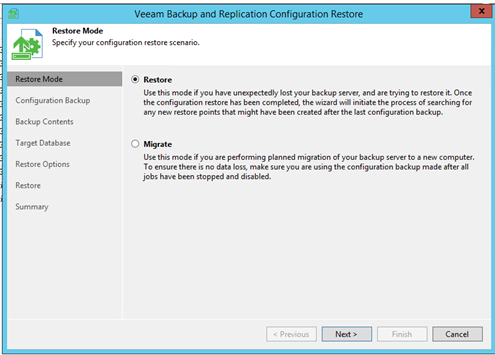
26. On the Restore Mode page, select Restore and click Next.
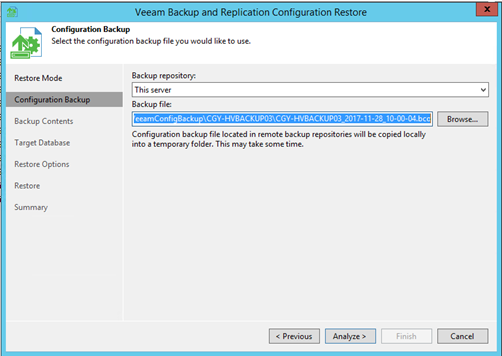
27. On the Configuration Backup page, click Analyze.
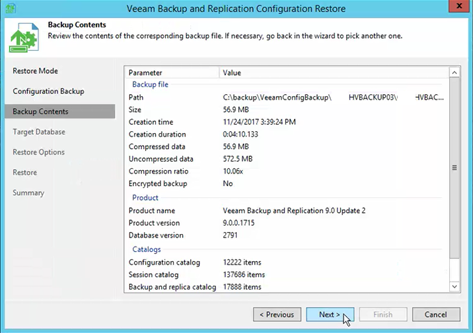
28. On the Backup Contents page, click Next.
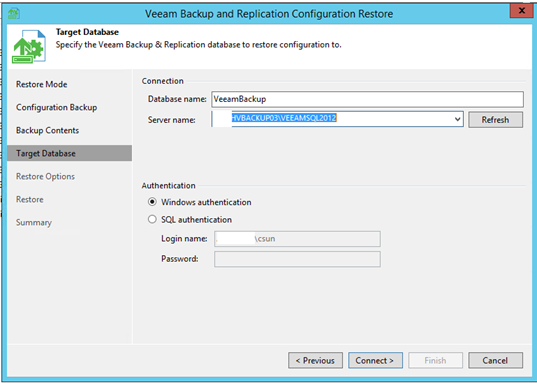
29. On the Target Database page, select VEEAMSQL2012 and click Connect.
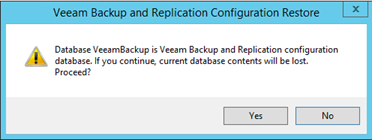
30. Click Yes on the Warning message.
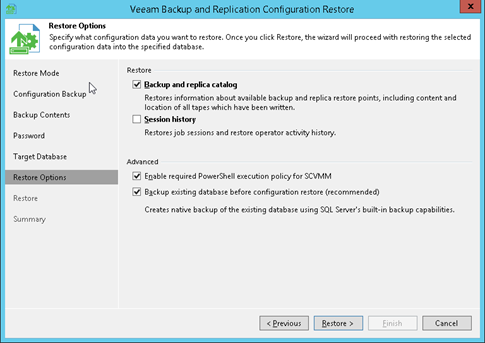
31. On the Restore Option page, select what configuration data you want to restore and click Restore.
32. On the Credentials page, you need to set the password for your existing management accounts.
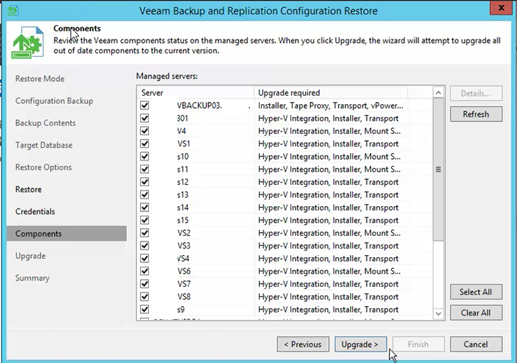
33. On the Components page, select all existing Managed servers and click Upgrade.
34. Open Veeam Backup & Replication Console and enable all jobs.
Hope you enjoy this post.
Cary Sun
Twitter: @SifuSun

Thank you so much for the great article, it was fluent and to the point. Cheers.
Hi Abel,
I am glad you like it, welcome to subscribe to us and you can get up-to-date information.
Thanks.
Cary