
Today, I am going to show you how to configure the Microsoft Active Directory Domain Controller as Authentication Server at Citrix ADC.
1.Type the IP address of Citrix ADC in a Web browser to access the virtual appliance.
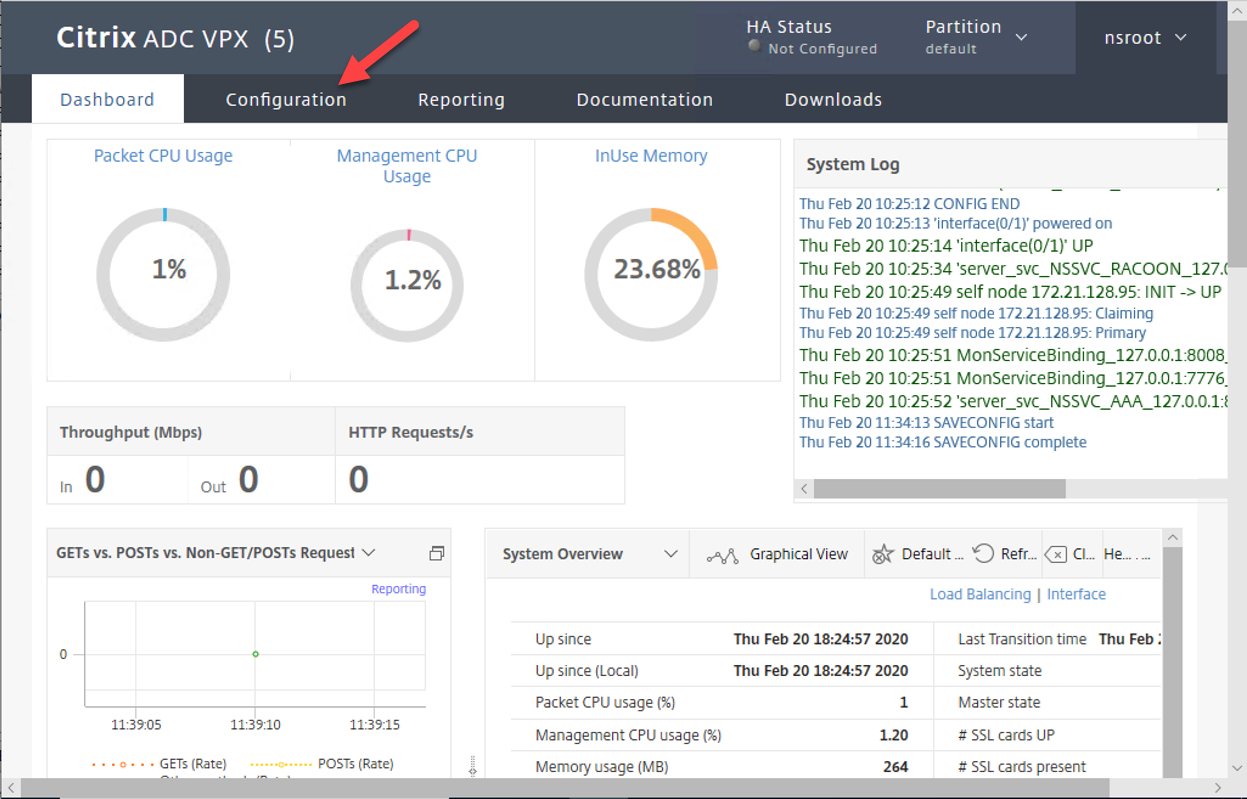
2.On the Citrix ADC page, select Configuration.
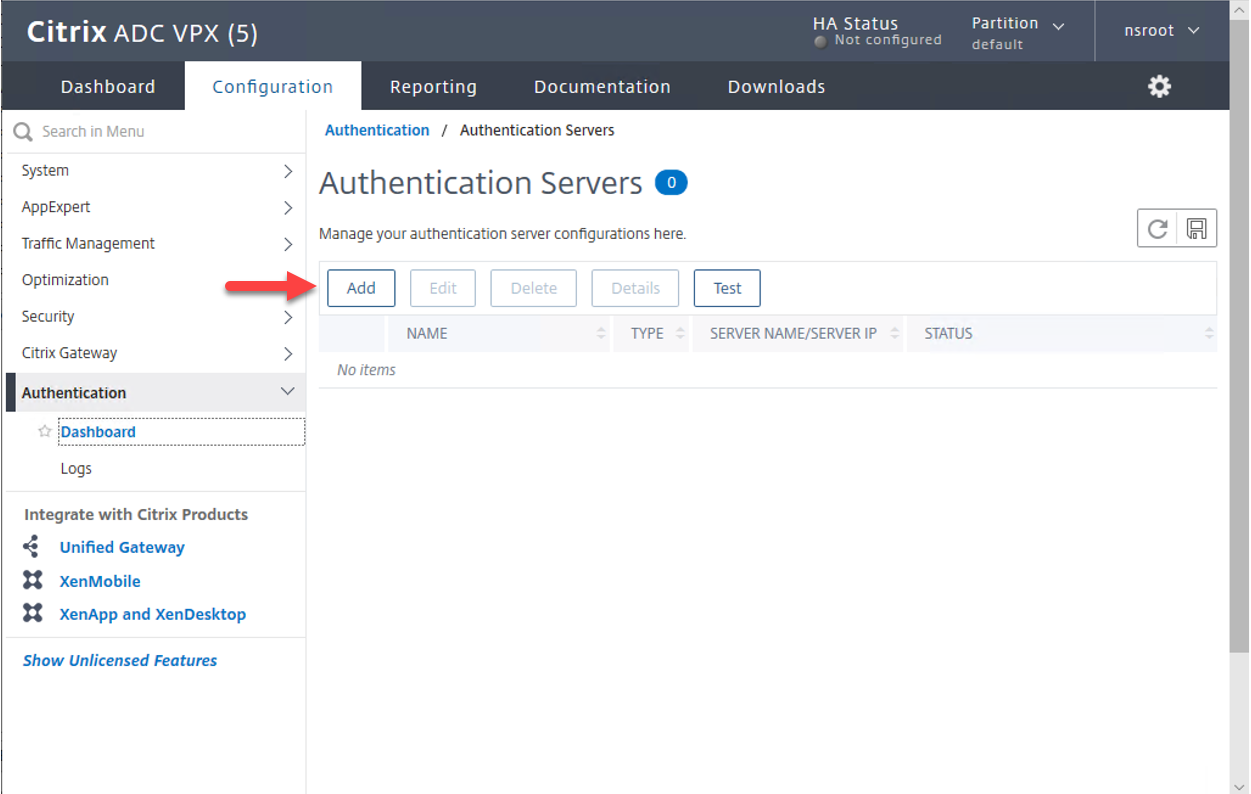
3.On the Configuration page, select Authentication.
4.On the Authentication Servers page, select Dashboard, click Add.
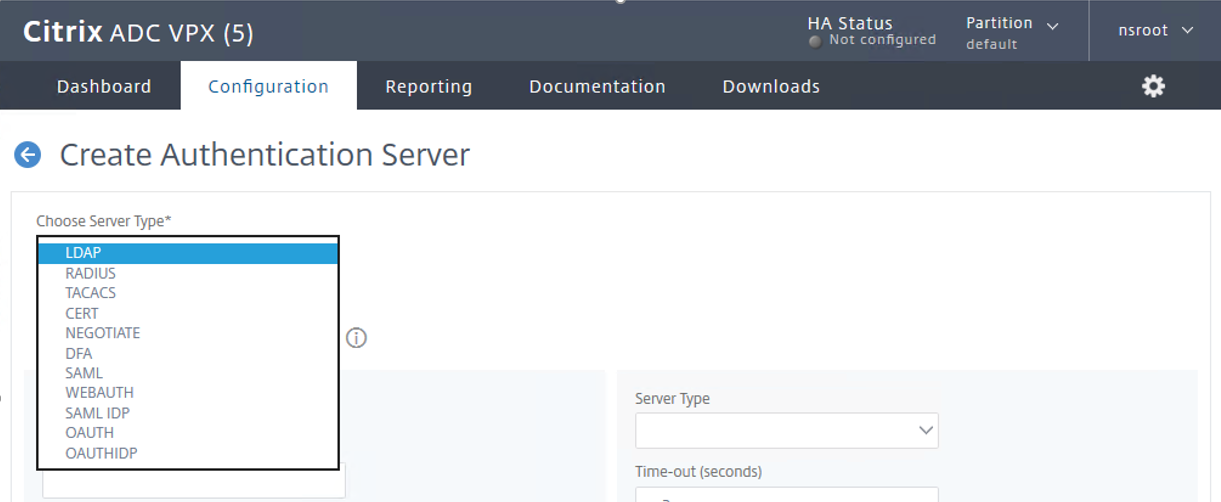
5.On the Create Authentication Server page, configure setting values as below, click Create.
- Choose Server Type: Select LDAP.
- Name: Type Authentication server name, in my case is GDMCGY_LDAP.
- Select Server IP.
- IP Address: Type IP address of the domain controller server.
- Security Type: Select PLAINTEXT.
- Port: Type 389.
- Server Type: Select AD.
- Time-out (seconds): Type 3.
- Select Authentication
Connection Settings
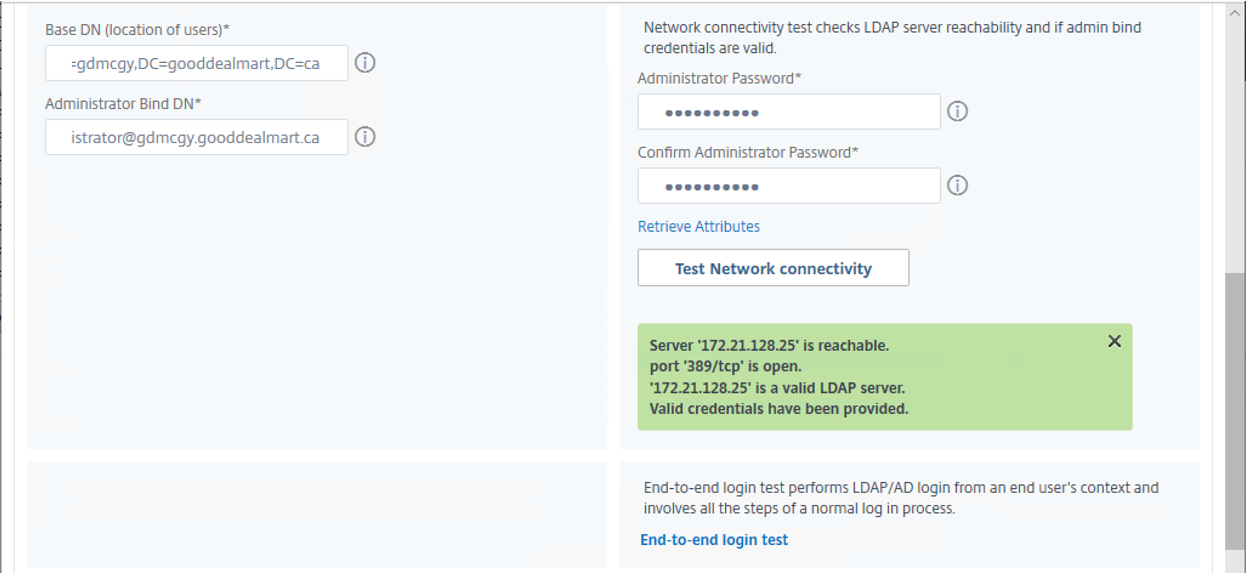
- Base DN (location of users): In my case is DC=gdmcgy,DC=gooddealmart,DC=ca.
- Administrator Bind DN: In my case is administrator@gdmcgy.gooddealmart.ca.
- Administrator Password: Type the administrator password.
- Confirm Administrator Password: Type administrator password.

Click Test Network connectivity to verify the server is reachable.
Other Settings
- Server Logon Name Attribute: Select sAMAccountName.
- Group Attribute: Select memberOf.
- Sub Attribute Name: Select New, enter cn.
- SSO Name Attribute: Select New, enter sAMAccountName.
- Select User Required.
- Maximum Referral Level: Type 1
- Referral DNS Lookup: Select A-REC

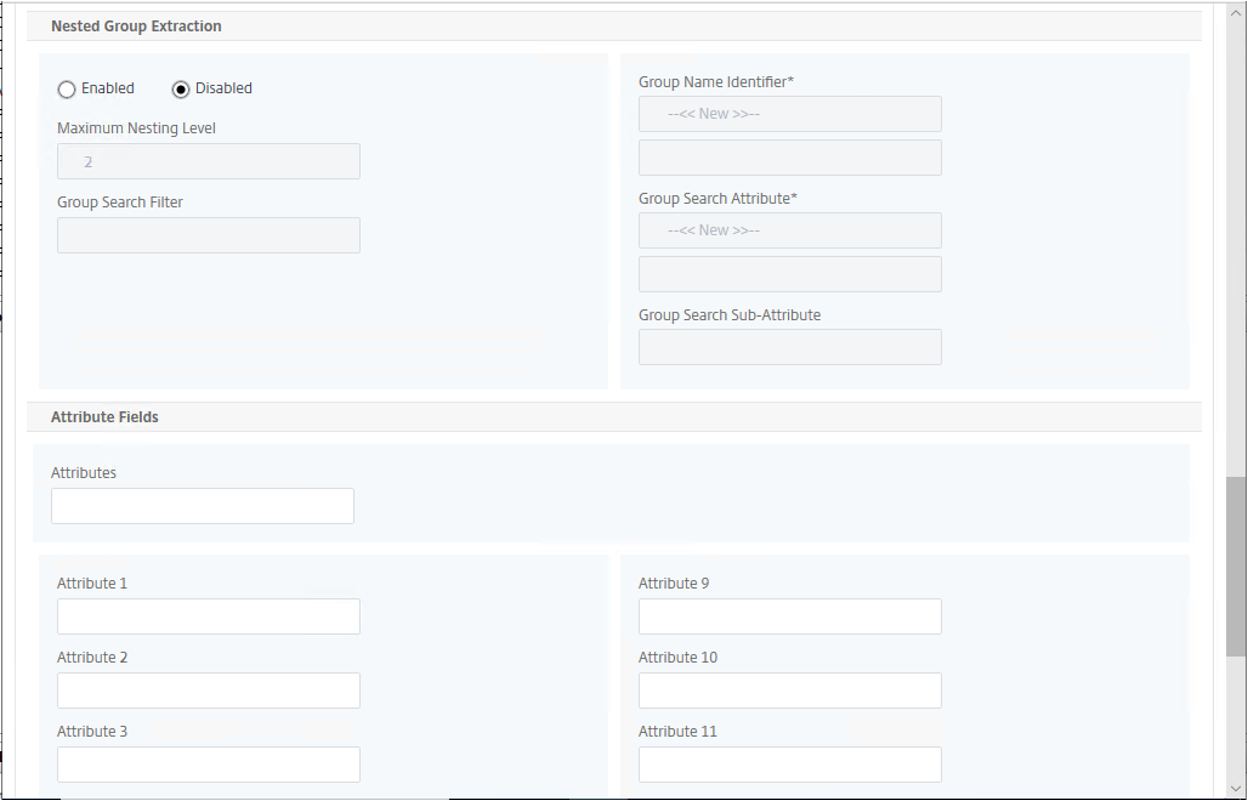
Nested Group Extraction
- Select Disabled.
Click Create.

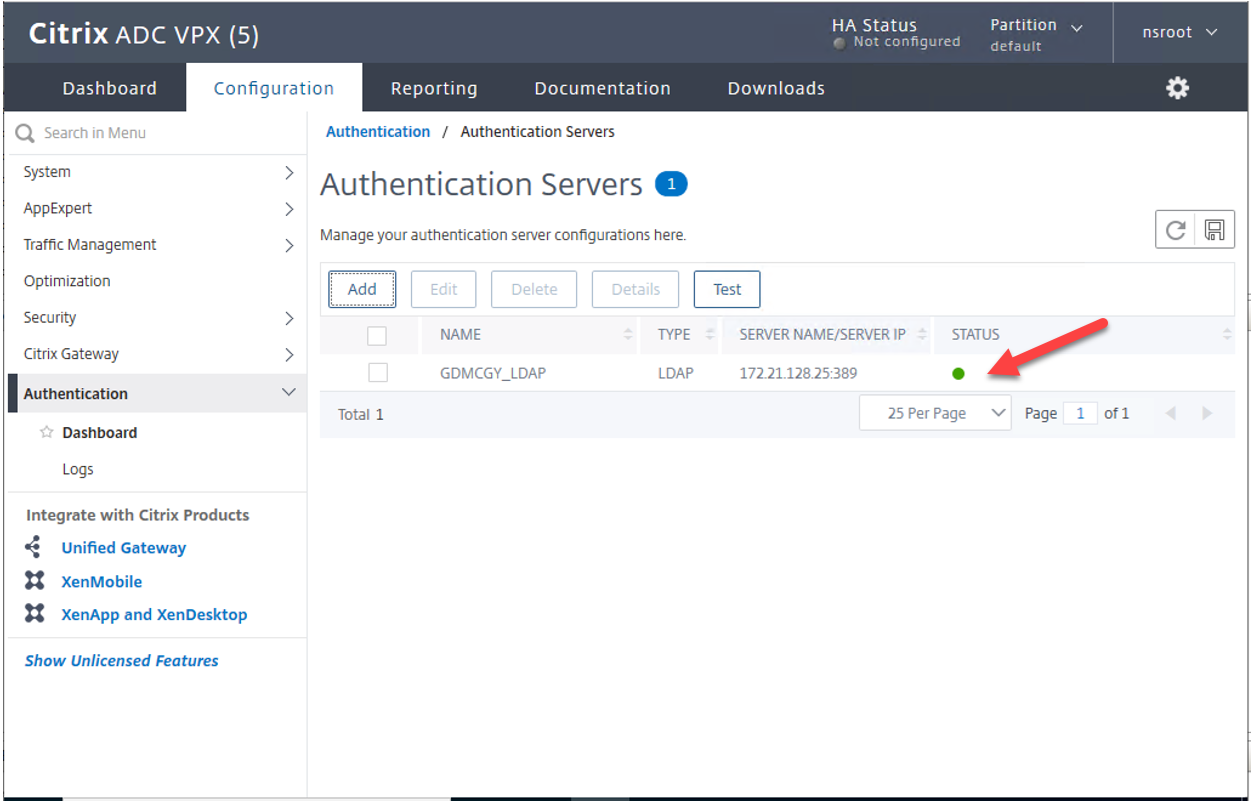
6.On the Authentication Servers page, verify the new LDAP authentication server create succeeded and its status light is green.
Hope you enjoy this post.
Cary Sun
Twitter: @SifuSun
Web Site: carysun.com
Blog Site: checkyourlogs.net
Blog Site: gooddealmart.com