Duo integrates with Microsoft Windows client and server operating systems to add two-factor authentication to Remote Desktop and local logons and credentialed UAC elevation prompts. Duo Authentication for Windows Logon add Duo two-factor authentication to Windows desktop and server logins, both at the local console and incoming Remote Desktop (RDP) connections.
Today, I am going to how to step by step configure them.
Sig up Duo free account
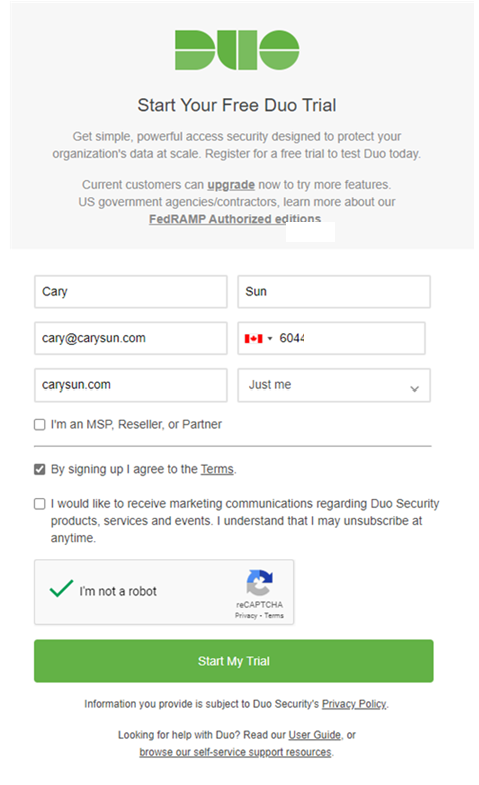
1.Sign up a DUO trial account, it will support 10 users account with unlimited servers for free. Enter your information and click Start My Trial.
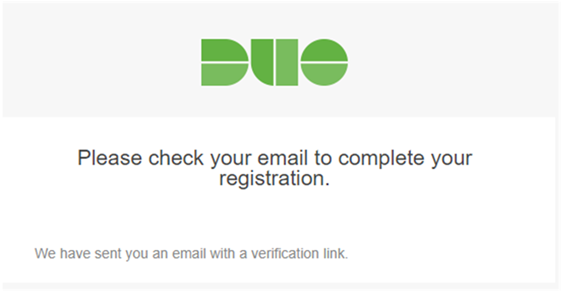
2.Duo will send a verification link to the email address for registration.
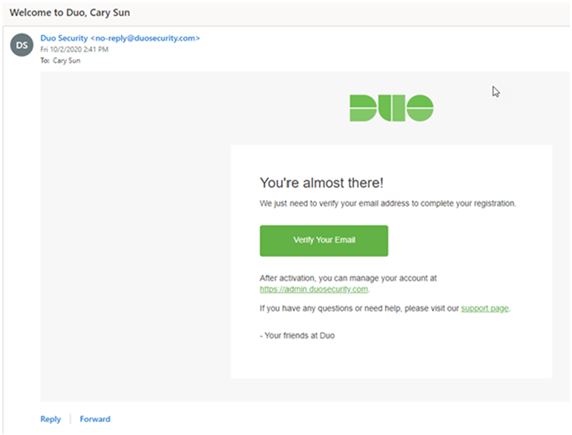
3.Login to the email account, open the welcome to Duo email, click Verify Your Email.
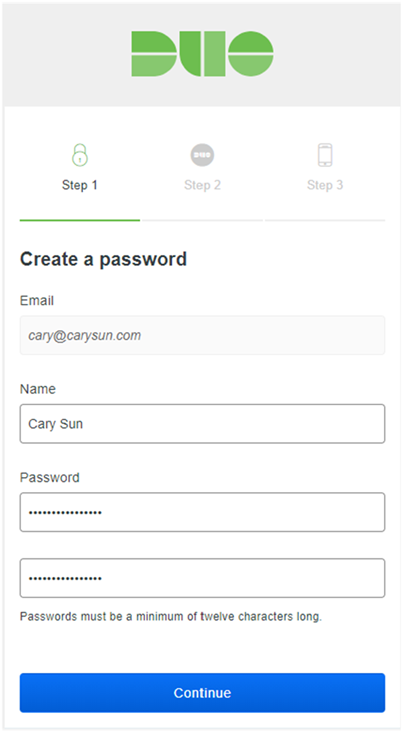
4.On the Step 1, enter the password and then click Continue.
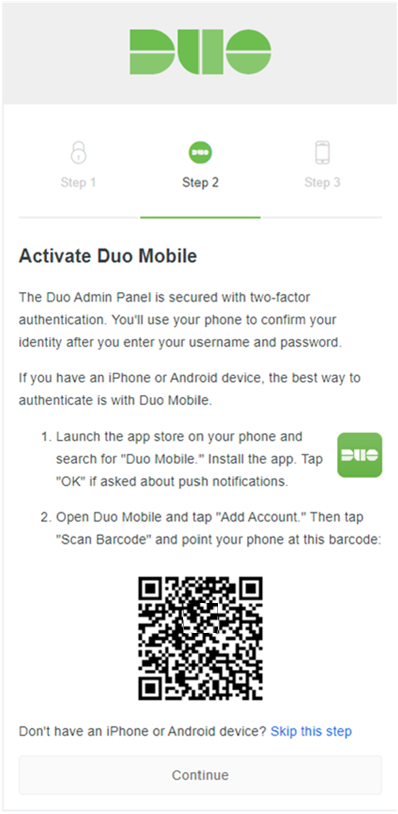
5.On the Step 2, follow the introductions to install Duo Mobile on your phone and Add account via scan barcode.
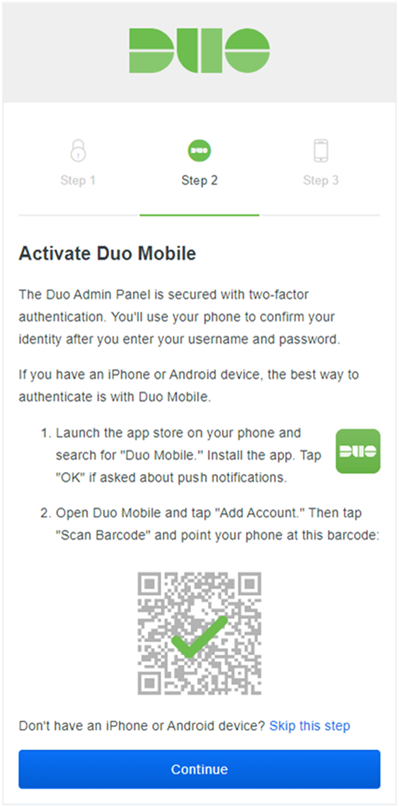
6.You will see a green check mark on the barcode after you add account succeeded, click Continue.
7.On the Step 3, enter the Phone number, click Finish.

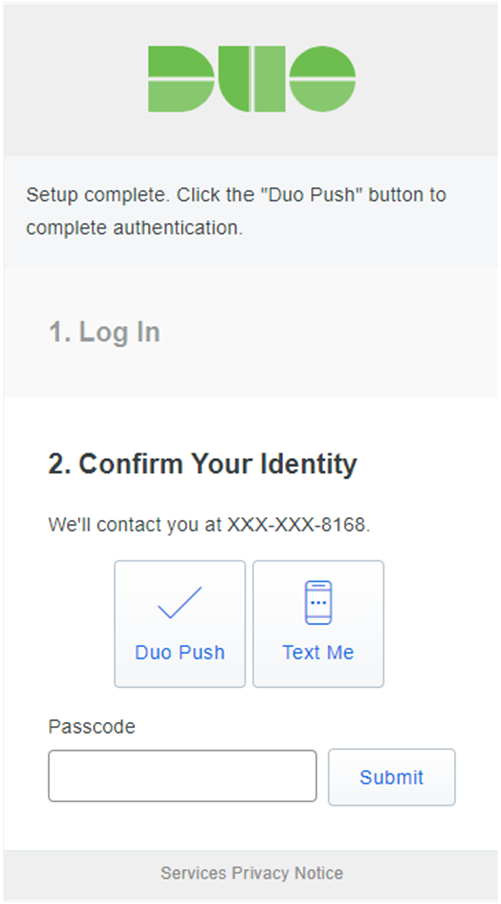
8.On the Setup Complete page, click Duo Push to Confirm Your Identity.
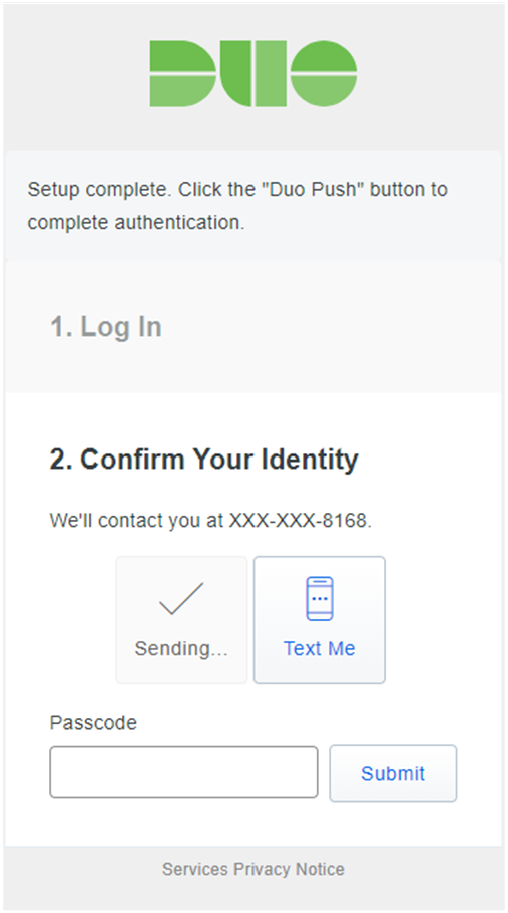
9.On the Setup Complete page, you will see sending on the Duo Push.
10.the sending Login request will pop up at the Duo Mobile app of your phone, click Approve.
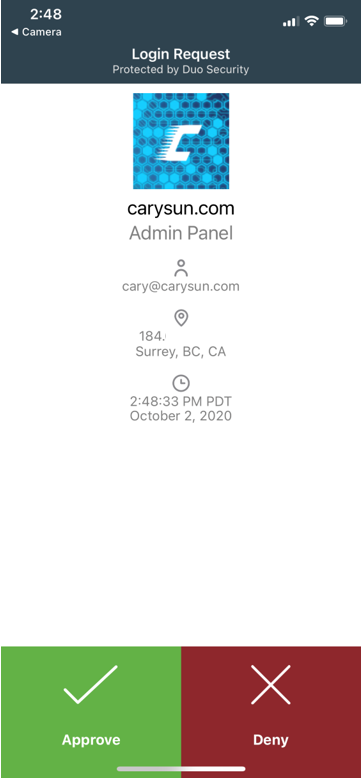
11.Click Approve to allow you to access the Duo admin panel.
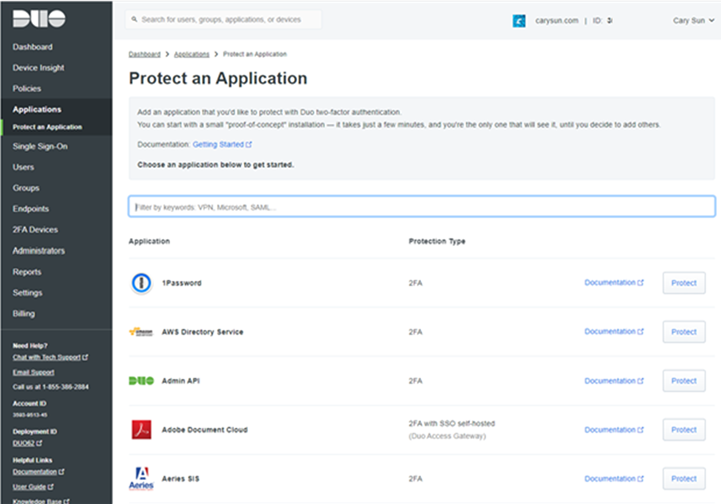
Edit Policy
1.On the Duo Admin Panel page, select Policies.
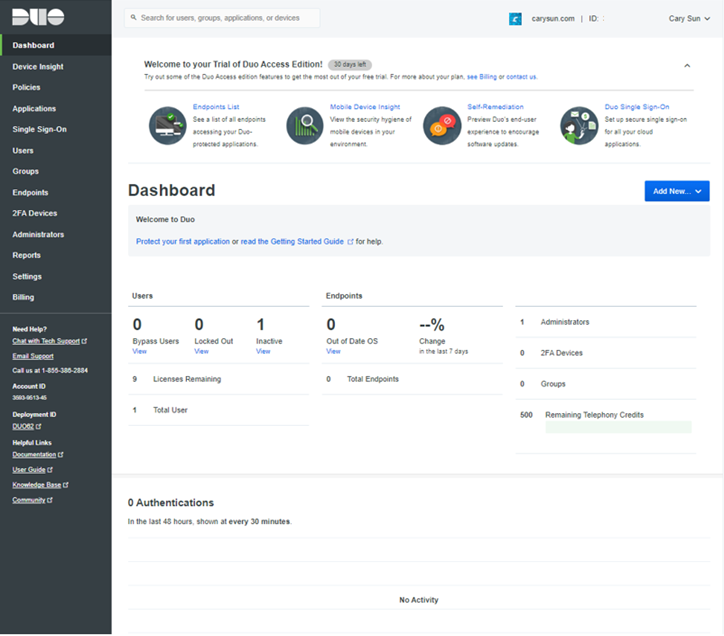
13.On the Policies page, click Edit Global Policy.
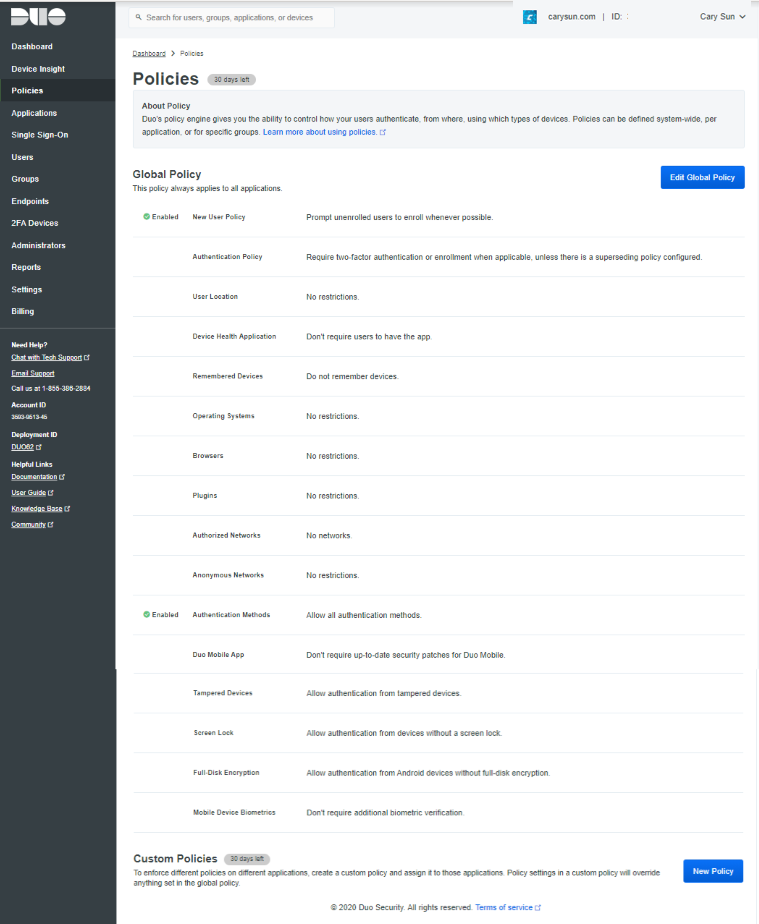
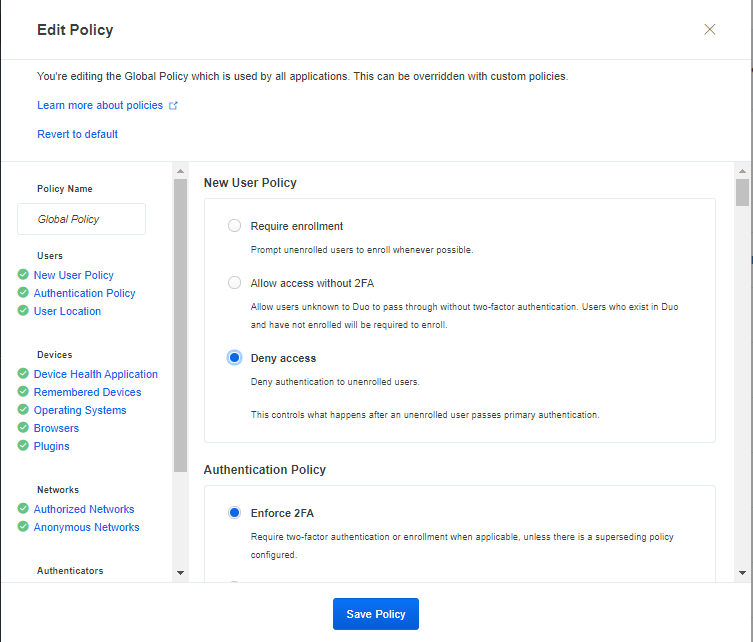
14.On the Edit Policy page, select New User Policy.
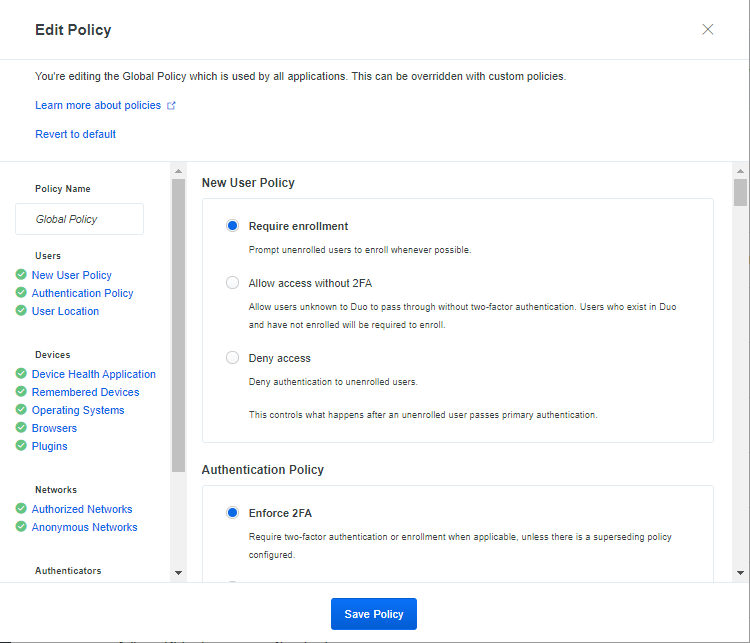
15.On the New User Policy page, select Deny access, click Save Policy.
Enroll a User
There are many ways to add users, I am going to add users manually. The username should match your Windows logon name. Install Duo Mobile and add your account to it so you can use Duo Push. If the user logging in to Windows after Duo is installed does not exist in Duo, the user may not be able to log in.
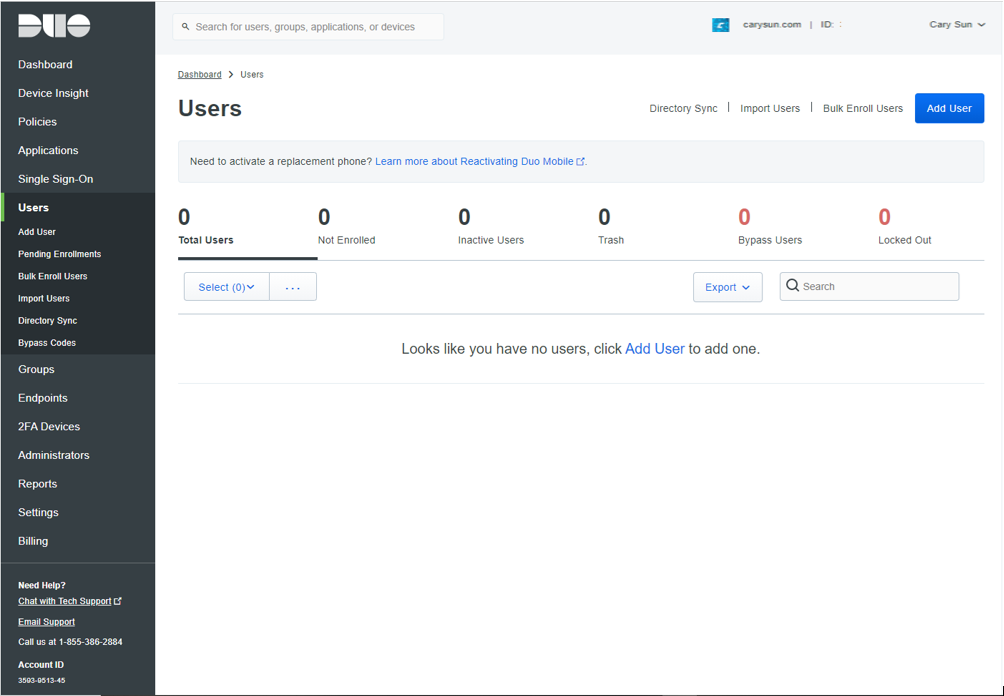
1.On the Duo Admin Panel, select Users.
2.On the Users page, Click Add User.
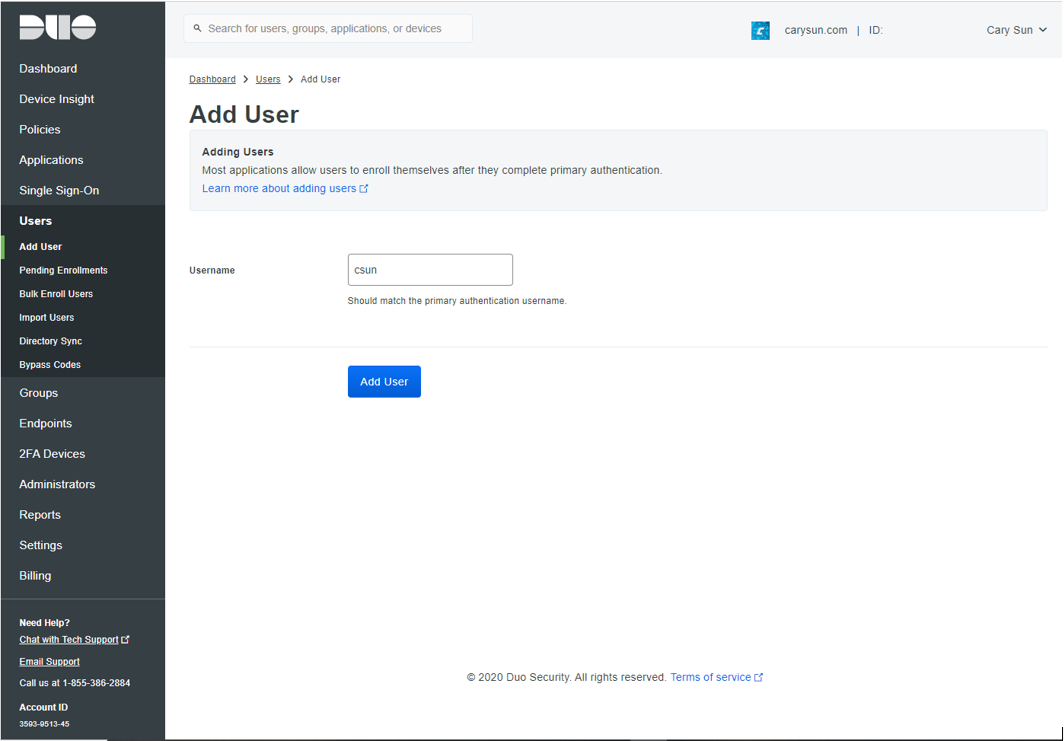
3.Type in the username. A Duo username should match the user’s primary authentication username. Duo usernames are not case-sensitive and are normalized to lowercase, click Add User.
Please don’t put the domain name in front of username. E.g. if the domain user account is carysun.com\csun, you need to put csun only. That means if there are the same username at multiple domains, you can use the same username for multiple domains login with 2FA authentication.
4.On the User page (in my case is csun), enter settings values, click Save Changes.
- Username: you can add username aliases by click Add username alias, if you have a different username at multiple domains, you can add them here but there are up to 4 aliases.
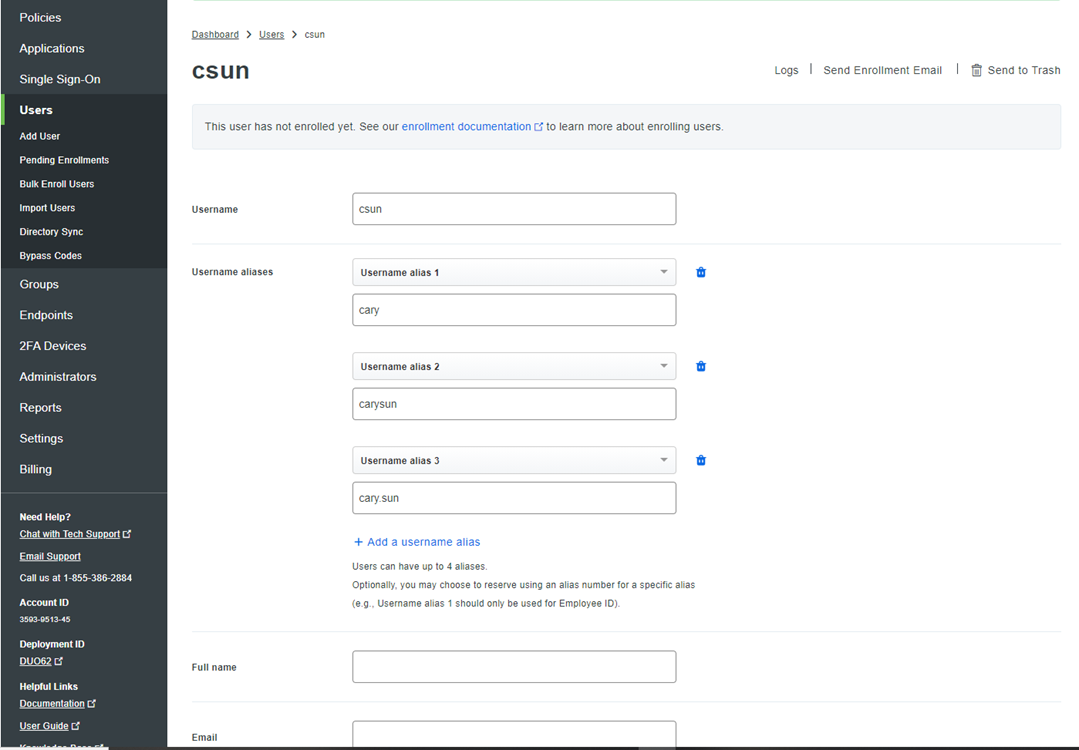
- Full name: Type in full name of the user
- Email: Type in email of the user.
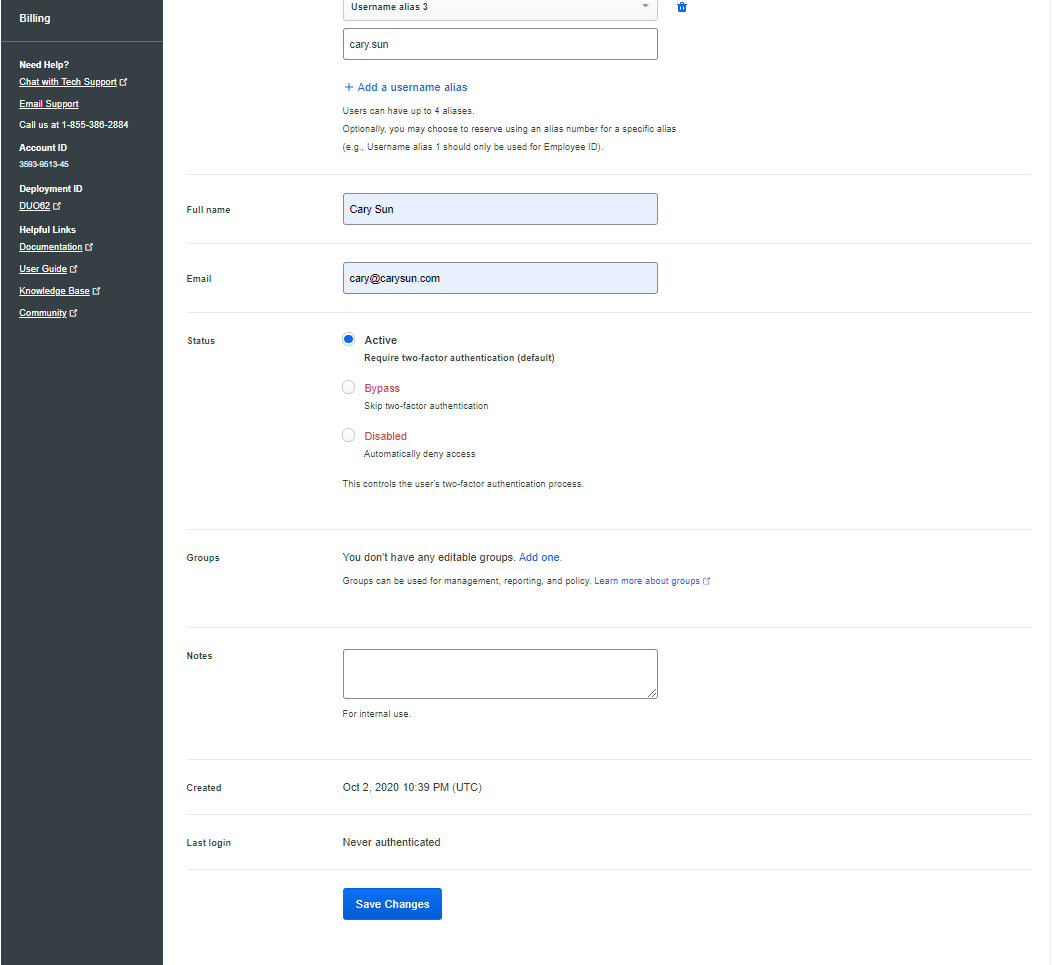
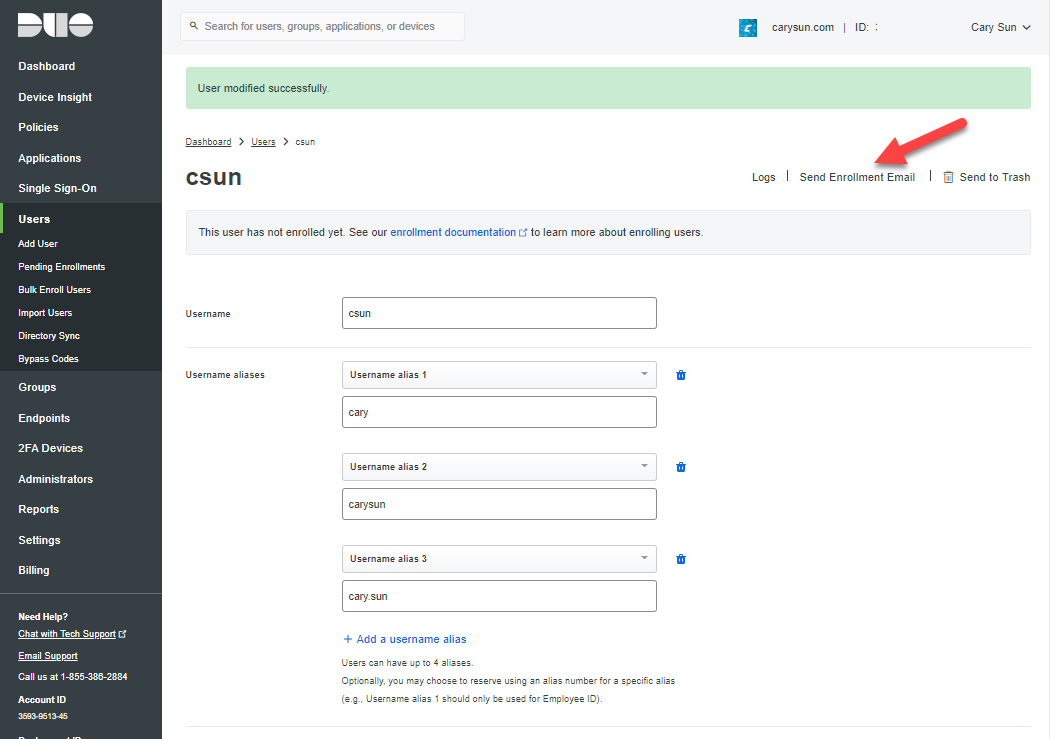
5.Once the user is created you can click the Send Enrollment Email link to send the new user a message that contains a link they can use to add a phone or other 2FA authentication device.
6.Login to the email account from phone, open the Duo Security Enrollment email, click the link to enroll a phone.
Configuring Duo Authentication for Windows Logon and RDP
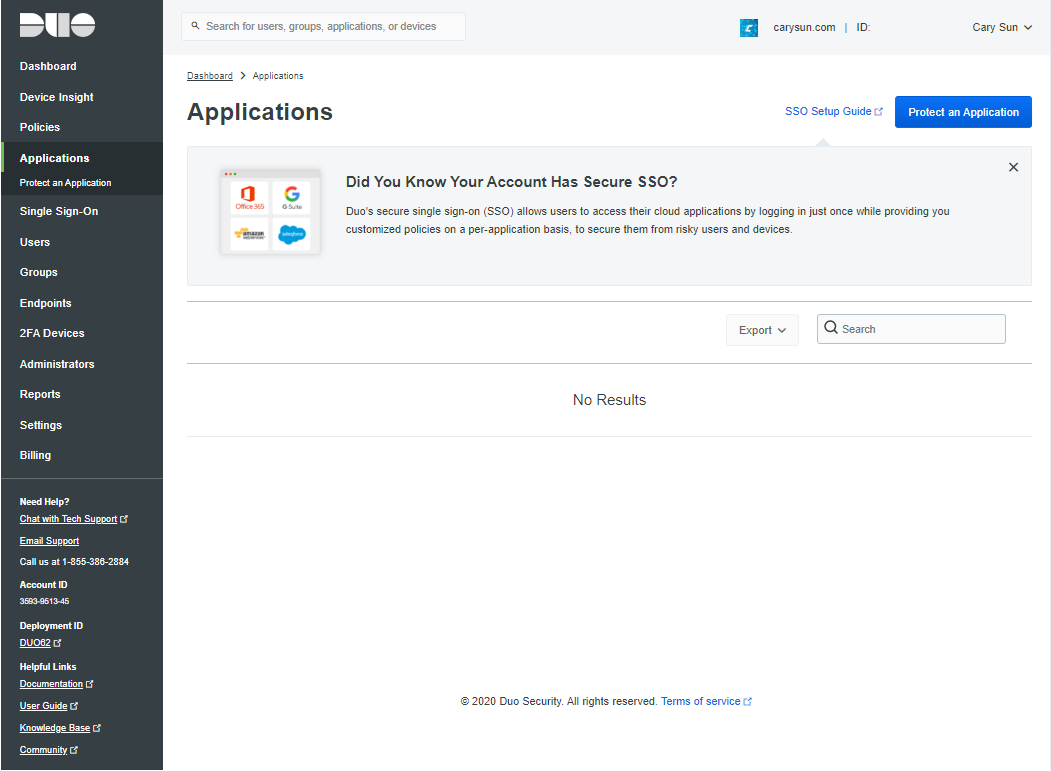
1.Log in to the Duo Admin Panel and select to Applications.
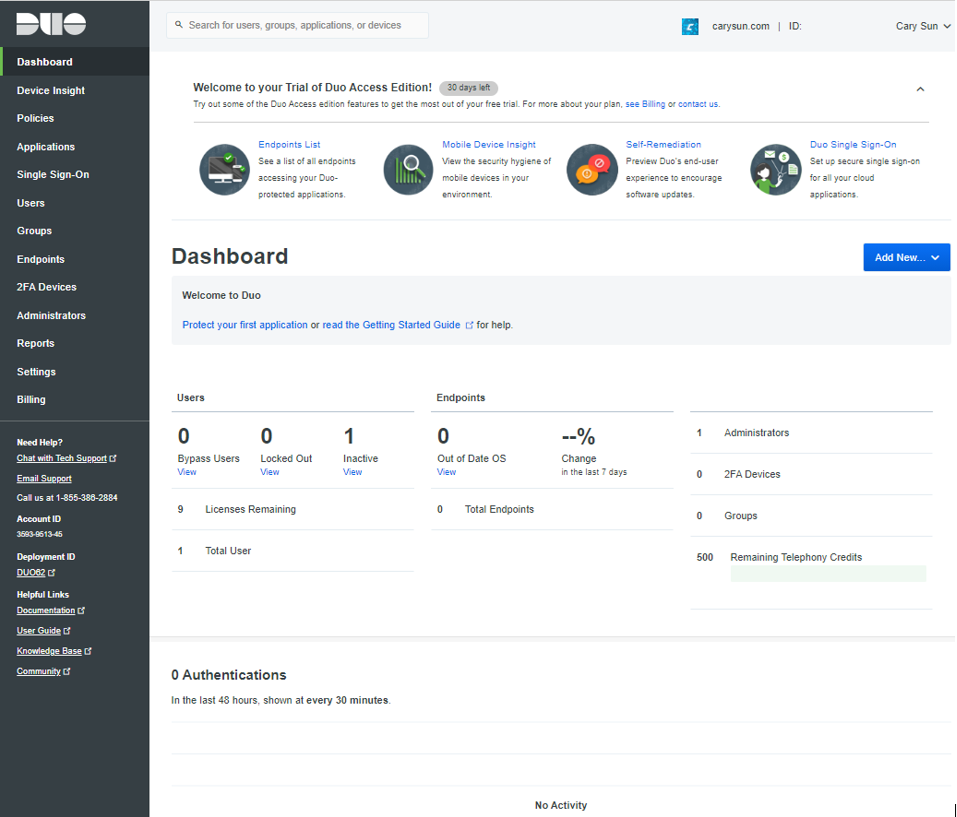
2.On the Applications page, click Protect an Application.
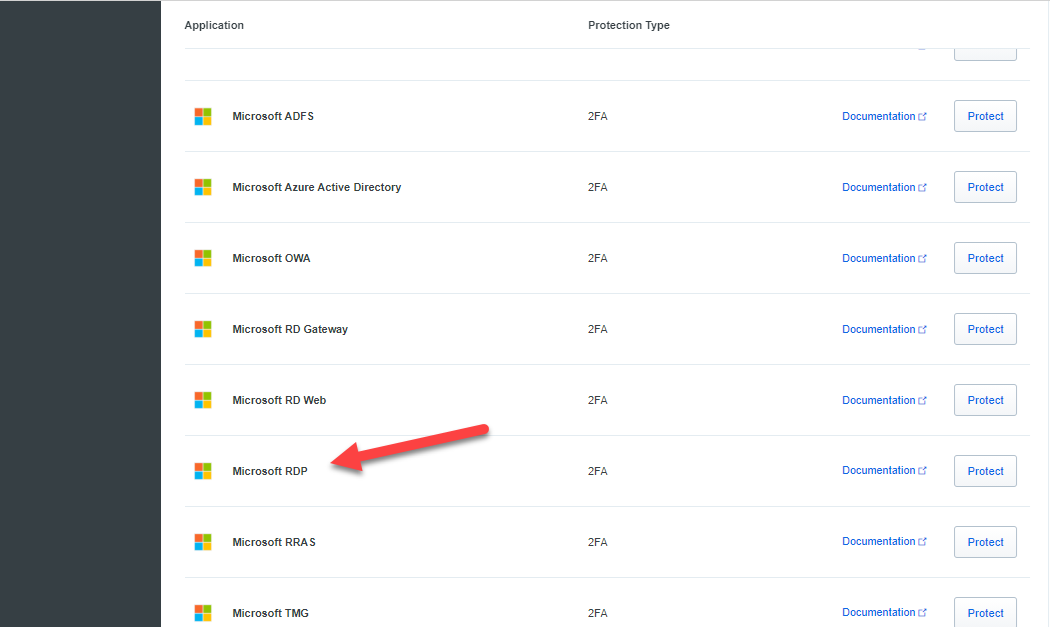
3.On the Protect an Application page, locate the entry for Microsoft RDP in the applications list, click Protect.
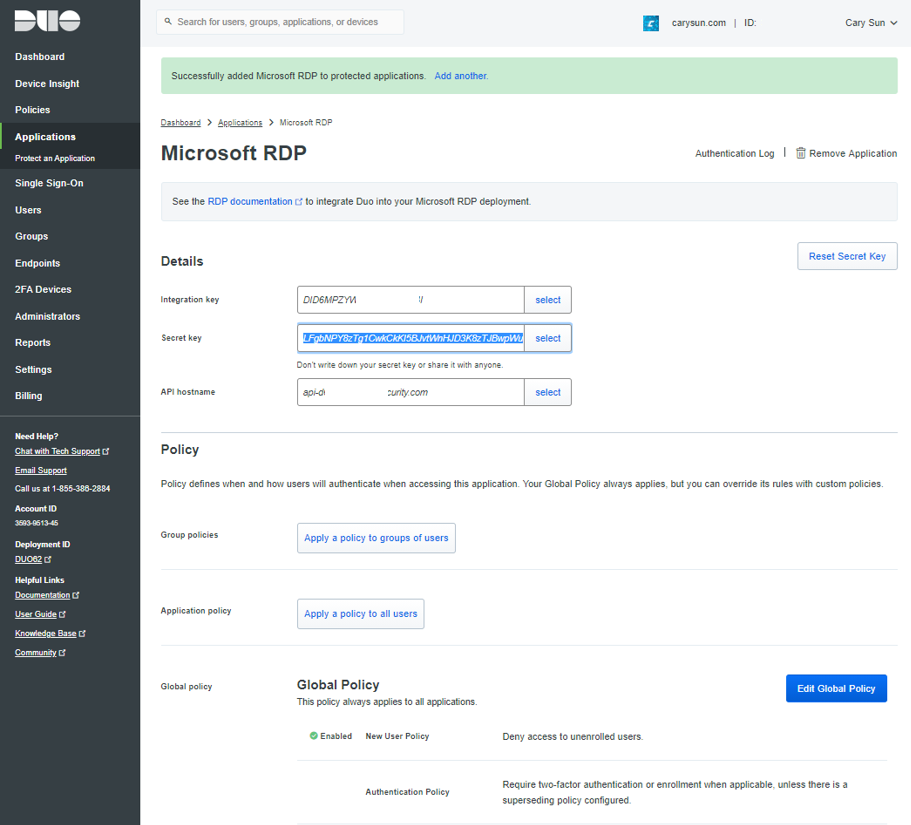
4.On the Microsoft RDP page, click Click to view at Secret key.
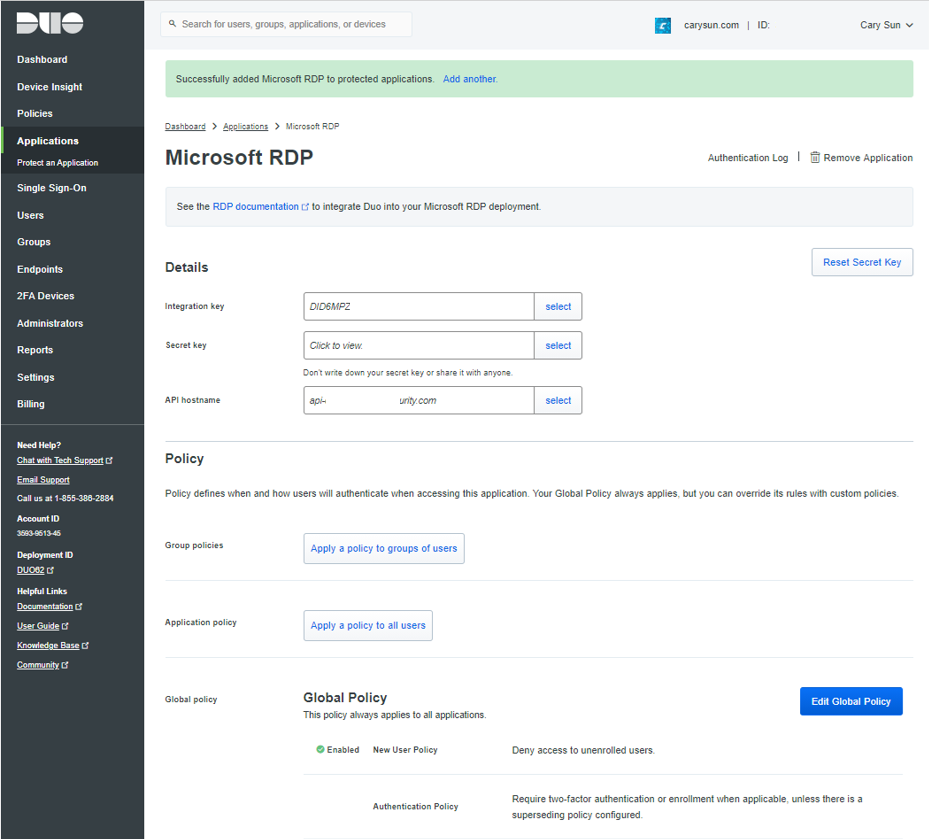
5.To get the integration key, secret key, and API hostname. You’ll need this information to complete your setup at Servers.
6.Login to Windows Servers.
7.Download the Duo Authentication for Windows Logon installer package
8.Run the Duo Authentication for Windows Logon installer with administrative privileges.

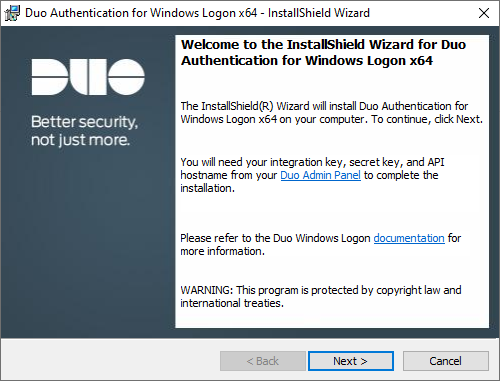
9.On the Welcome page, click Next.
10.On the Duo Connectivity page, enter the API Hostname from the Duo Admin Panel and click Next.
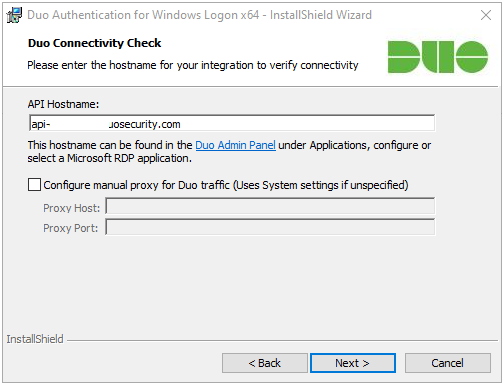
If the connectivity check fails, ensure that your Windows system can communicate with your Duo API hostname over HTTPS (port 443).
If you need to use an outbound HTTP proxy in order to contact Duo Security’s service, enable the Configure manual proxy for Duo traffic option and specify the proxy server’s hostname or IP address and port here.
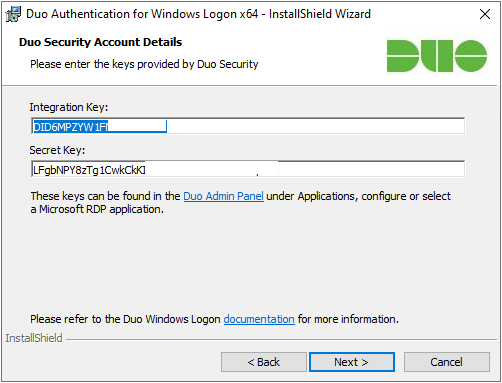
11.Enter the integration key and secret key from the Duo Admin Panel and click Next.
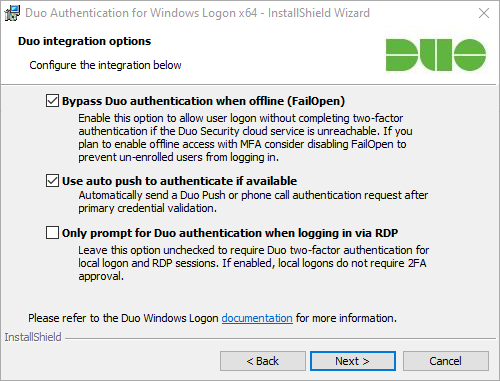
12.On the integration options page, keep the default settings, click Next.
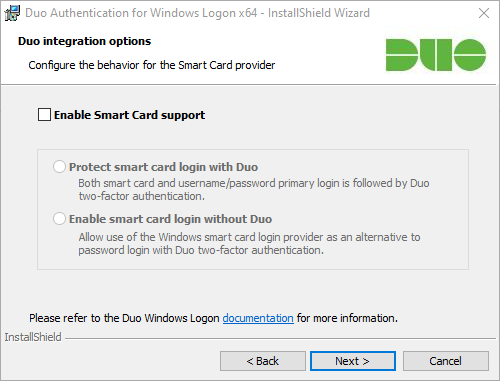
13.On the Configure the behavior for the Smart Card provider page, keep the default settings if you don’t plan to use smart cards on the system.
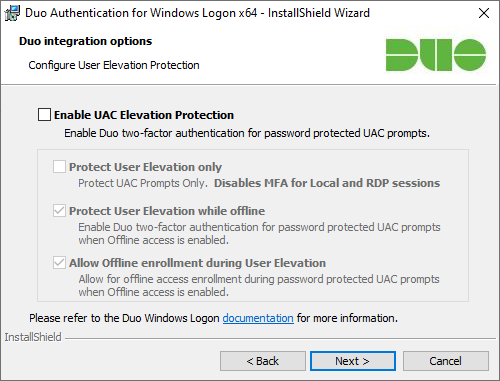
14.On the Configure User Elevation Protection page, keep the default settings if you don’t need to enable UAC elevation protection.
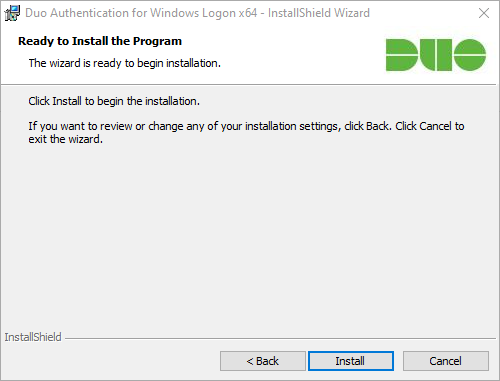
15.On the Ready to begin the installation page, click Install.
Hope you enjoy this post.
Cary Sun
Twitter: @SifuSun
Web Site: carysun.com
Blog Site: checkyourlogs.net
Blog Site: gooddealmart.com
