
Beginning with version 12.3, the Veeam Backup & Replication solution allows you to add Microsoft Entra ID tenants to the backup infrastructure and manage data protection and recovery operations for these tenants from a single console.
You require the Cache and Primary log backup repository to protect Microsoft Entra ID tenant data and logs.
The backup server can function as a cache and primary log backup repository by default, and you can also set up additional repositories to store data in a different location.
Note:
Some types of repositories are supported only for the primary log repositories. e.g., Directly attach storage with a hardened Linux server, deduplicating storage appliance, repositories with rotated drives, object storage repositories, and scale-out backup repositories. You cannot use the Veeam Cloud Connect repository as a cache or primary or secondary backup repository.
A cache repository is a storage area where Veeam Backup for Microsoft Entra ID stores temporary metadata to decrease the stress on the backup server while executing backup operations. The cache repository tracks all log records that change between backup sessions.
To reduce network burden during backup operations, configure the cache repository to be closer to the backup server on the computer network.
You can create Direct attached storage and Network attached storage as the cache repositories.
This section describes how to create a cache repository locally.
1. Login to the Veeam Backup and Replication Manager server.
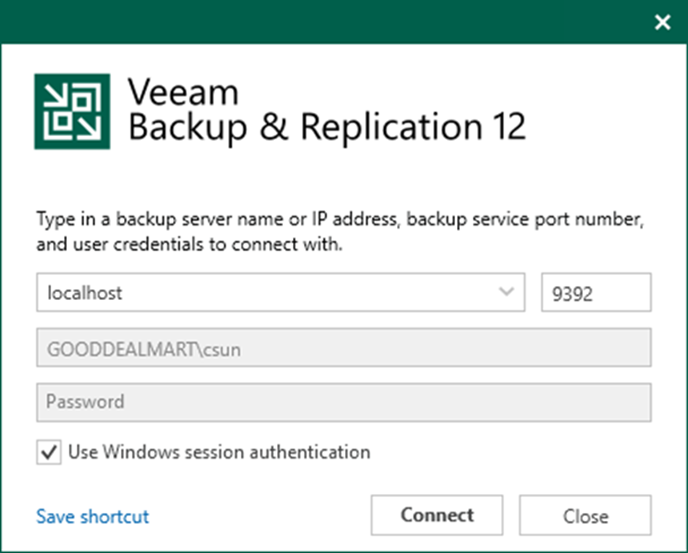
2. Open the Veeam Backup & Replication Console and click Connect.
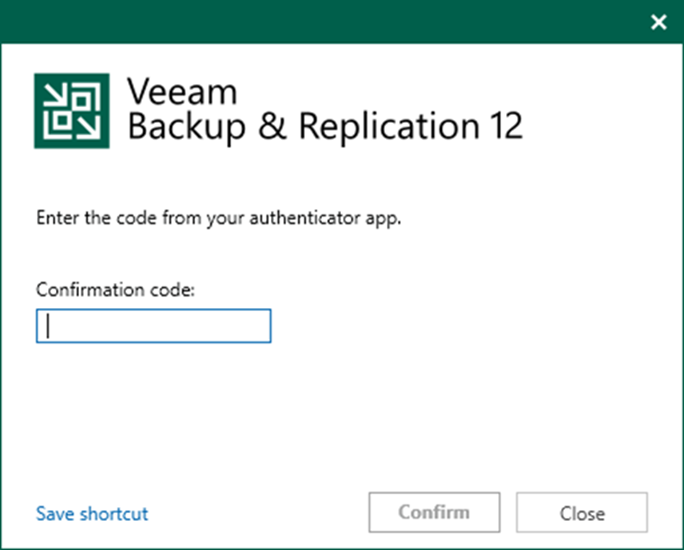
3. Enter the MFA Confirmation code and click Confirm.
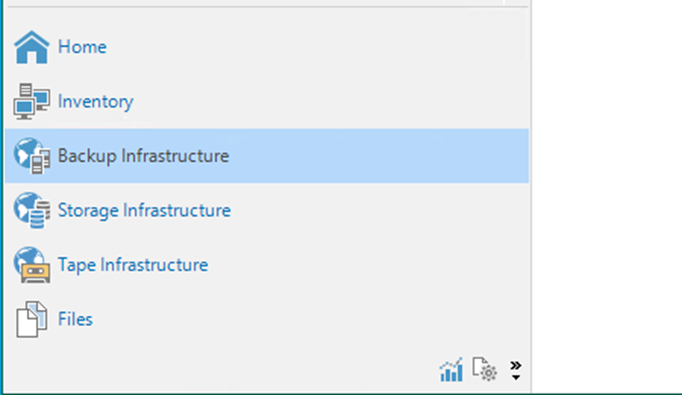
4. On the Home page, select Backup Infrastructure.
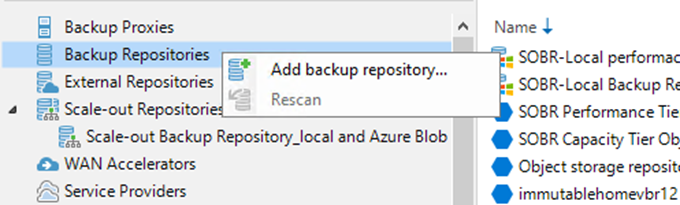
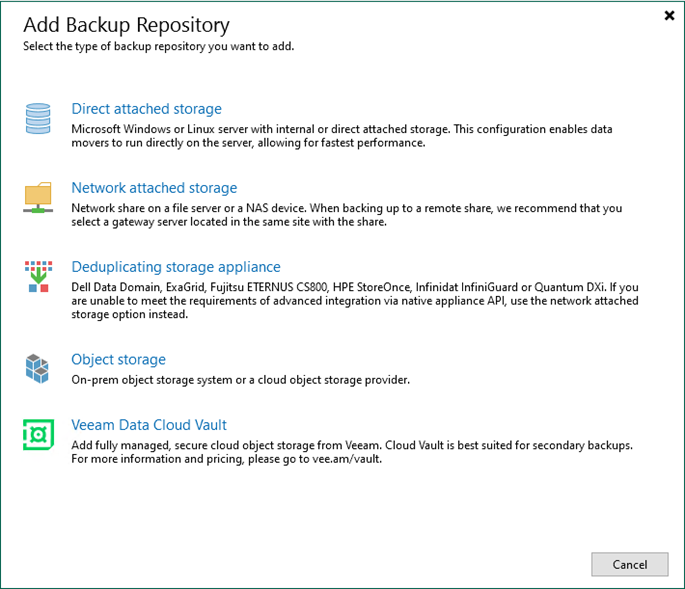
5. Right-click Backup Repositories and select Add backup repository.
6. Select Direct attached storage on the Add Backup Repository page.
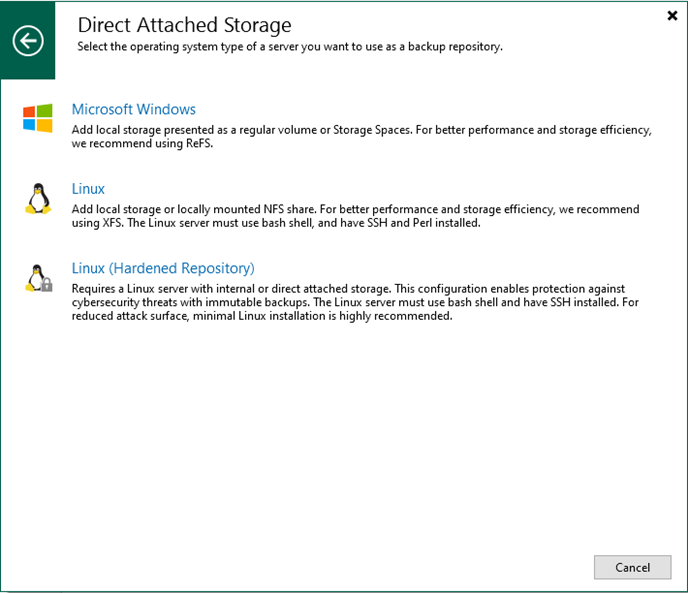
7. Select Microsoft Windows on the Direct Attached Storage page.
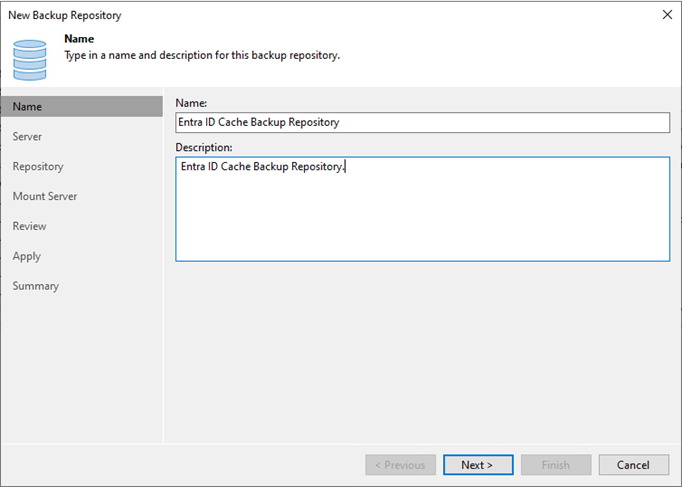
8. Enter the backup repository name in the Name field on the Name page.
9. Enter the backup repository description In the Description field and click Next.
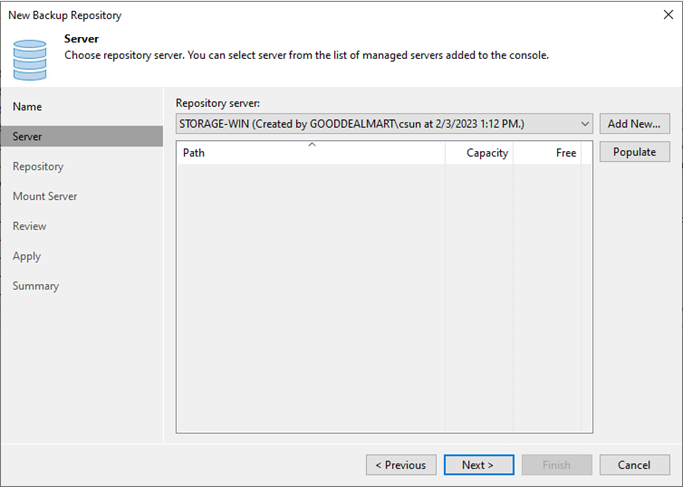
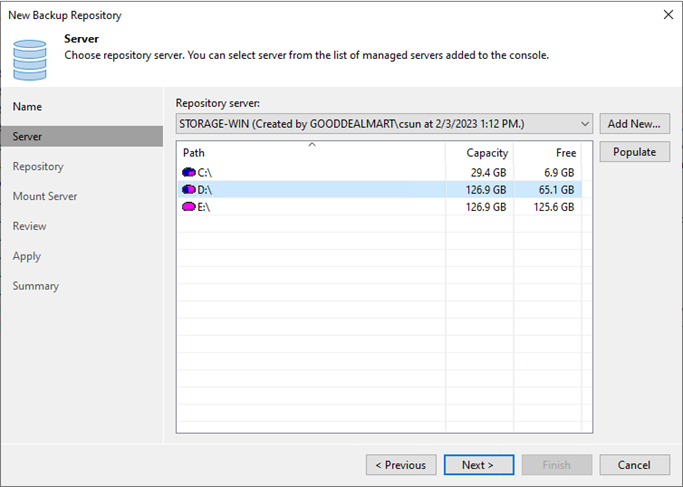
10. Select the repository server in the Repository server field on the Server page.
11. Click Populate.
12. Select the disk drive in the Path field and click Next.
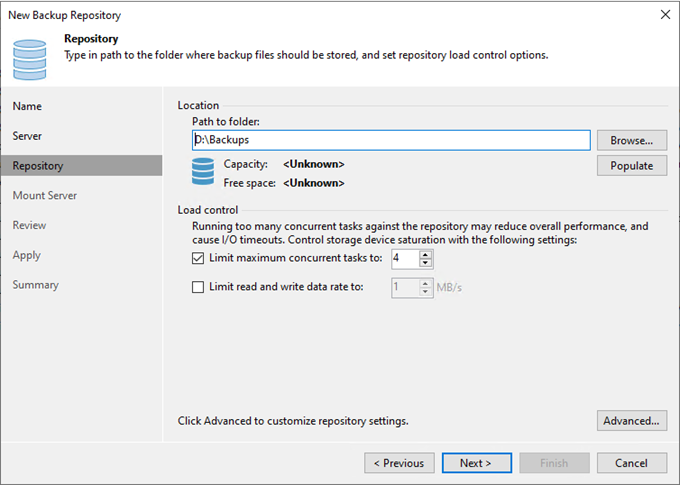
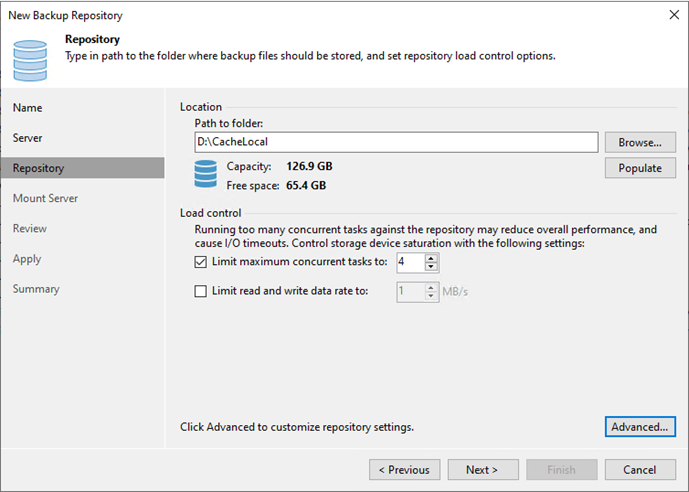
13. On the Repository page, under Location, click Browse in the Path to folder field.
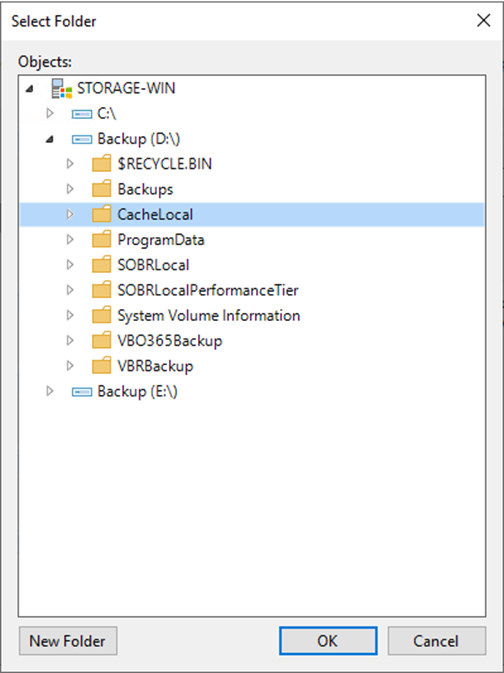
14. On the Select Folder page, under Object, select a folder and click OK.
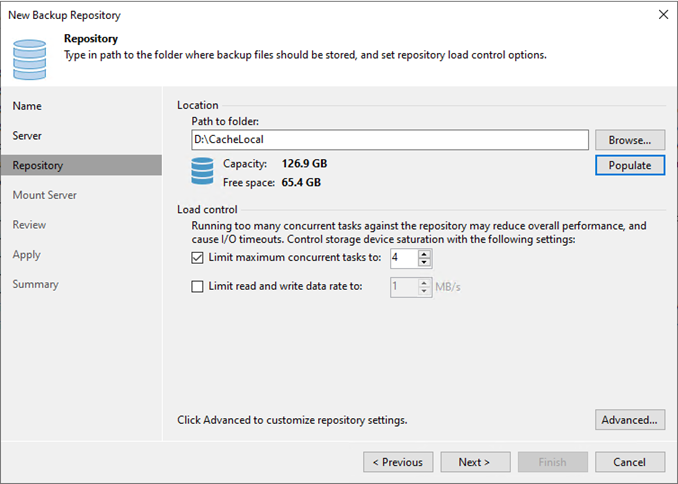
15. Click Populate to review the disk Capacity and Free space.
16. Keep the default setting for the Load control and click Advanced.
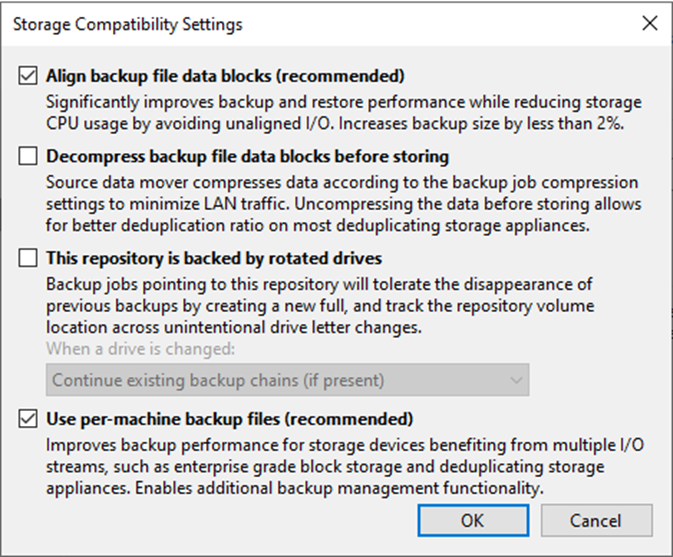
17. Select Align backup file data blocks (recommended) on the Storage Compatibility Settings page.
18. Select Use per-machine backup files (recommended) and click OK.
19. Click Next on the Repository page.
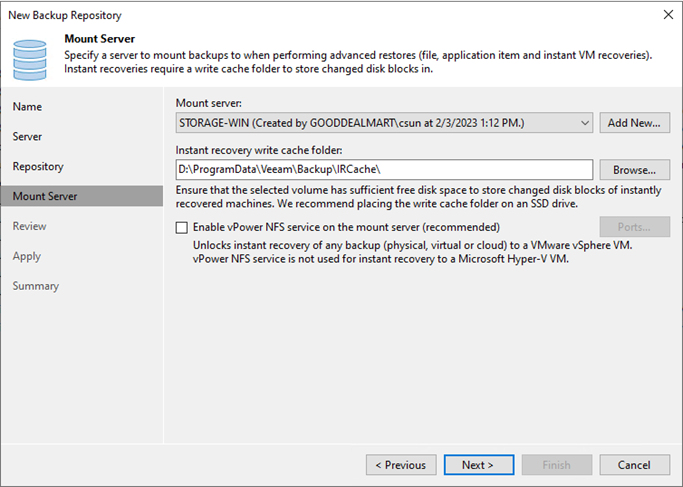
20. Select a mount server or keep the default setting in the Mount server field on the Mount Server page.
21. Select or keep the default setting in the Instant recovery write cache folder field.
22. Unselect Enable vPower NFS service on the mount server (recommended) because vPower NFS settings are not applicable in the Microsoft Hyper-V environment.
23. Click Next.
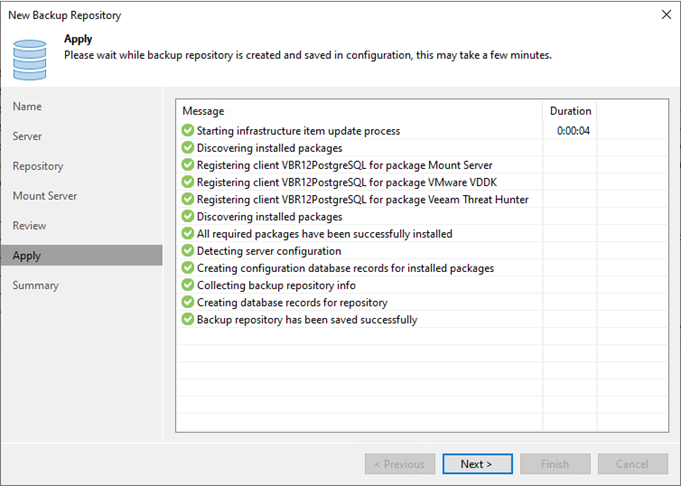
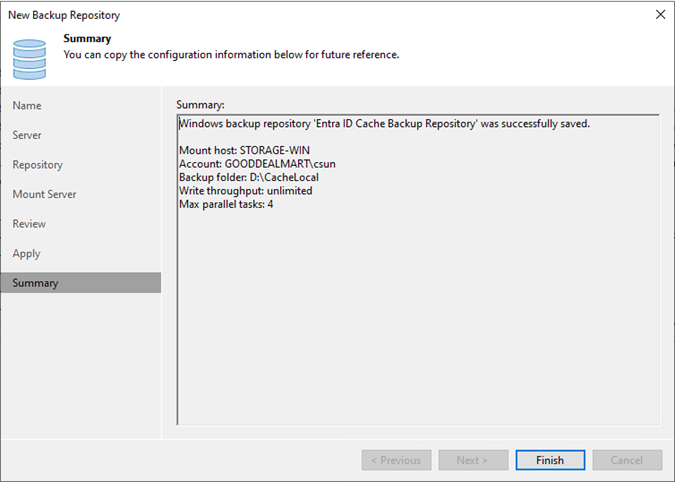
24. Click Apply on the Review page.

25. Click Next on the Apply page.
26. Click Finish on the Summary page.
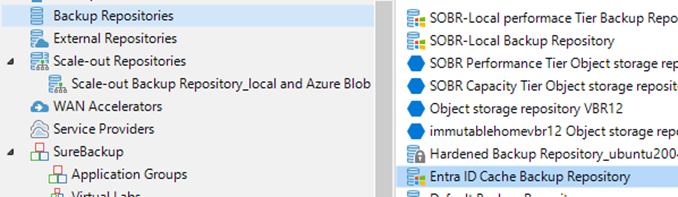
27. Verify that the backup repository has been added.
I hope you enjoy this post.
Cary Sun
X: @SifuSun
Web Site: carysun.com
Blog Site: checkyourlogs.net
Blog Site: gooddealmart.com
Amazon Author: Amazon.com/author/carysun