
Restore Portal is a self-service web portal that allows users and operators to restore their data. They can, for example, investigate and restore data from Microsoft Exchange Online, Microsoft SharePoint Online, and Microsoft OneDrive for Business.
Restore Portal provides two data restoration modes: self-service restore and operator restore.
There are three types of role-based administration (RBAC).
- Veeam Backup for Microsoft 365 administrators
- Restore operators
- End users
If a Microsoft organization’s Veeam Backup for Microsoft 365 administrator has configured the REST API and Restore Portal settings in Veeam Backup for Microsoft 365, restore operators and end-users can access the Restore Portal from any computer and perform all operations in a web browser window.
You can explore and restore data from backups in the Restore Portal. As an end user, you perform a self-service data restore. As a restore operator, you investigate and restore backed-up data for objects that you have permission to manage.
1. Log in to any client machine and open explorer.
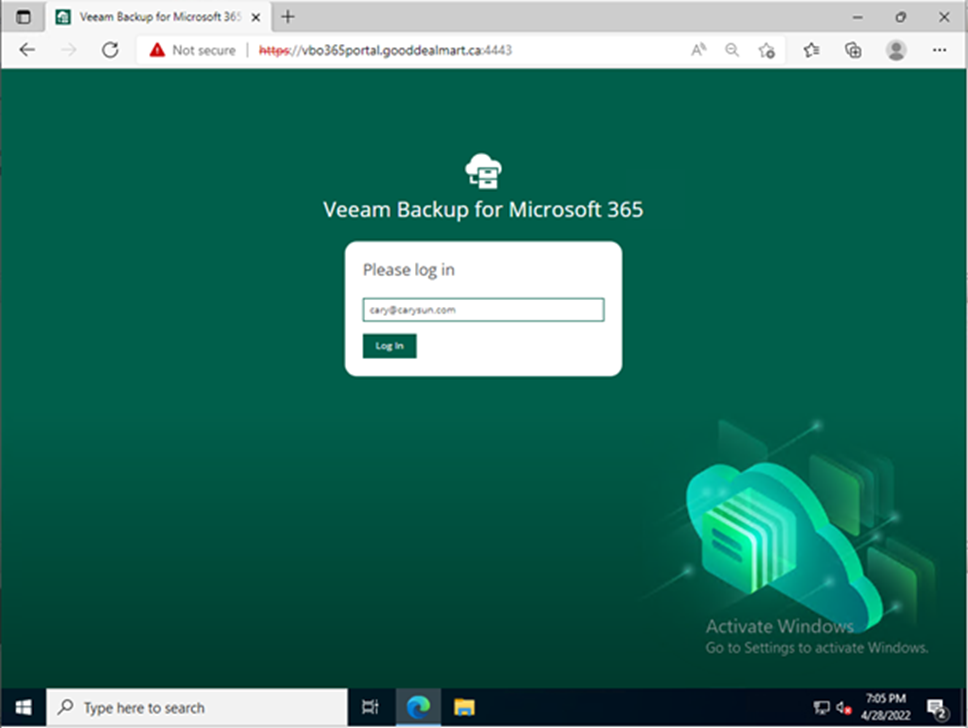
2. Enter the Restore portal URL; in my case is https://vbo365portal.gooddealmart.ca:4443
3. On the Please login page, enter your Microsoft 365 user account and click Log in.
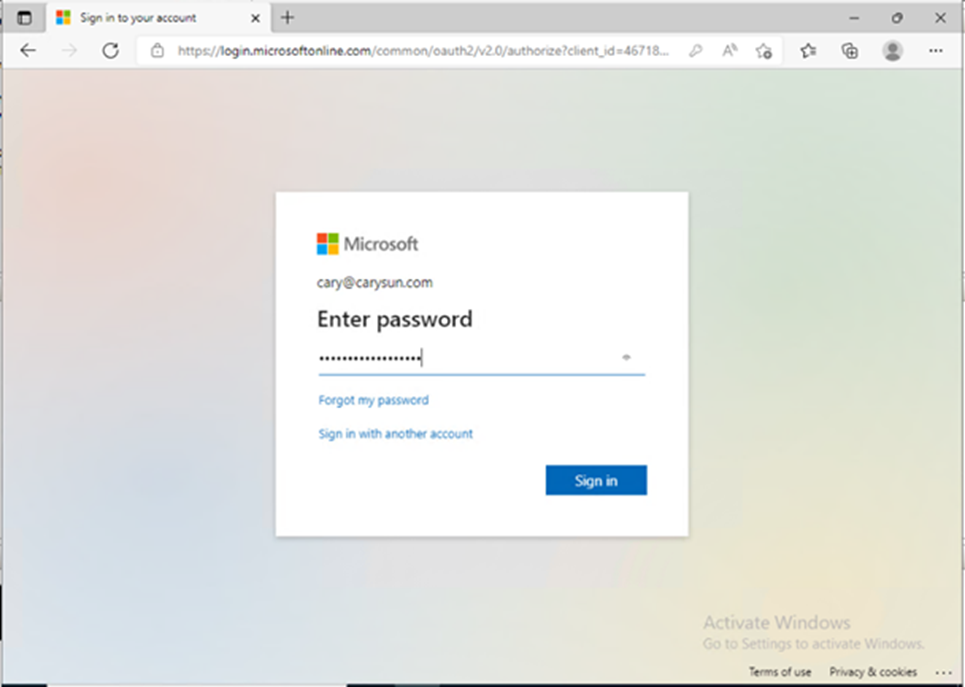
4. Type the account password on the Enter password page and click Sign in.
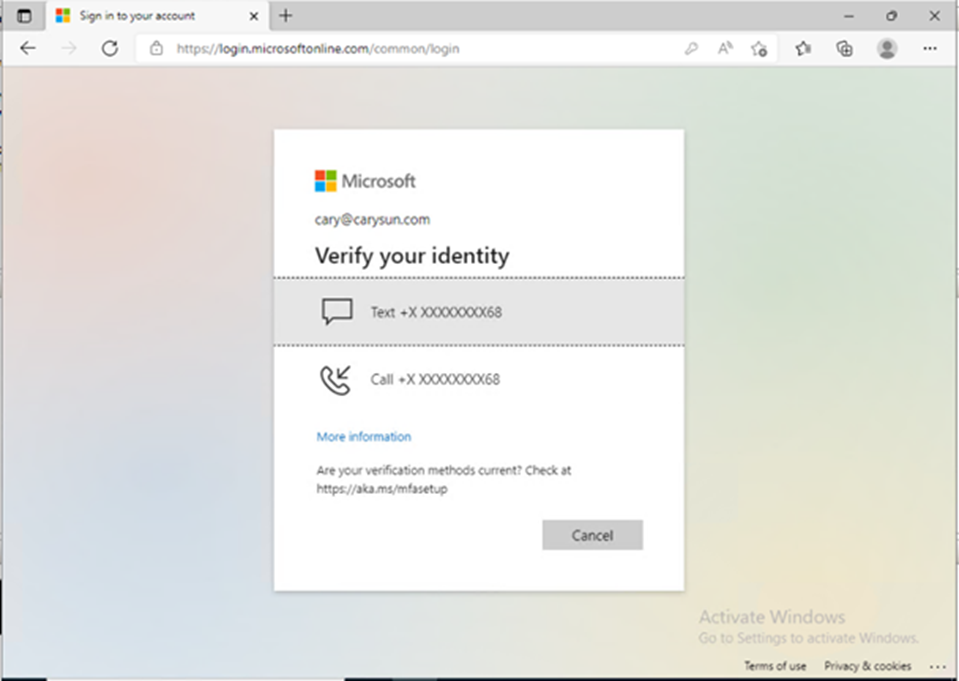
5. On the Verify your identity page, select the identity method.
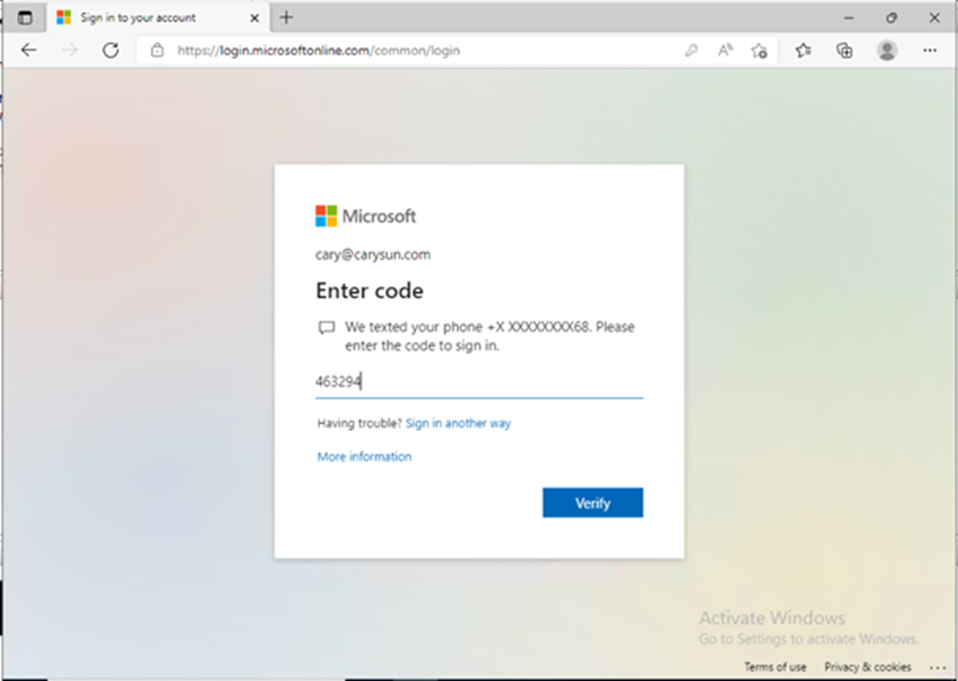
6. Enter the code and click Verify.
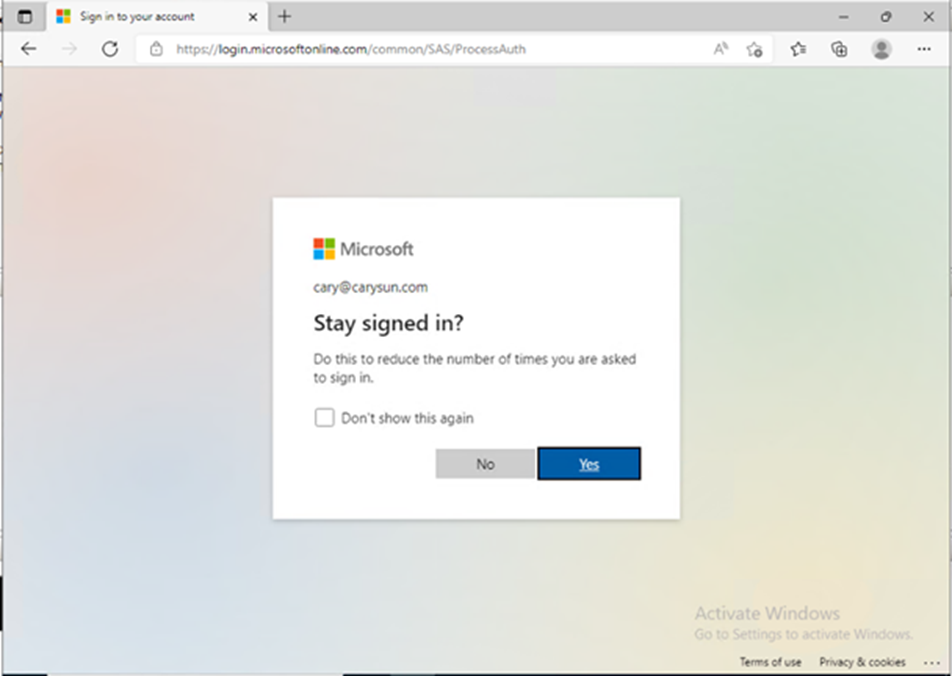
7. On the Stay signed on the page, click No.
8. On the Restore Portal user interface page, select Explore.
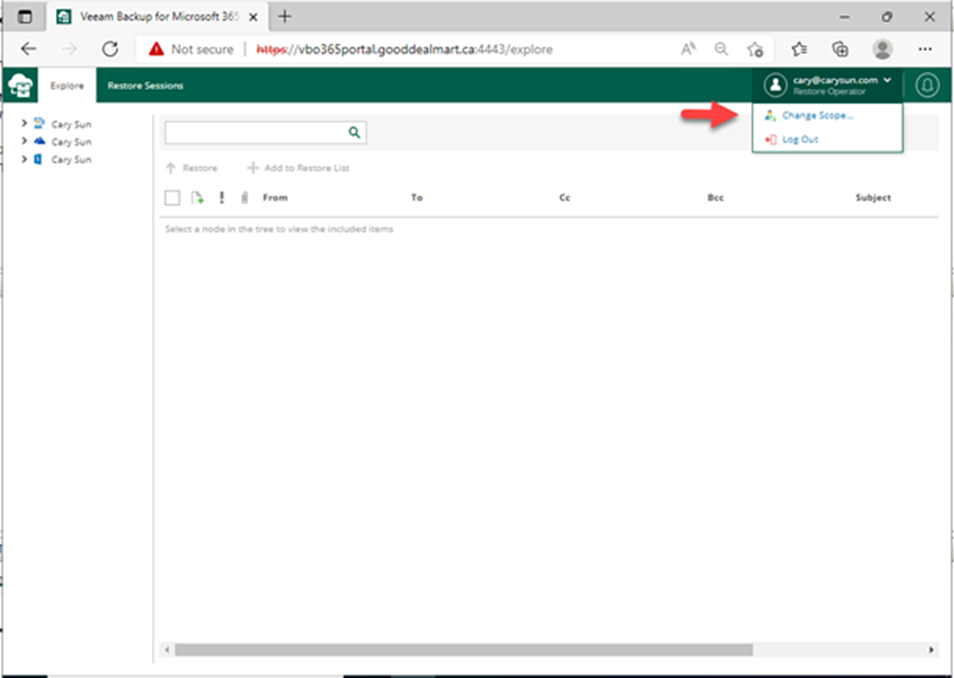
9. In the upper-right corner of the Restore Portal window, click the user name and select Change Scope.
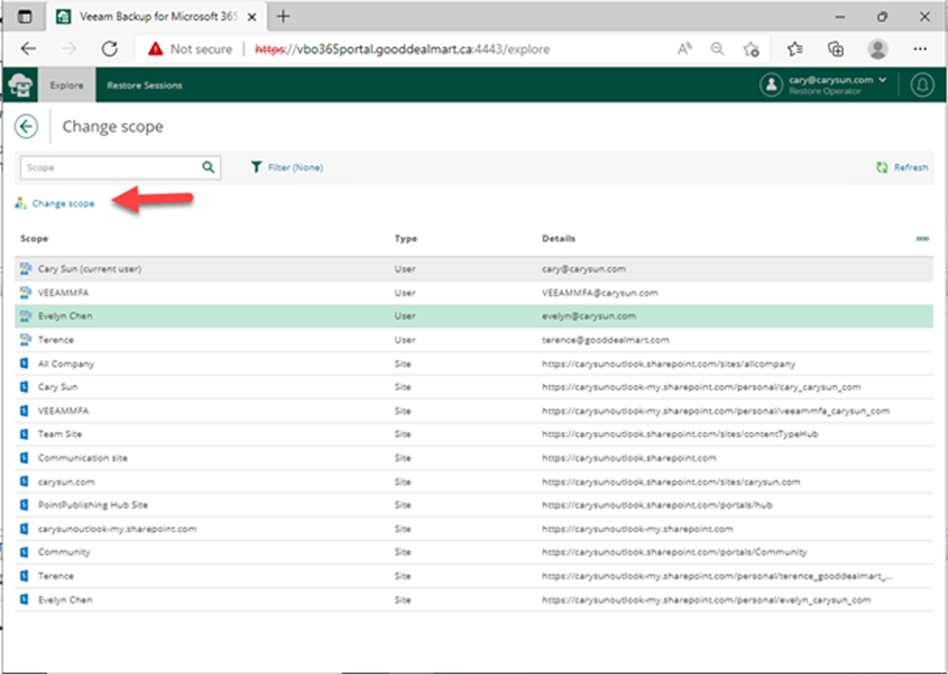
10. Select an object you want to manage on the Change Scope page and click Change scope.
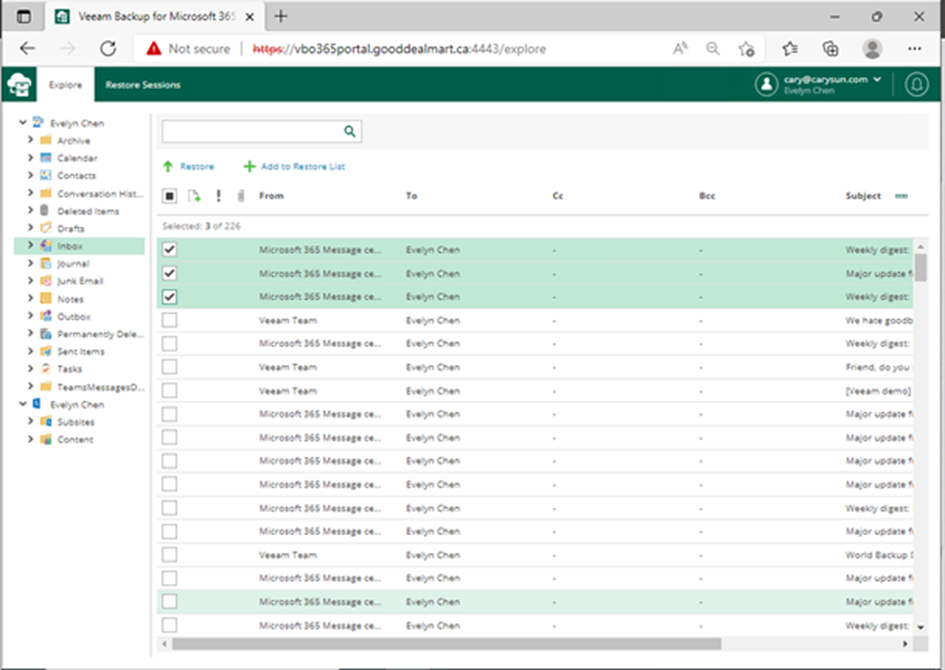
11. Select objects that you would like to restore for users. Click Restore.
12. On the Items page, click Next.

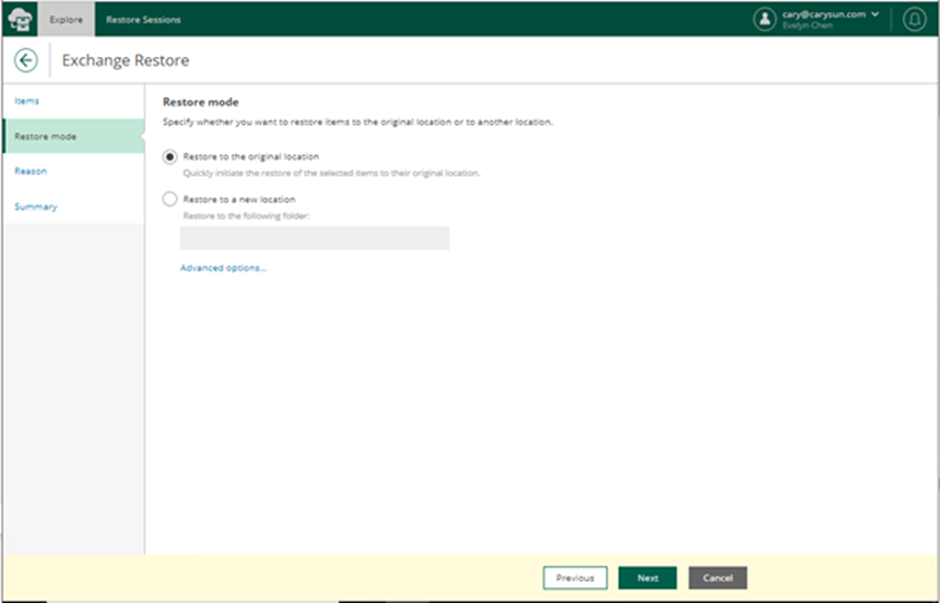
13. Select specify restore location on the Restore mode page and click Advanced options.

14. Select specify restore options on the Restore Options page and click Apply.

15. Select specify restore location on the Restore mode page and click Next.
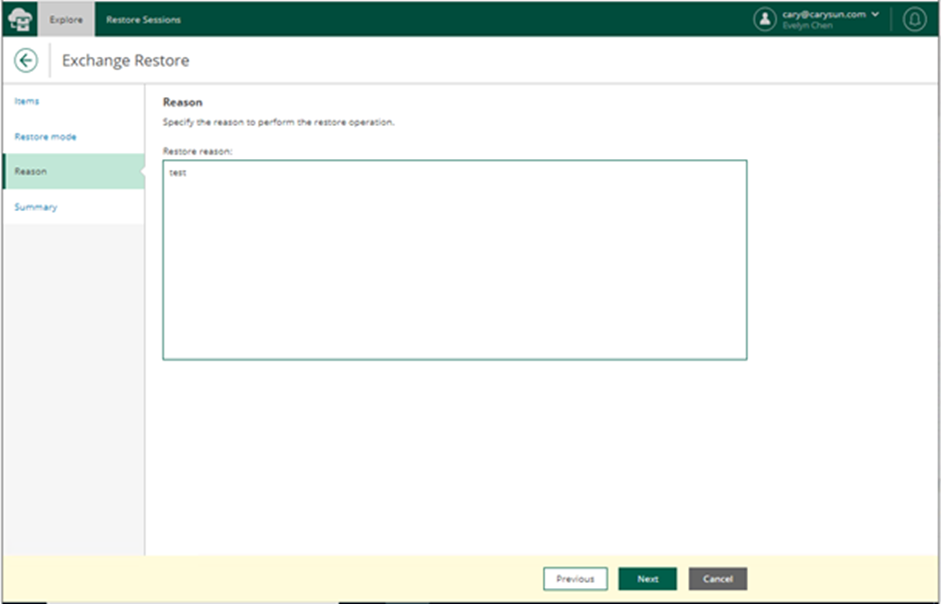
16. On the Reason page, type specifies the restore reason, and click Next.
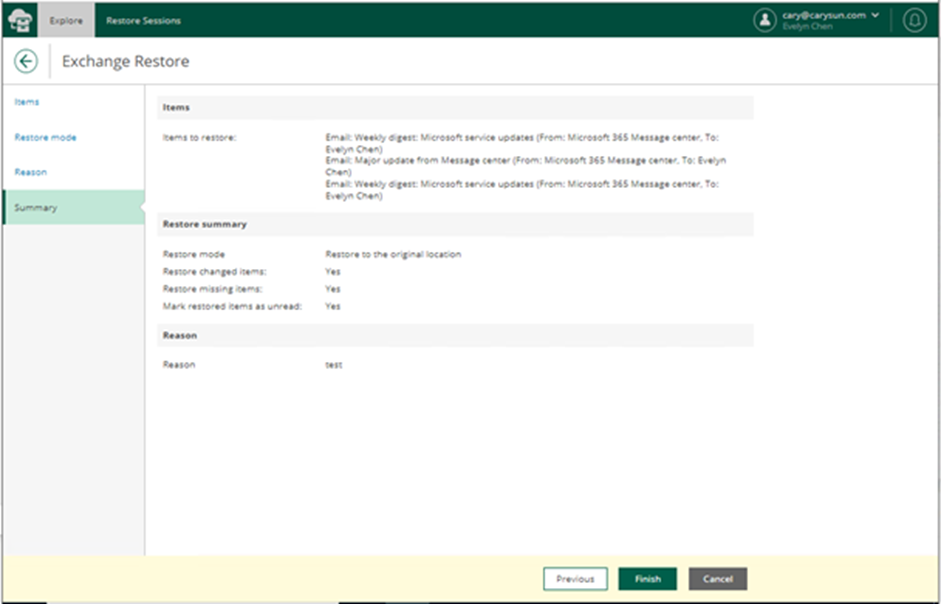
17. On the Summary page, verify Restore summary and click Finish.
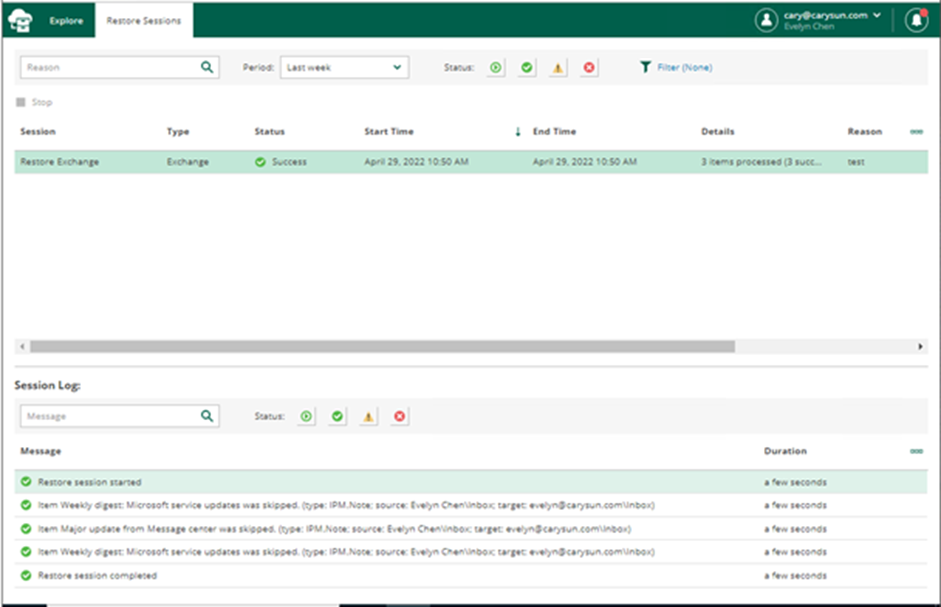
18. On the Restore Sessions page, verify restore success without error.
I hope you enjoy this post.
Cary Sun
Twitter: @SifuSun
Web Site: carysun.com
Blog Site: checkyourlogs.net
Blog Site: gooddealmart.com