
Today, I am going to show you how to upgrade the existing Citrix Virtual Apps servers to Citrix Virtual Apps 7 2112.
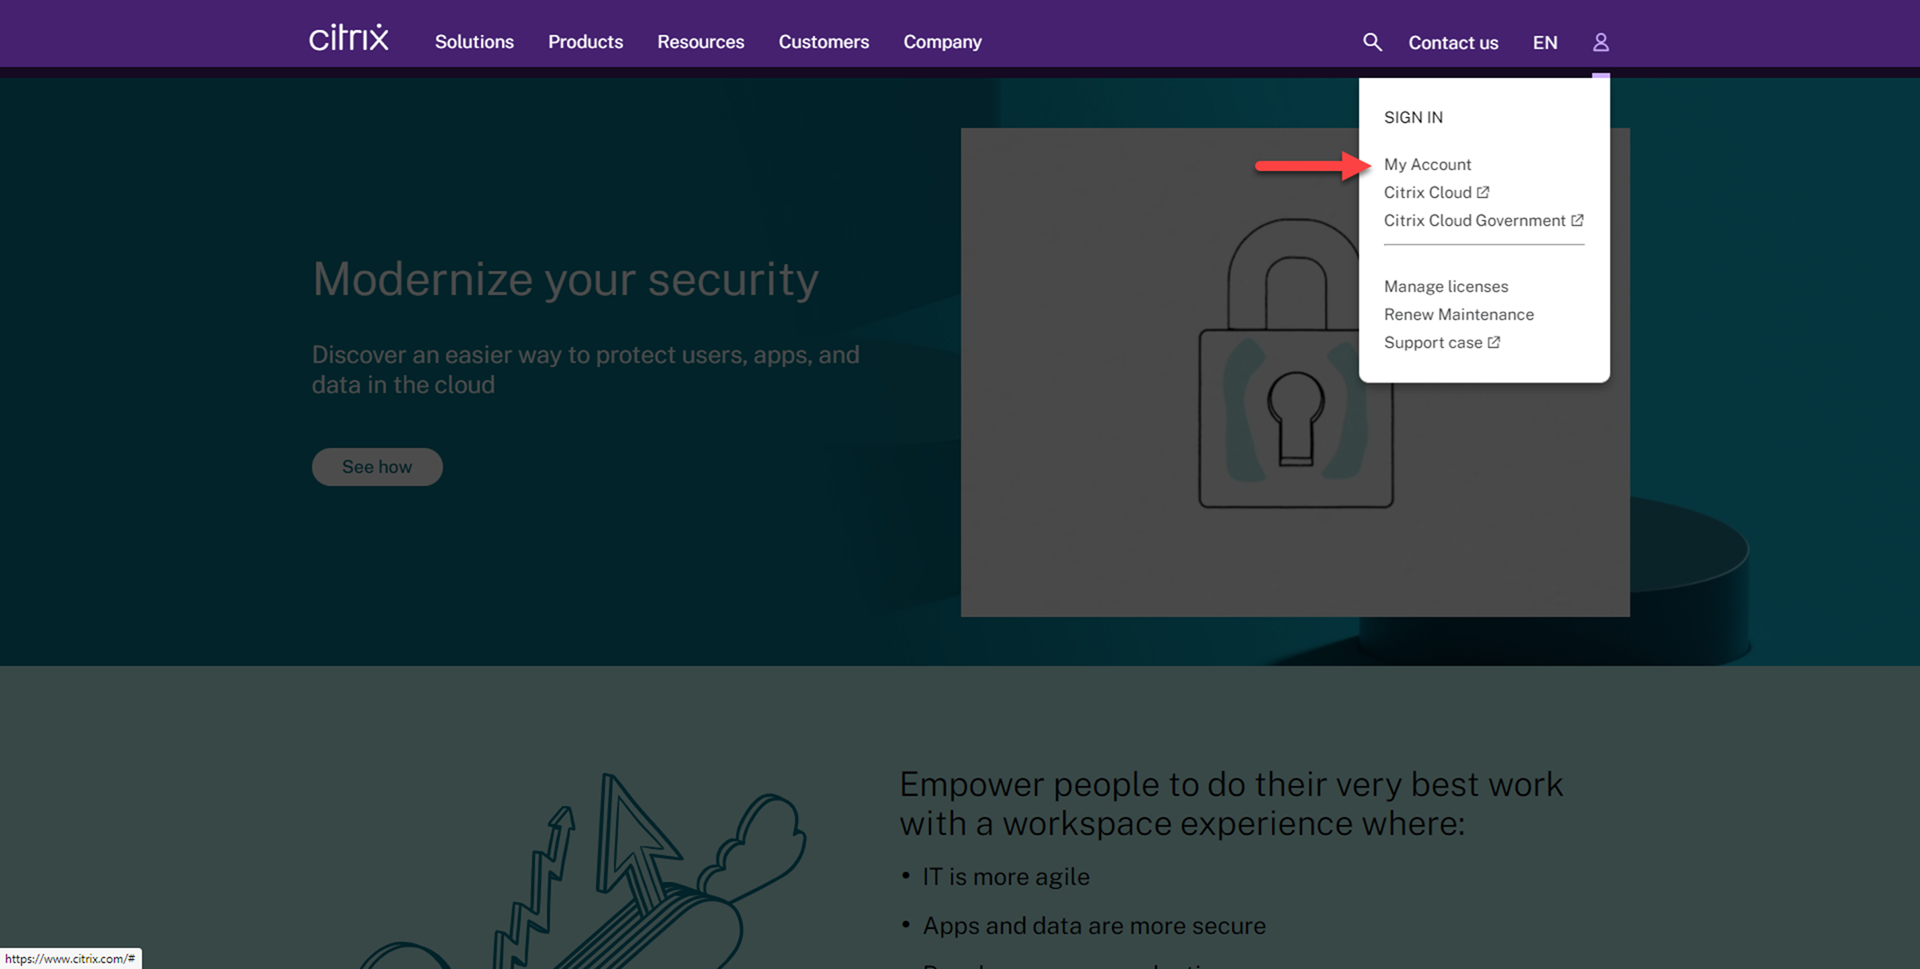
1.Sign in your Citrix account from citrix.com.
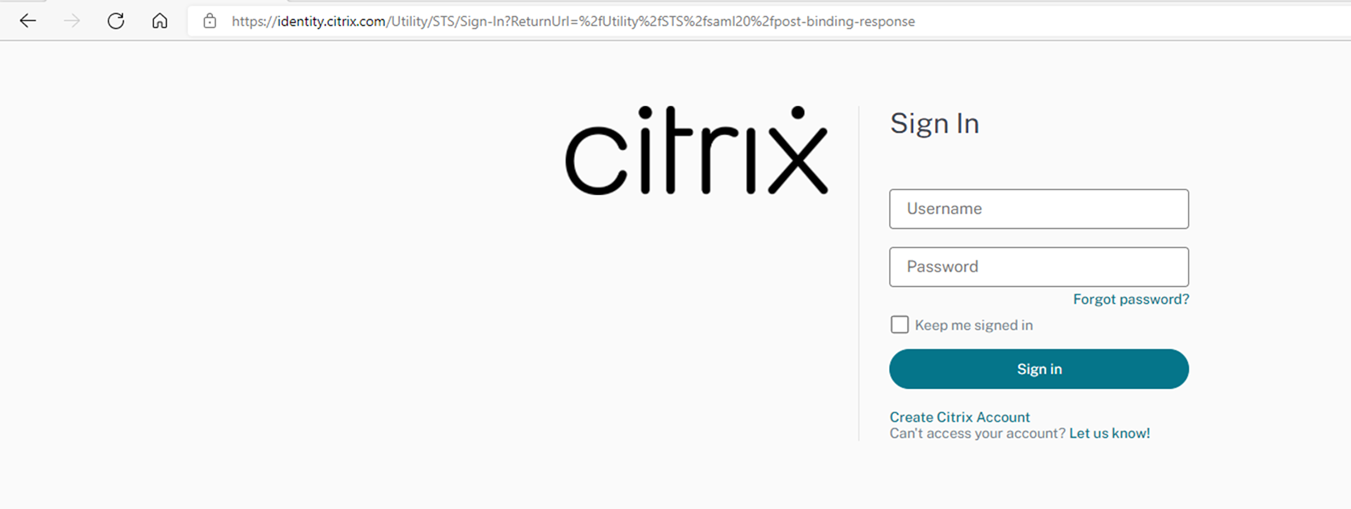
2. Enter your user name and password, click Sign in.
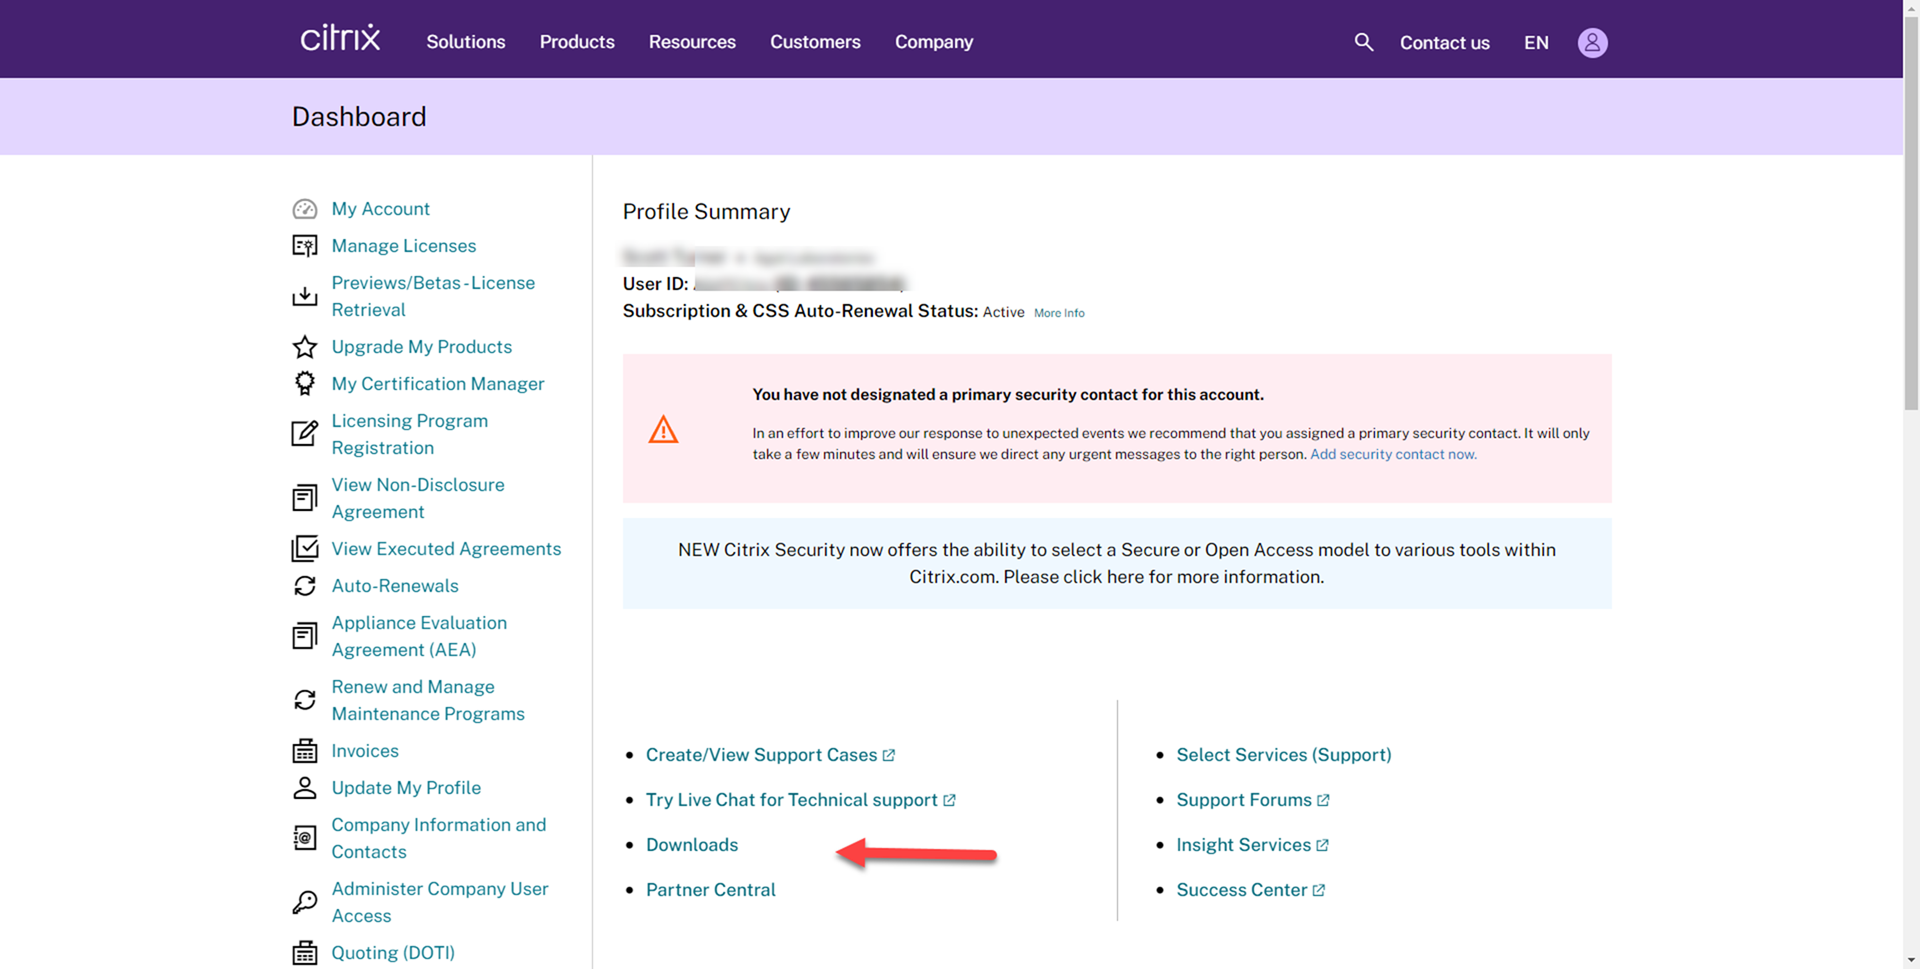
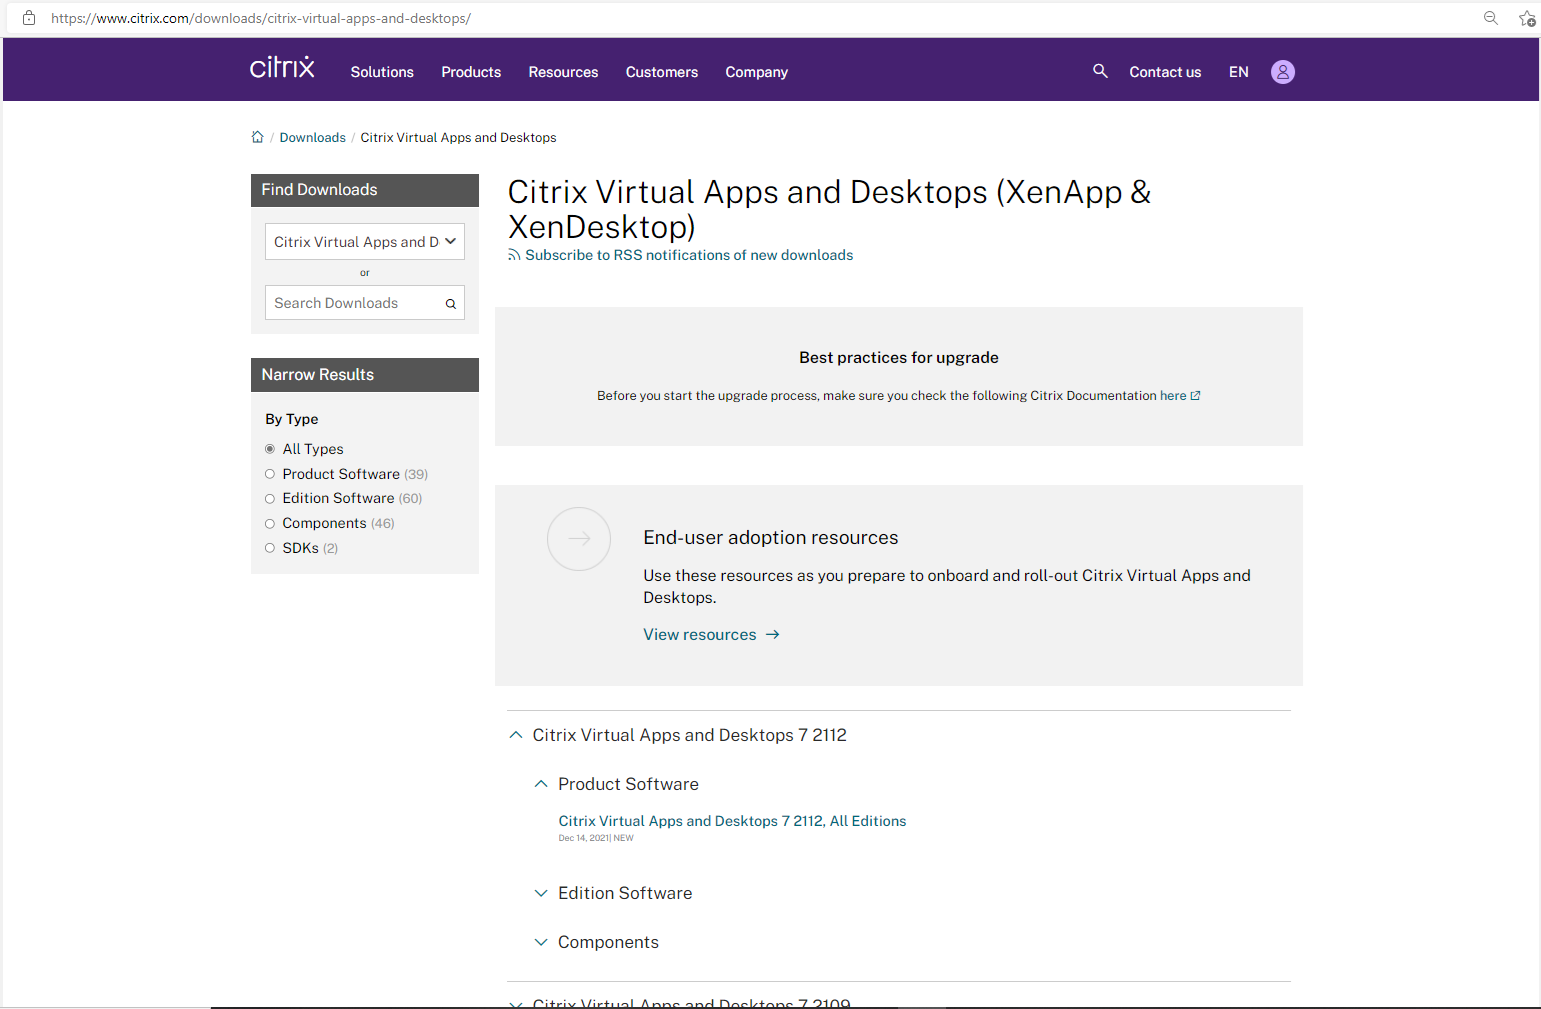
3. On the Dashboard page, select Downloads.
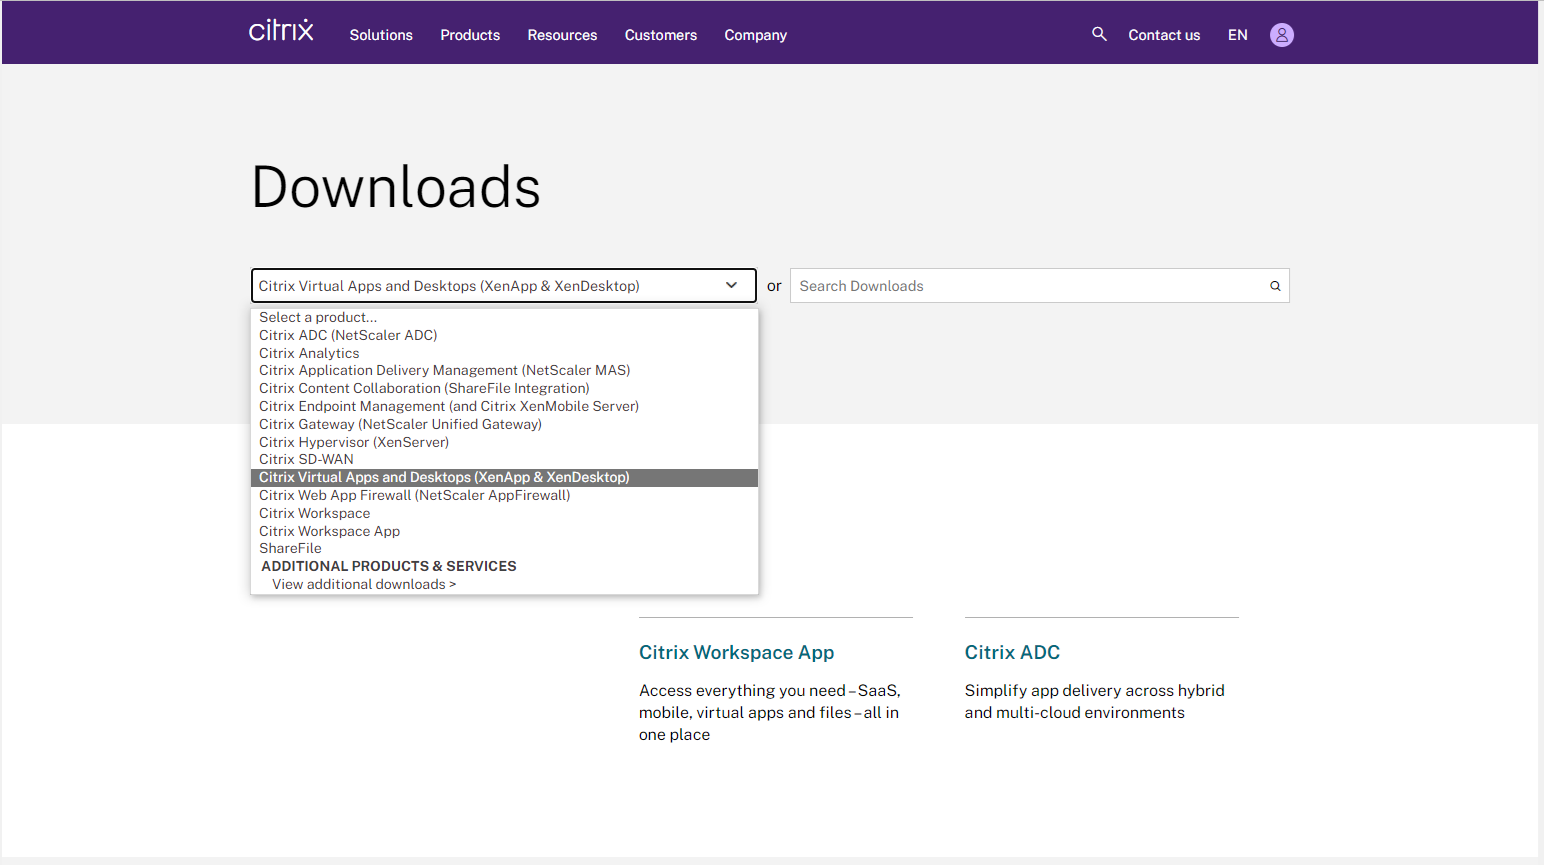
4. On the Download page, select Citrix Virtual Apps and Desktops (XenApp & XenDesktop).
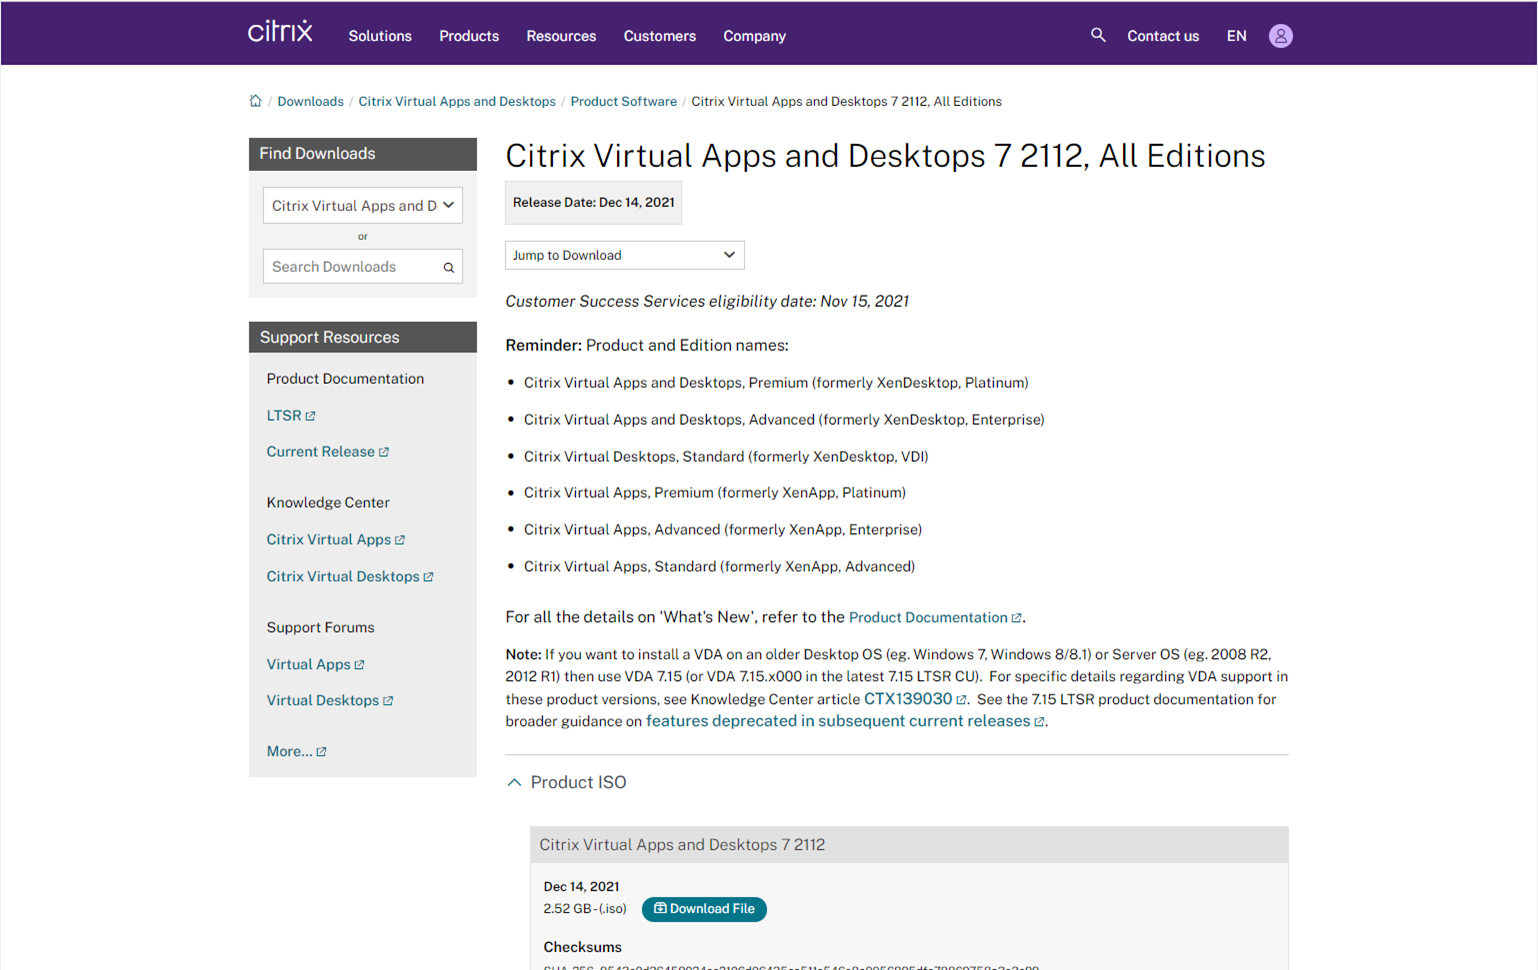
5. On Citrix Virtual Apps and Desktops (XenApp & XenDesktop) page, select Citrix Virtual Apps and Desktops 7 2112, select Product Software, click Citrix Virtual Apps and Desktops 7 2112, All Editions.
6.Click Download file.
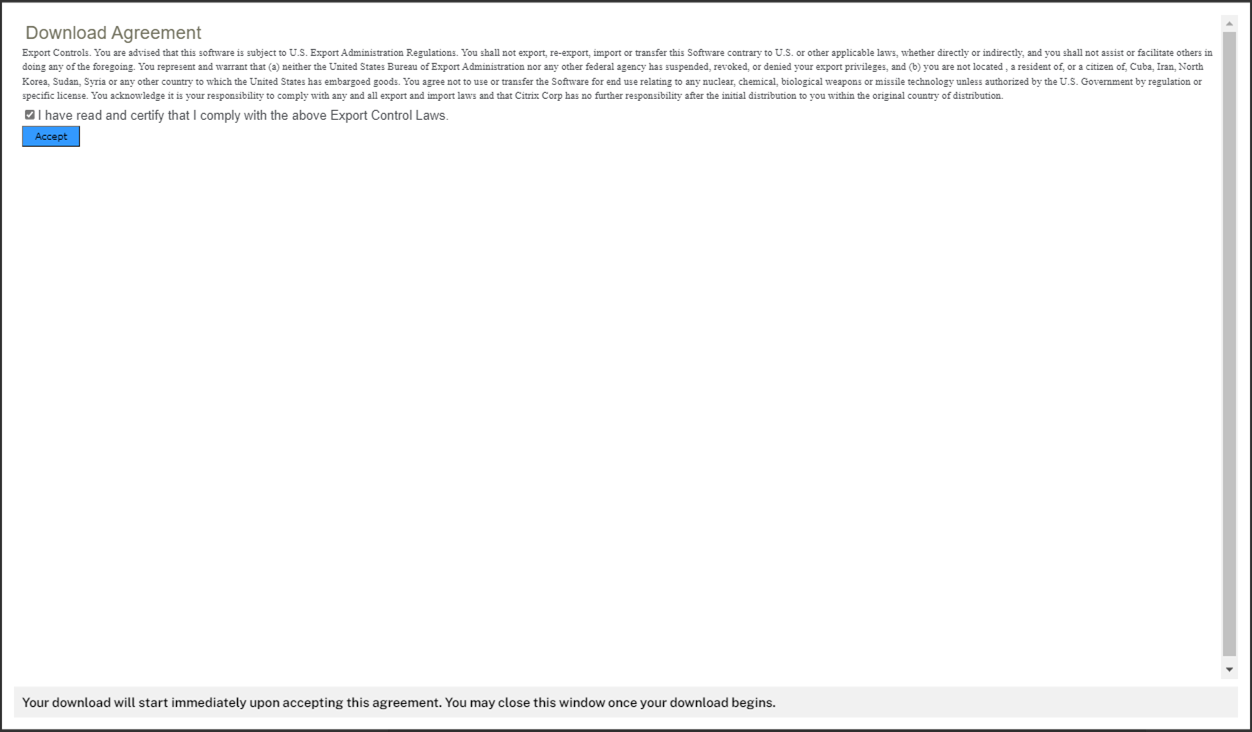
7. On the Download Agreement page, select I have read and certify that I comply with the above Export Control Laws, click Accept.
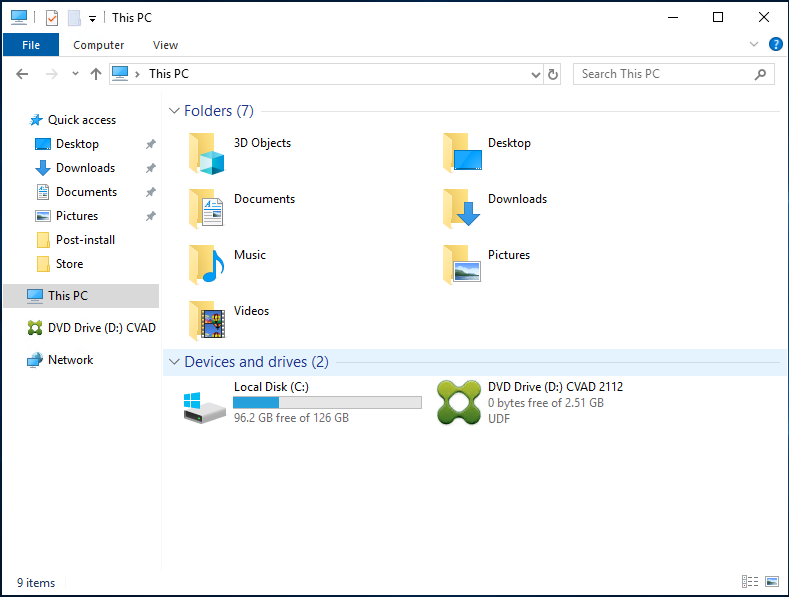
8. Save the ISO file to Delivery Controller server and Virtual Delivery Agent Server.
9. Login to Delivery Controller server.
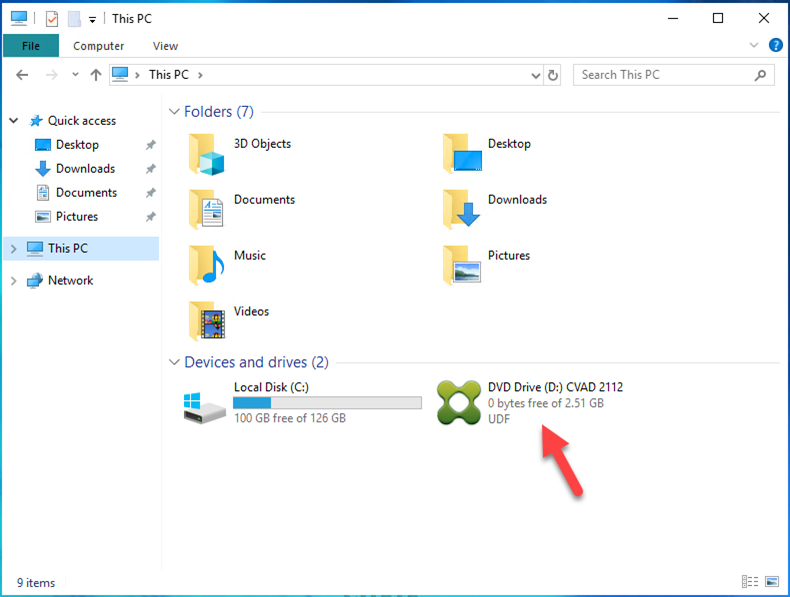
10. Mount the ISO image file.
11.Double-click DVD Drive.
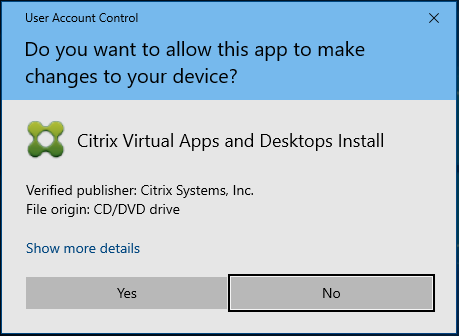
12.On the User Account Control page, click Yes.
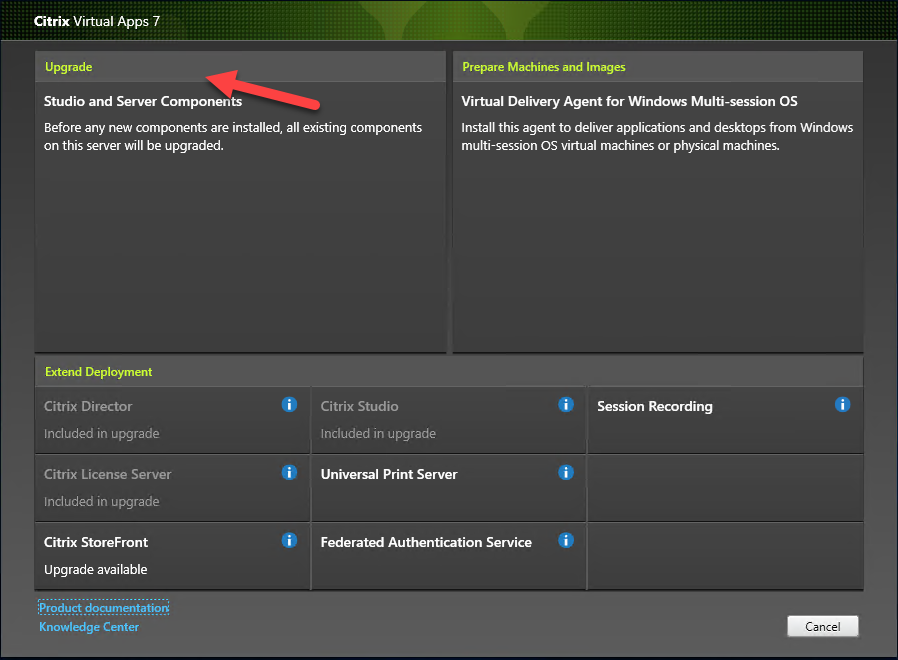
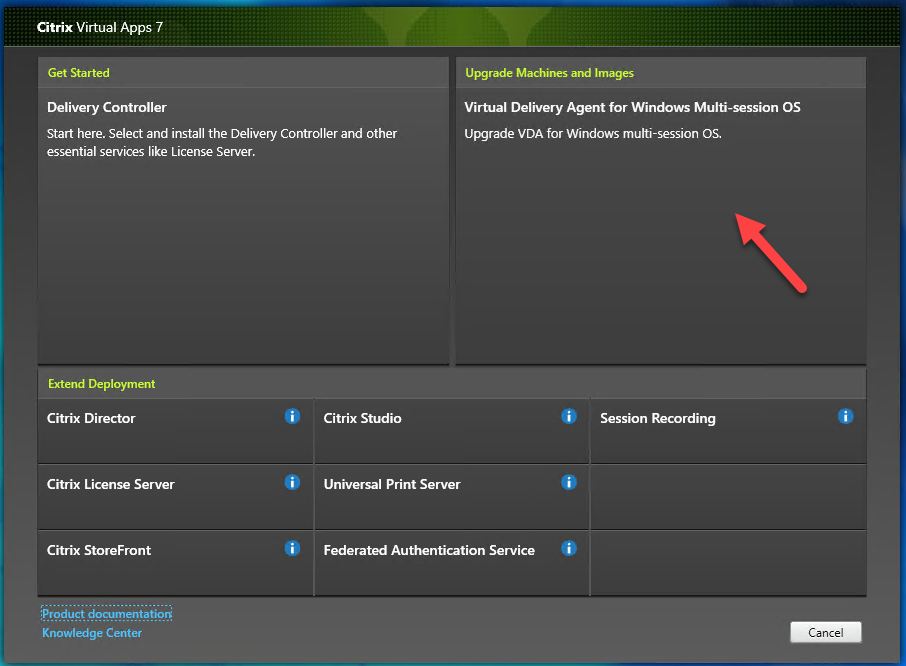
13. On the Citrix Virtual Apps 7 page, click Upgrade Studio and Server Components.
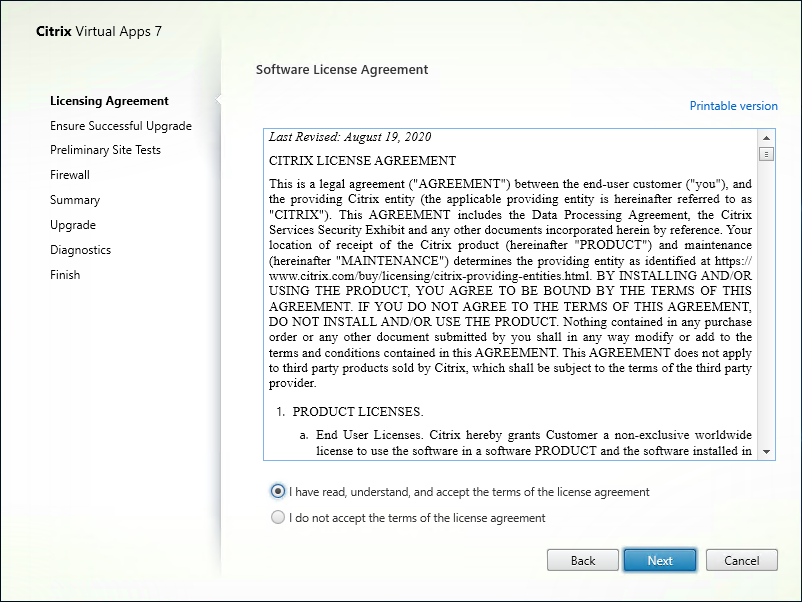
14. On the License Agreement page, select I have read, understand and accept the terms of the license agreement, click Next.
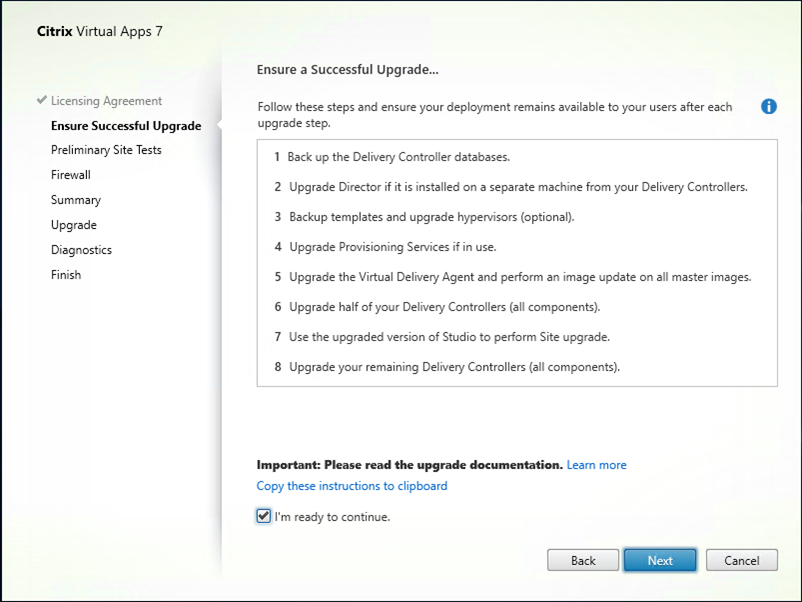
15. On the Ensure a Successful Upgrade page, select I’m ready to continue, click Next.
16. On the Preliminary Tests page, click Start Preliminary Tests.
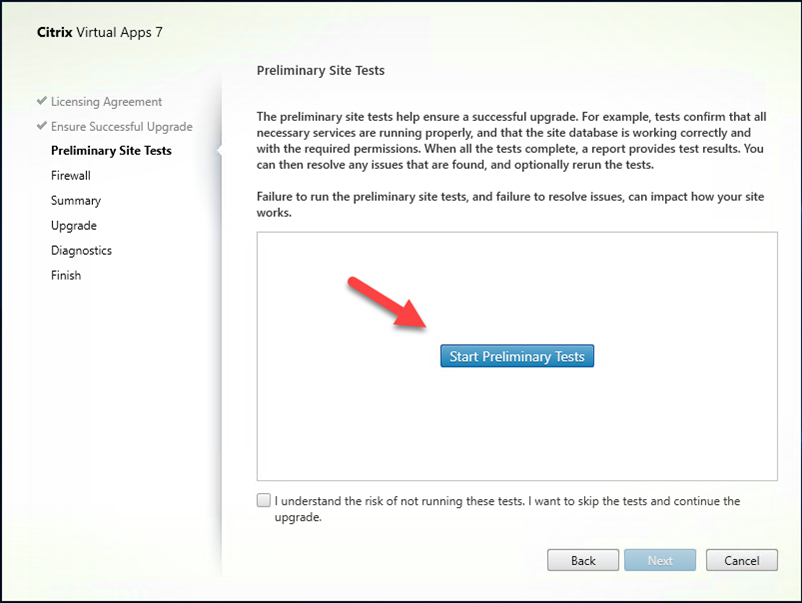
17. Click Next if there are no issues at Tests result.
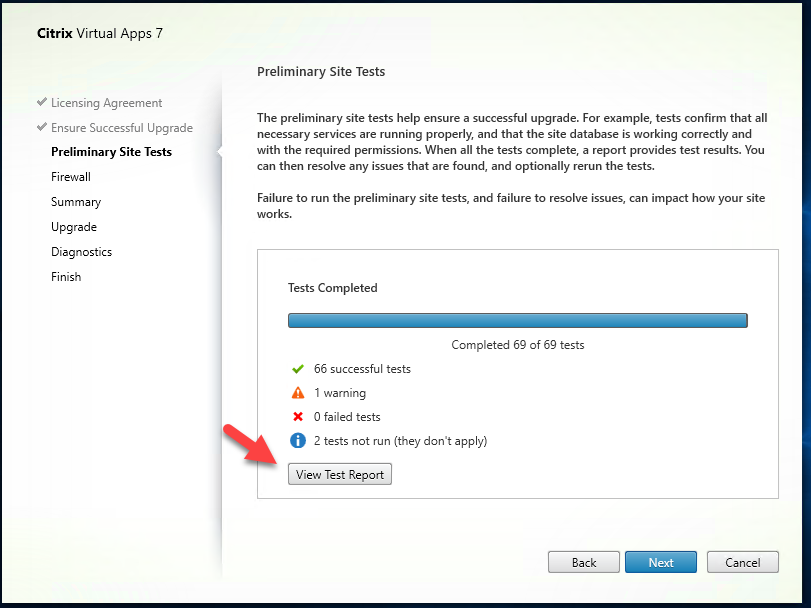
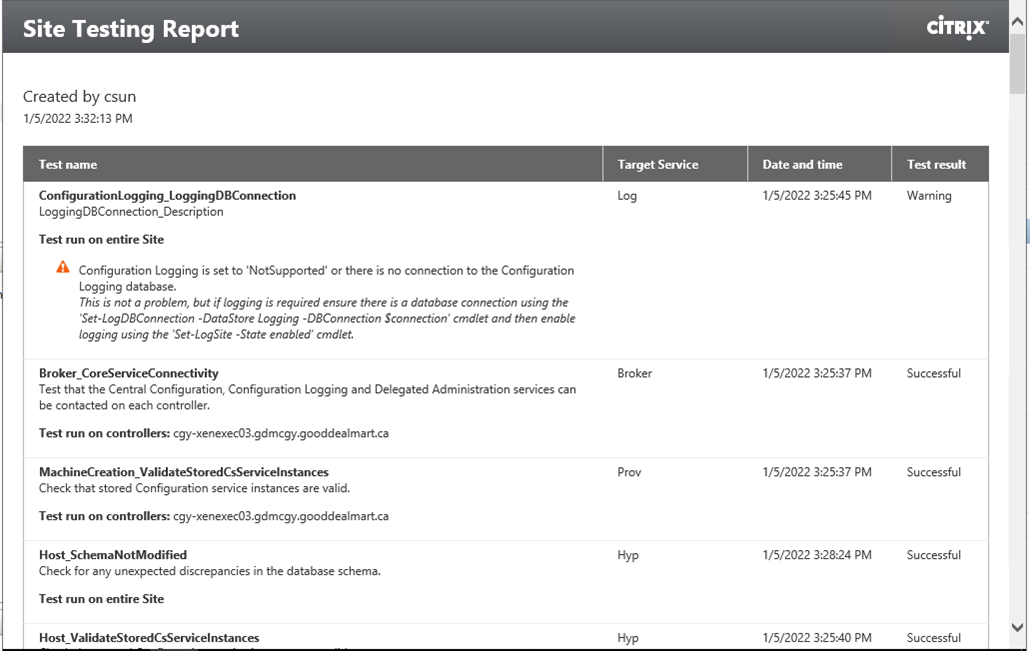
18. You can click View Test Report to verify the test results.
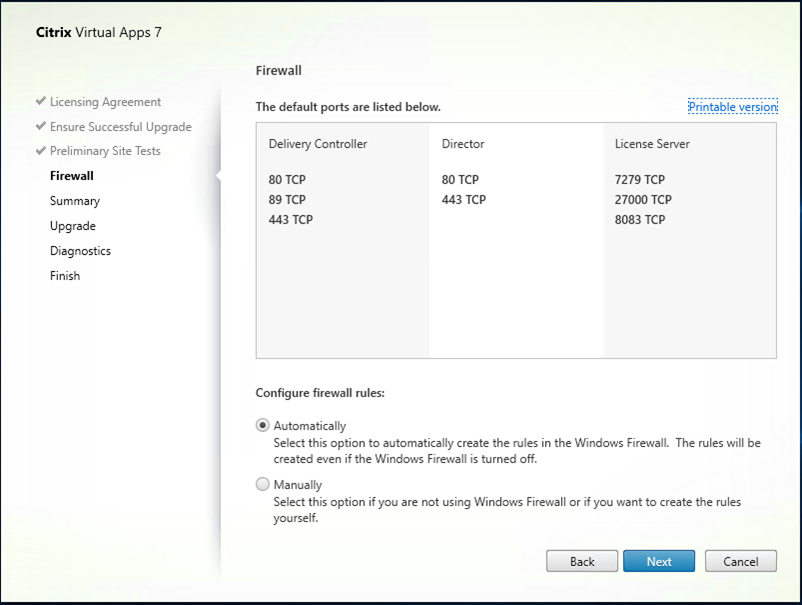
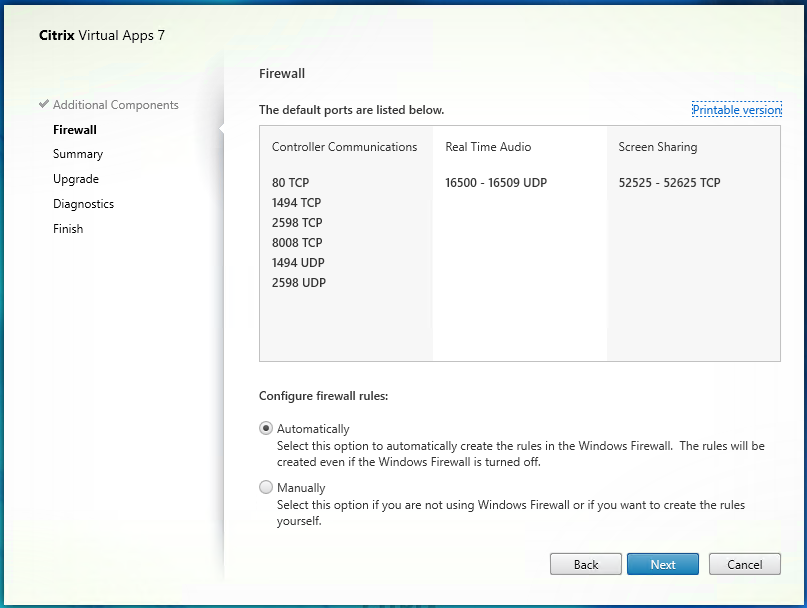
19. On the Firewall page, click Automatically configure firewall rules, click Next.
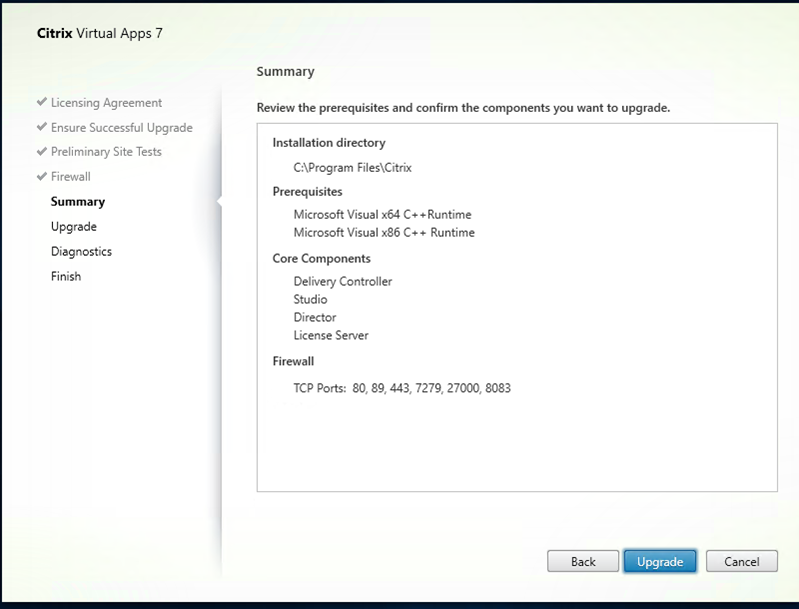
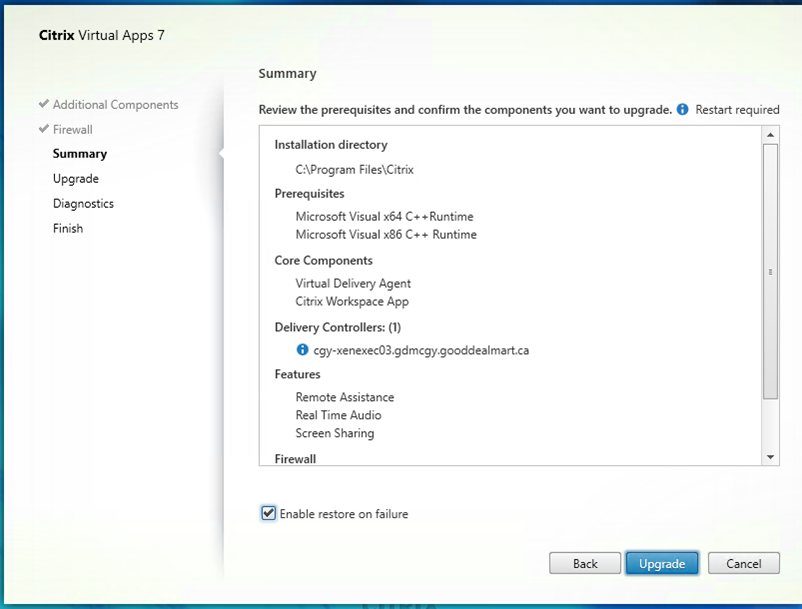
20. On the Summary page, click Upgrade
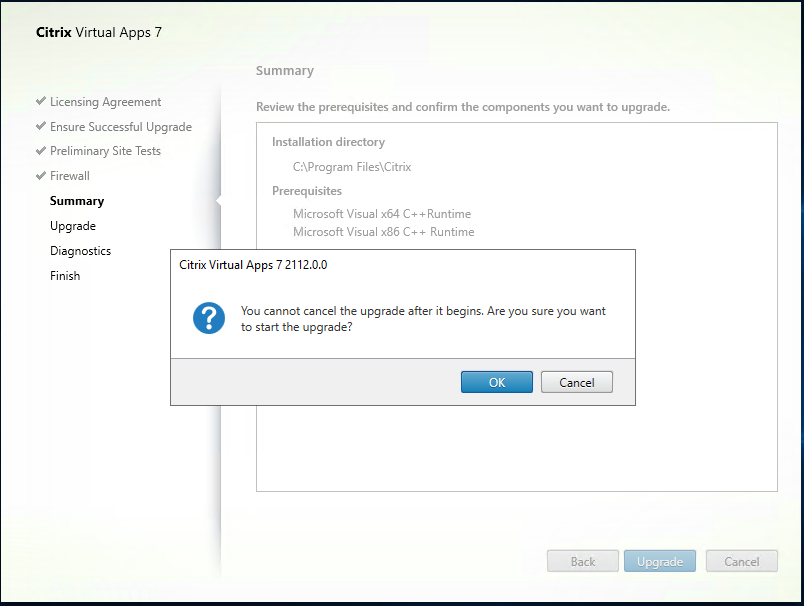
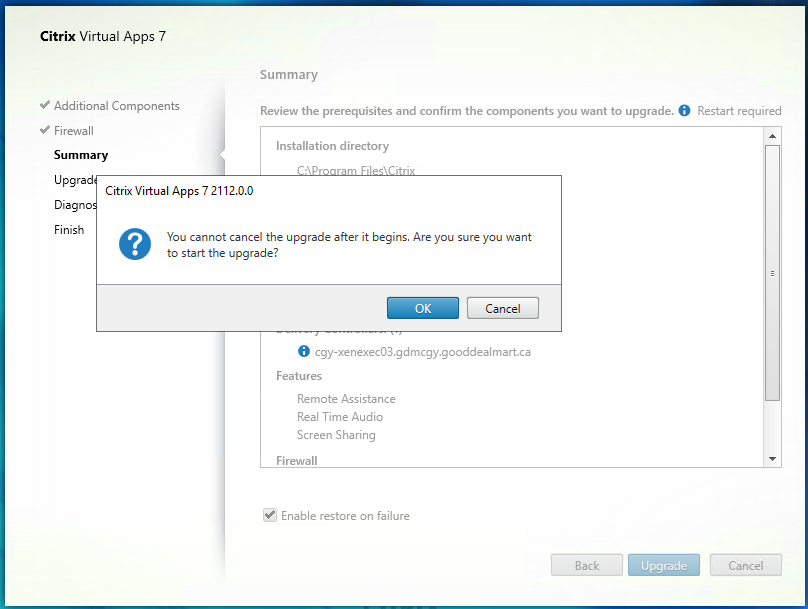
21. Click OK on the upgrade confirm page.
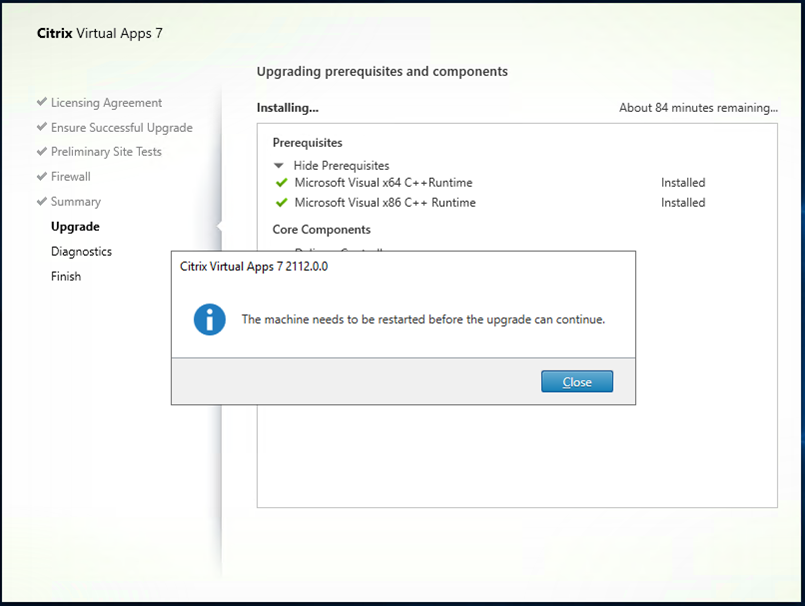
22. The server needs to restart at upgrade process.
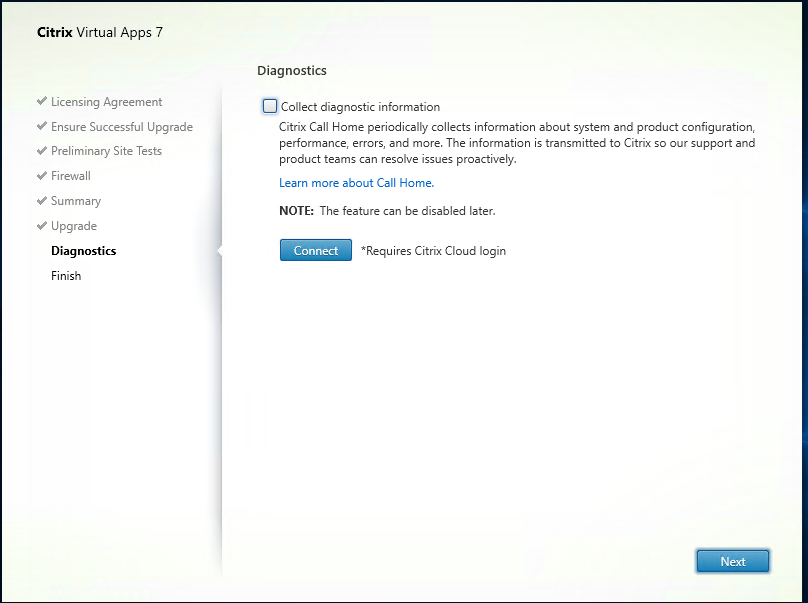
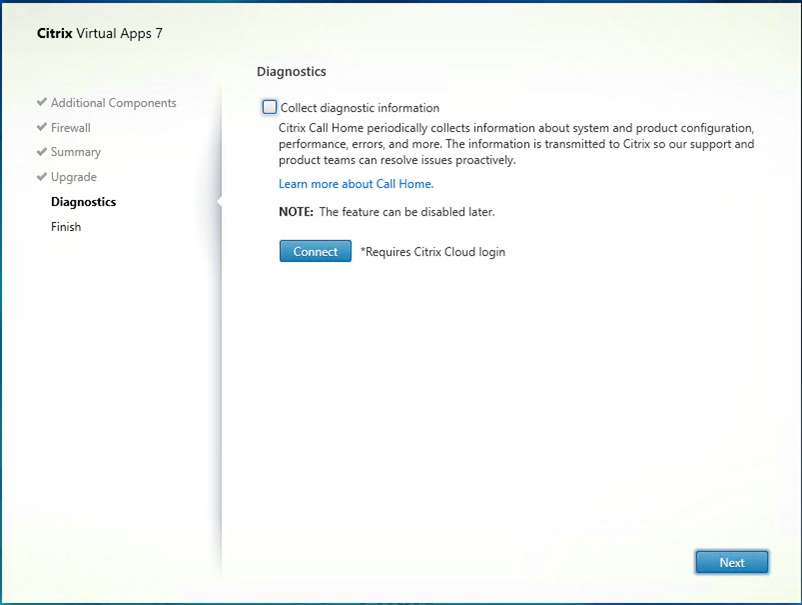
23. On the Diagnostics page, unselect Collect diagnostic information, click Next. You can participate later if need it.
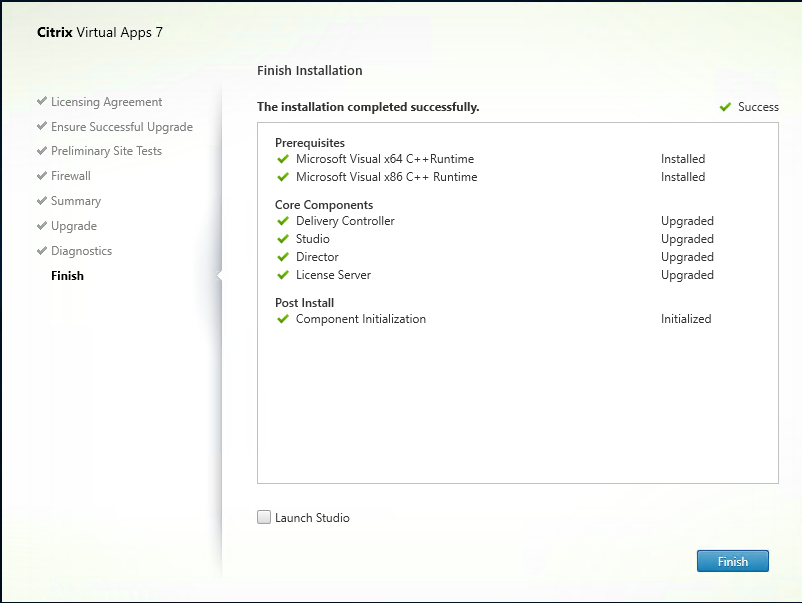
24. On the Finish Installation page, click Finish.
25. Login to VDA server.
26. Mount iso image file.
27. Double-click DVD Drive.
28. On the Citrix Virtual Apps 7 page, click Virtual Delivery Agent for Windows Multi-session OS Upgrade VDA for Windows multi-session OS.
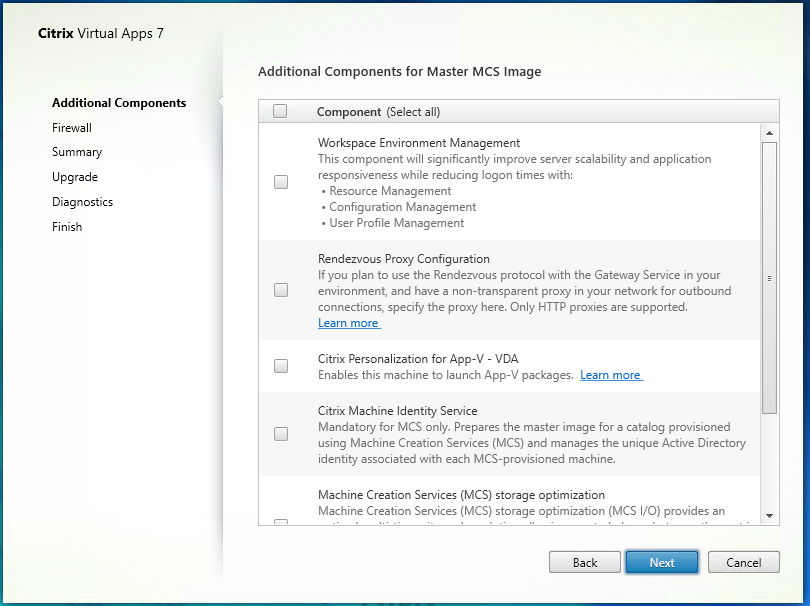
29. On the Additional Components for Master MCS Image, select the components that you would like to add, click Next.
30. On the Firewall page, click Automatically configure firewall rules, click Next.
31. On the Summary page, click Upgrade.
32. Click OK on the upgrade confirm page.
33. On the Diagnostics page, unselect Collect diagnostic information, click Next. You can participate later if need it.
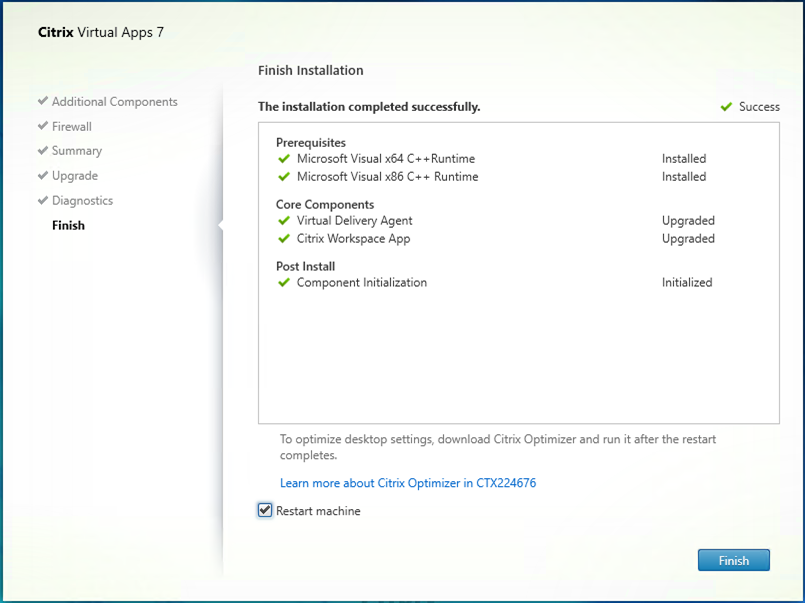
34. On the Finish page, select Restart machine, click Finish.
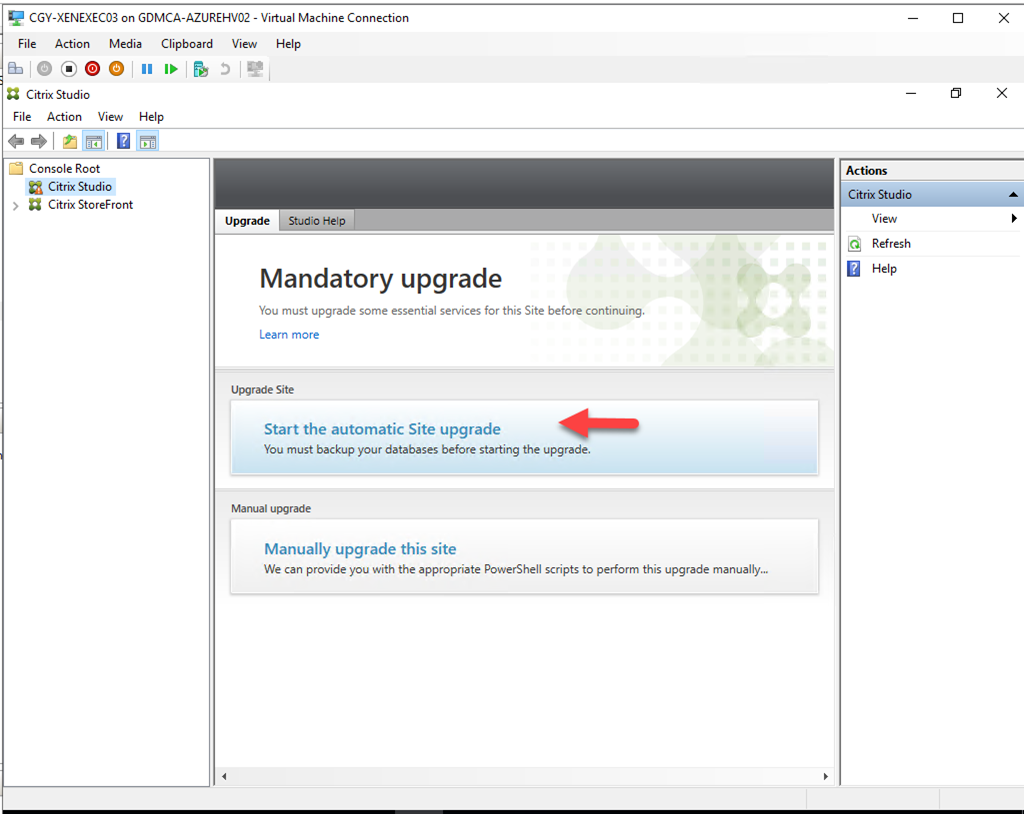
35. Login to Delivery Control server, open Citrix Studio, click Start the automatic Site Upgrade.
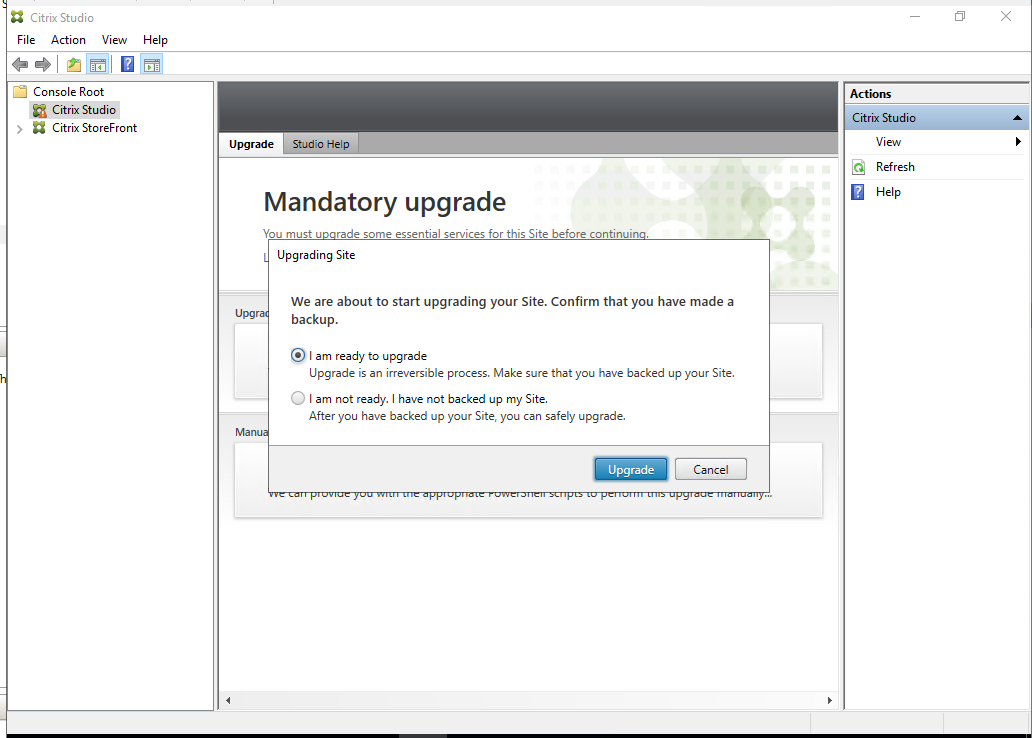
36. On the Upgrading Site page, select I am ready to upgrade, click Upgrade.
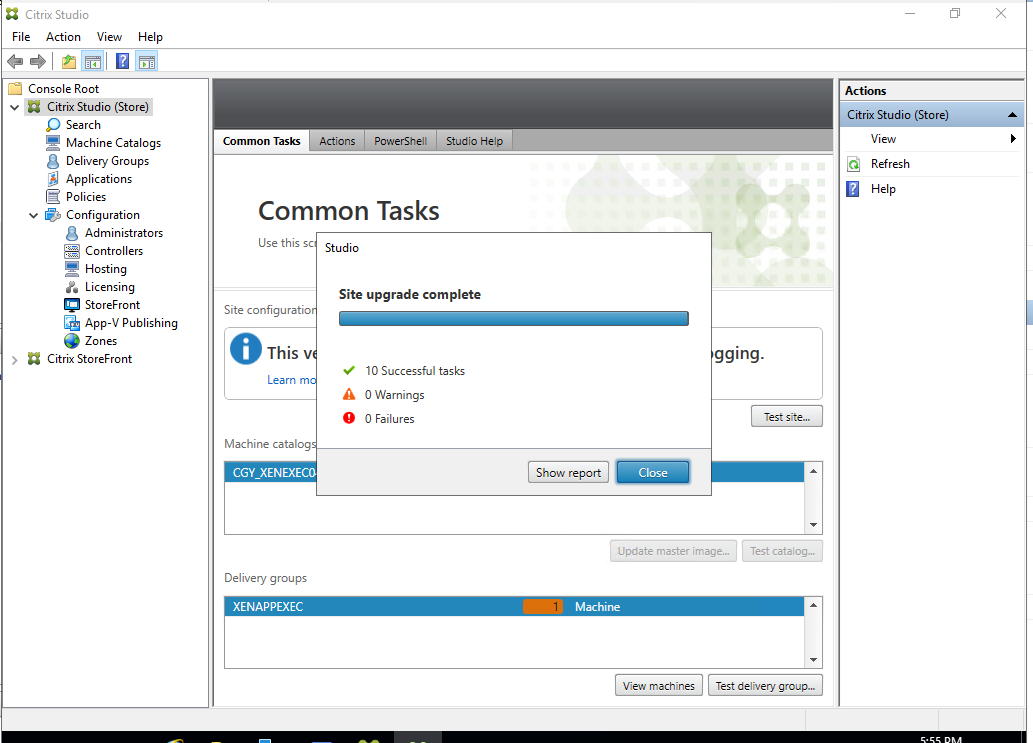
37. On the Studio page, make sure Site upgrade complete without issues, click Close.
38. Reboot Both Citrix servers.
Hope you enjoy this post.
Cary Sun
Twitter: @SifuSun
Web Site: carysun.com
Blog Site: checkyourlogs.net
Blog Site: gooddealmart.com