
This section describes creating a backup copy job that off-loads to the Azure blob after performing a full backup. It will not use the Azure Blob archive tier.
It would be best to have a scale-out repository ready before creating this backup copy job.
1. Login to the Veeam Backup and Replication Manager server.
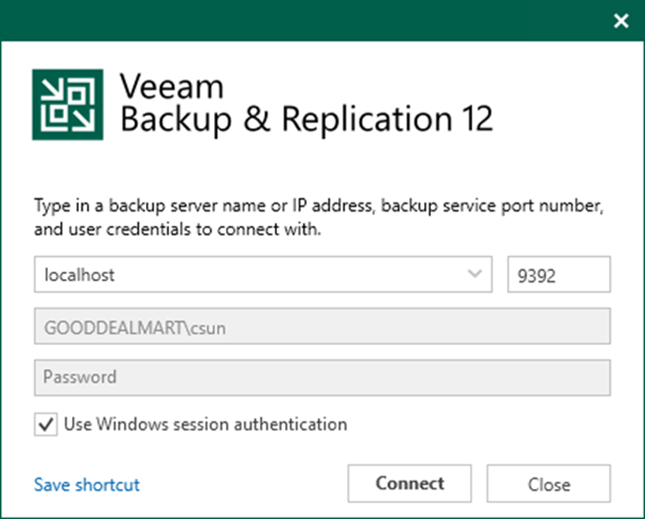
2. Open the Veeam Backup & Replication Console and click Connect.
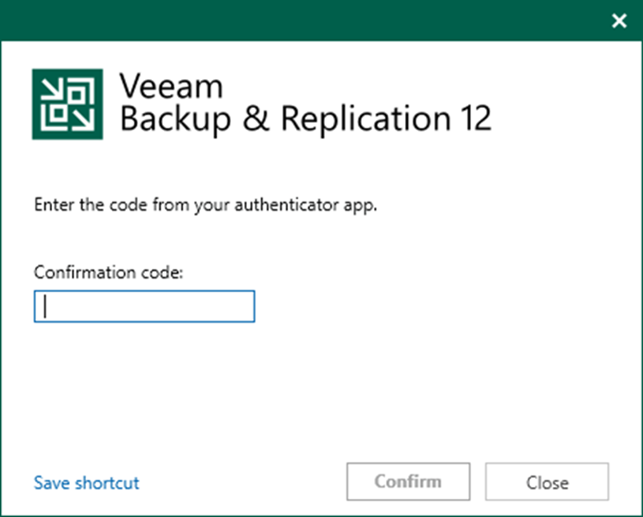
3. Enter the MFA Confirmation code and click Confirm.
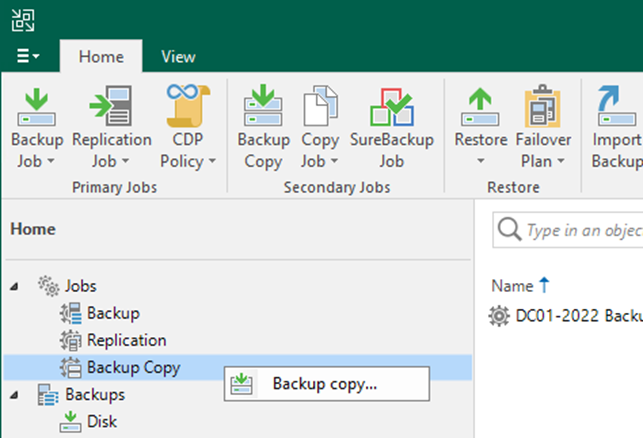
4. Under Jobs, right-click Backup on the Home page.
5. Select Backup copy.
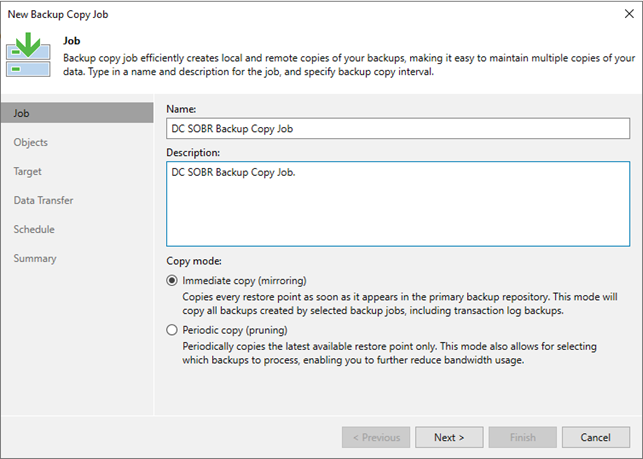
6. Enter the backup copy job name in the Name field on the Name page.
7. Enter the backup copy job description In the Description field.
8. Select Immediate copy (mirroring) under Copy mode.
9. Click Next.
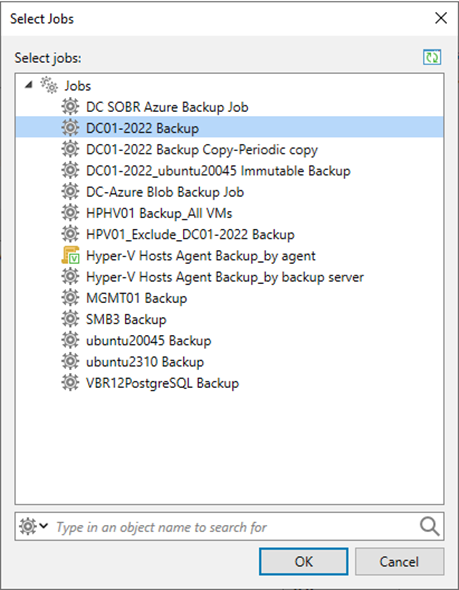
10. On the Objects page, click Add and select From jobs.

11. Select the job from the jobs list on the Select Jobs page and click OK.
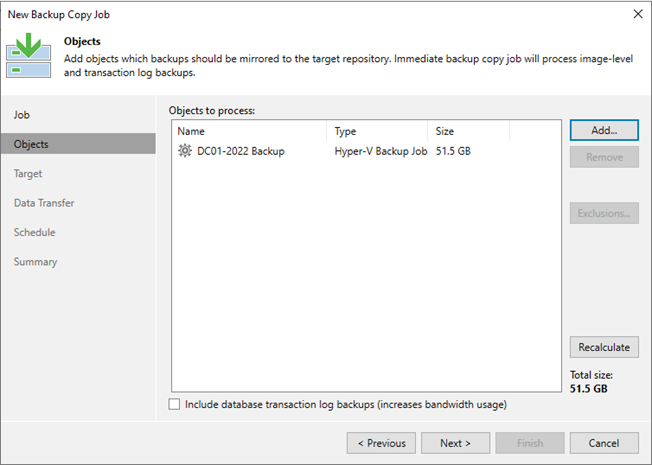
12. Click Next on the Objects page.
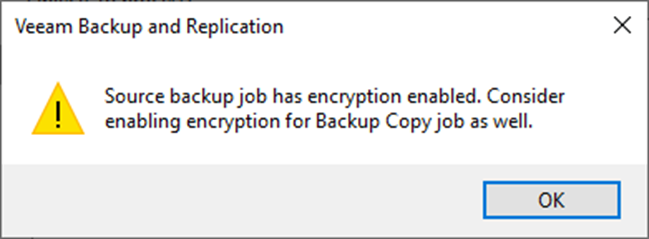
13. Click OK in the encryption-enabled warning message if the source backup job has encryption enabled.
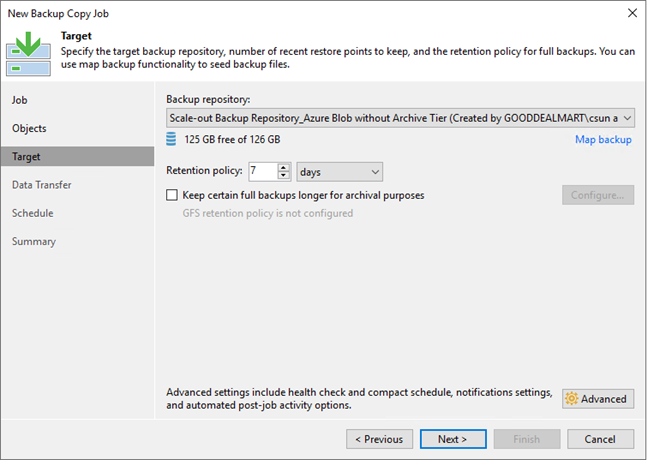
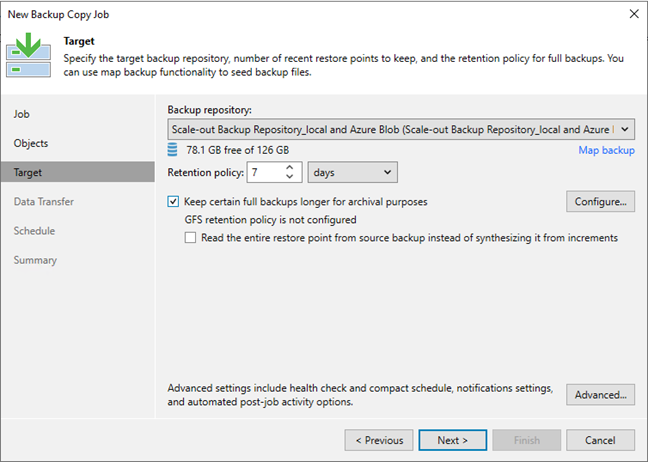
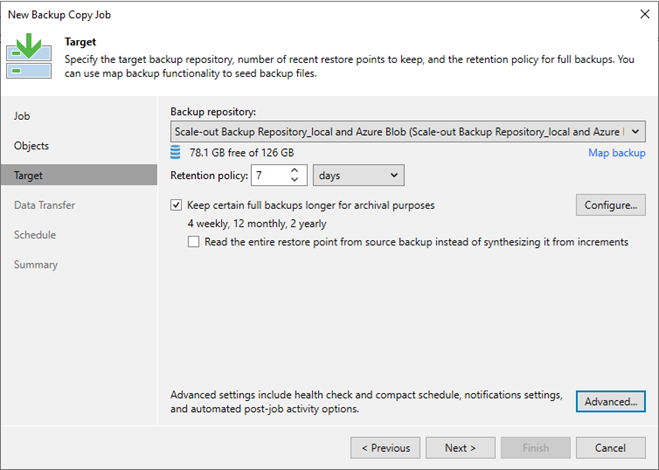
14. Select the SOBR object storage repository in the Backup repository field on the Target page.
15. Set your restore points in the Retention policy field.
16. To configure GFS retention policy settings for the backup copy job for long-term archiving.
17. Select Keep specific full backups for longer for archival purposes and click Configure.
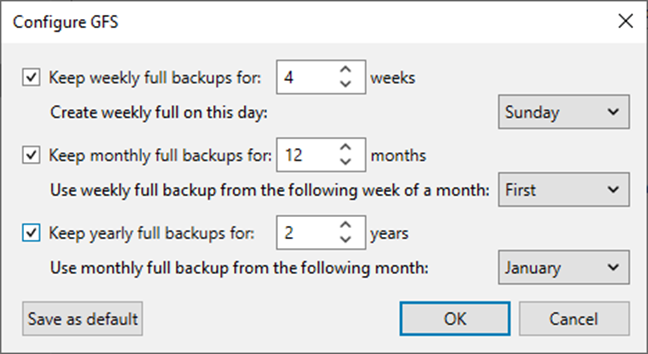
18. On the Configure GFS page, select Keep weekly full backups and specify the weeks you want to prevent restore points from being modified and deleted.
19. Select the Keep monthly full backups, and specify the months you want to prevent restore points from being modified and deleted.
20. Select the Keep yearly full backups checkbox, and specify the years you want to prevent restore points from being modified and deleted.
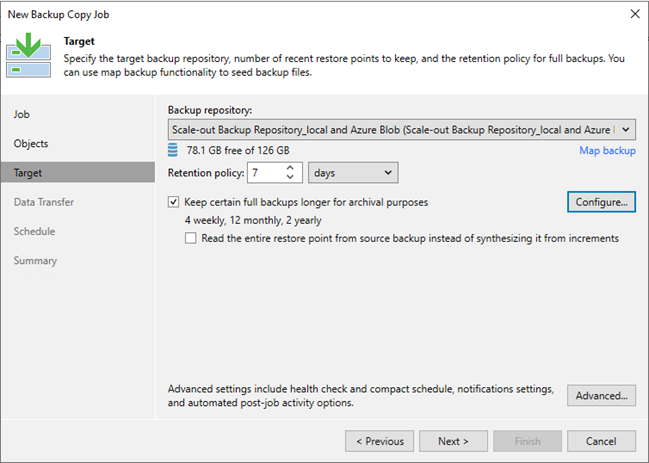
21. Click OK.
22. Click Advanced on the Target page.
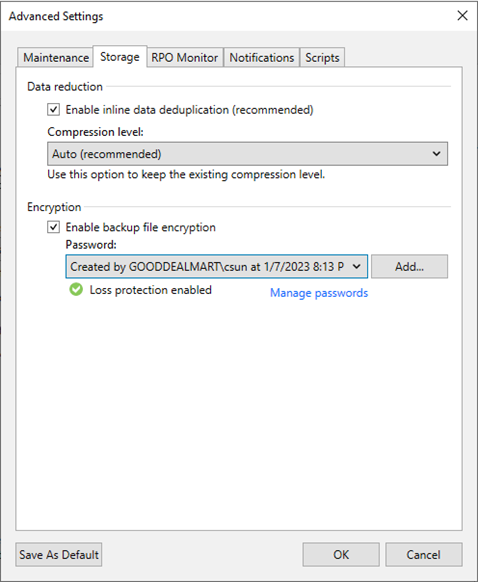
23. Select Enable backup file encryption in the Storage tab under Encryption.
24. Select or Add a password and click OK.
25. Click Next on the Target page.
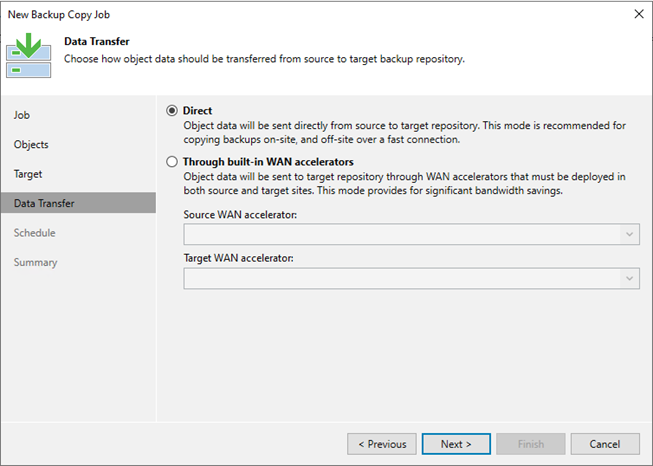
26. On the Data Transfer page, Select Direct if you plan to copy backup files over high-speed connections.
27. Select the Through built-in WAN accelerators if you copy backup files over WAN or slow connections.
28. Select a WAN accelerator configured in the source site from the Source WAN accelerator drop-down list.
29. Select a WAN accelerator configured in the target site from the Target WAN accelerator drop-down list.
30. Click Next.
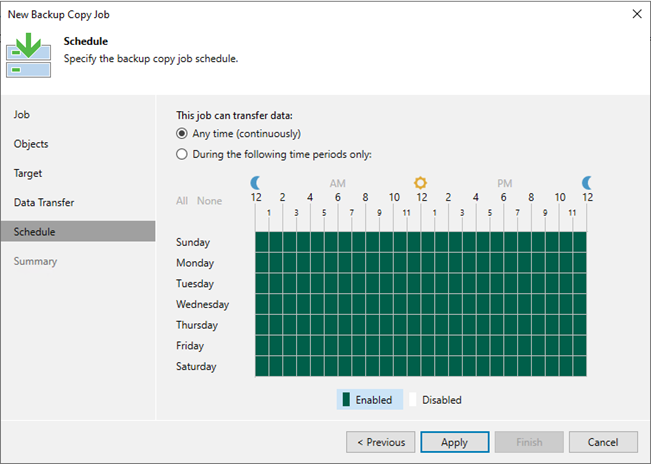
31. On the Schedule page, select Any time (continuously) if this job can transfer data at any time.
32. Select During the following periods only if required.
33. Click Apply.
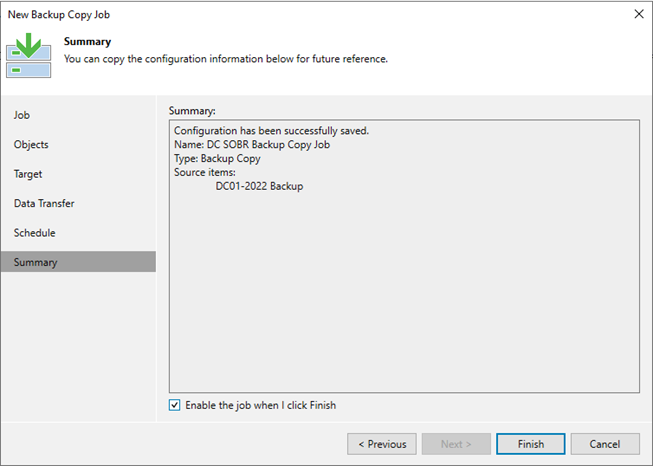
34. Select Enable the job when I click Finish on the Summary page.
35. Click Finish.
I hope you enjoy this post.
Cary Sun
X: @SifuSun
Web Site: carysun.com
Blog Site: checkyourlogs.net
Blog Site: gooddealmart.com
Amazon Author: Amazon.com/author/carysun