
Veeam Backup & Replication is a centralized control center for deploying and managing Veeam Agent, including Veeam Agent for Microsoft Windows, Linux, IBM AIX, Oracle Solaris, and Mac.
Physical machines you want to protect with Veeam Agents are organized into protection groups in Veeam Backup & Replication. A protection group groups together protected computers of the same type. To simplify the management of such computers, Whether you create a protection group for laptops, workstations, servers or any other type of computer, Veeam Backup & Replication allows you to easily group them for dedicated and targeted protection. A separate protection group can also be used for Veeam Agent computers that you manage differently than other machines in your infrastructure.
You can use protection groups to automate the Veeam Agent deployment and management on computers in the infrastructure. When you configure a protection group, you can specify scheduling options for protected computer discovery and Veeam Agent deployment. You do not need to install, configure, and run Veeam Agent on each computer whose data you wish to protect. Instead, you can use the Veeam Backup & Replication console to remotely perform all Veeam Agent deployment, administration, data protection, and disaster recovery tasks.
You can back up and restore the On-Premises physical machines running Windows operating systems. Backup agents are installed on each computer by Veeam Backup & Replication.
1. Login to the Veeam Backup and replication manager server.
2. Open the Veeam Backup & Replication Console and click Connect.

3. Select Inventory on the Home page.
4. On the Inventory page, select Physical Infrastructure and click Create Protection Group.

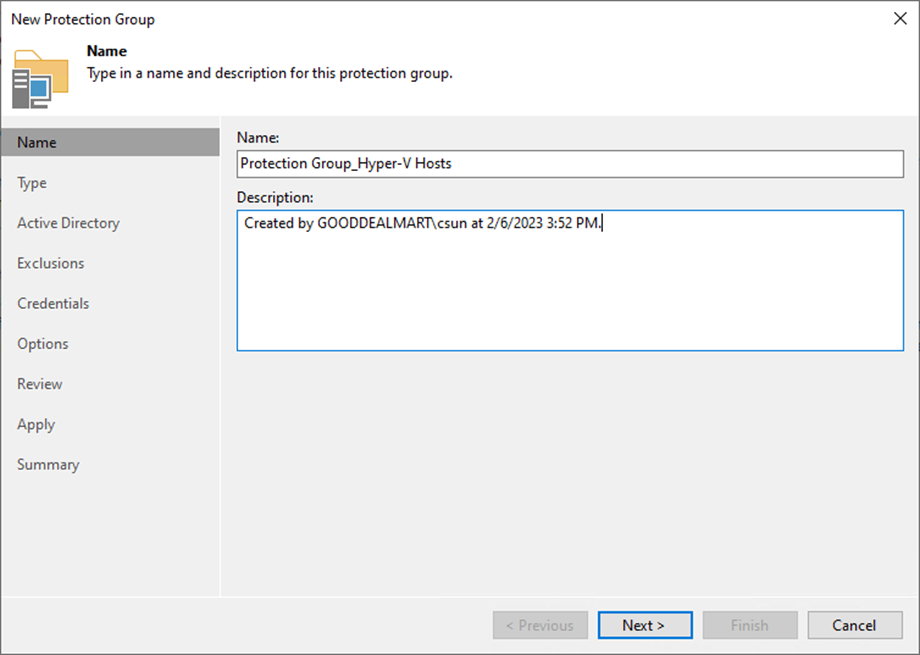
5. On the Name page, specify a protection group name.
6. Give a brief description in the Description field for future reference and click Next.
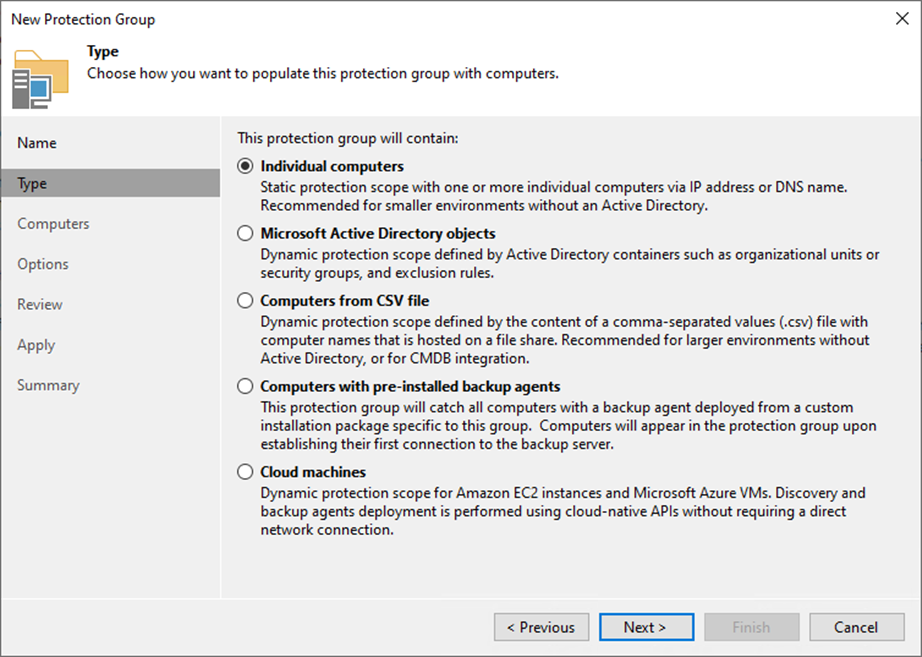
7. Select Specify protection scope for the created protection group on the Type page and click Next.
- Individual computers: add specific computers to the protection group.
- Microsoft Active Directory objects: select this option to add one or several Active Directory objects to the protection group.
- Computers from CSV file: add to the protection scope computers listed in a CSV file.
- Computers with pre-installed agents: create a protection group for pre-installed Veeam Agents.
- Cloud machines: select this option to add Amazon EC2 instances or Microsoft Azure virtual machines.
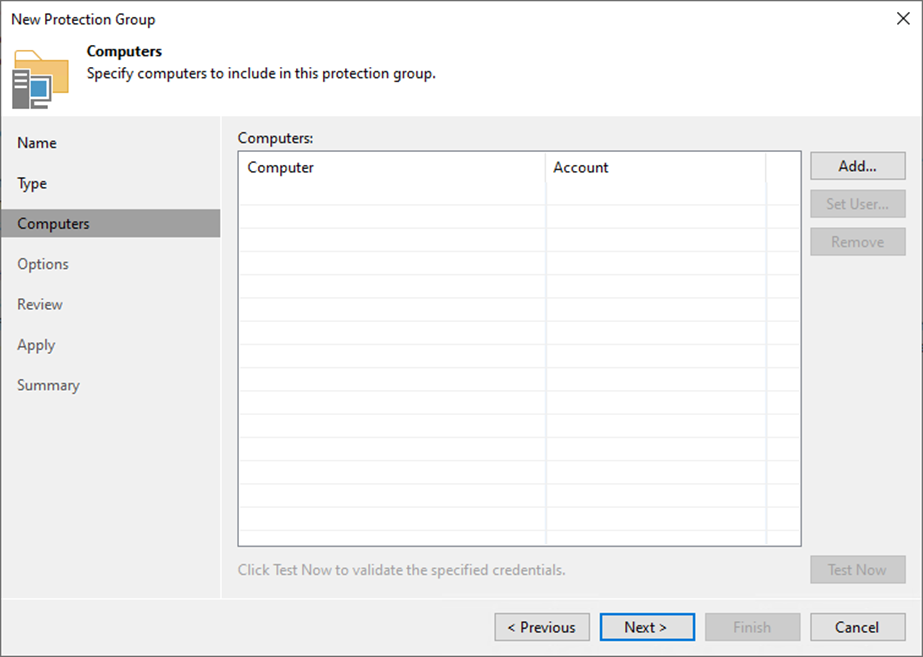
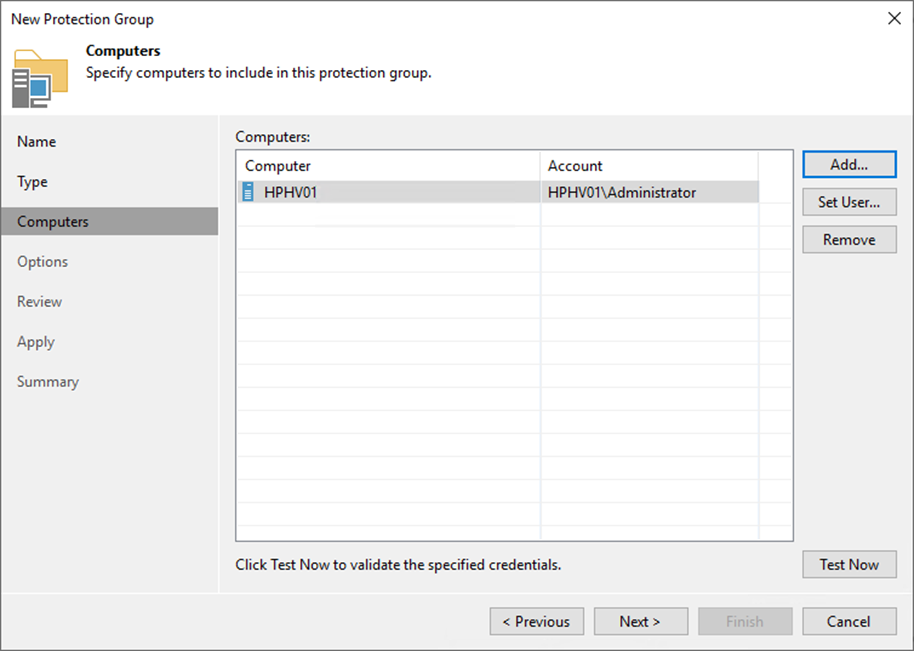
8. Click Add on the Computers page.
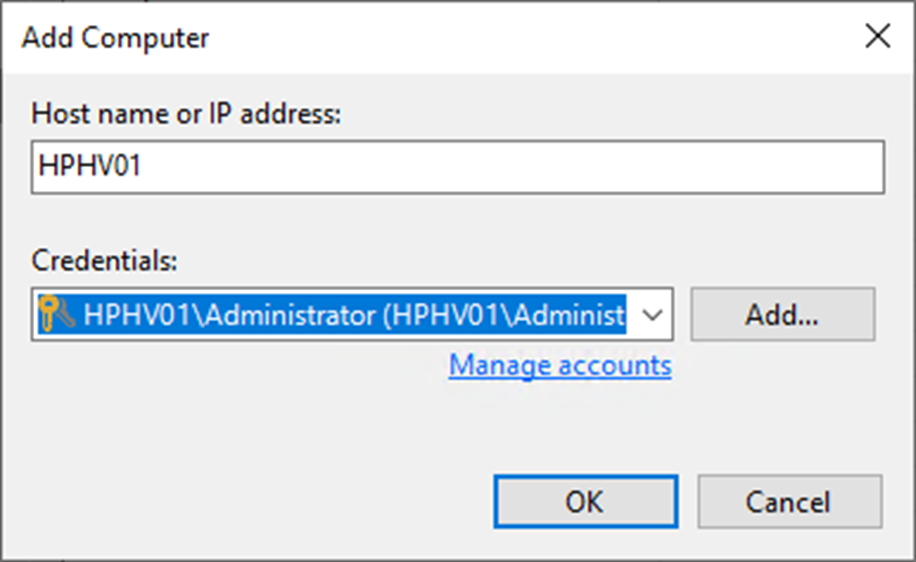
9. Specify a DNS name or IP address on the Add Computer page.
10. From the Credentials list, select a user account with administrative permissions on the computer and click OK.
11. If you need to set up credentials beforehand, click the Manage accounts link or Add on the right.
12. Click Test Now on the Computers page.
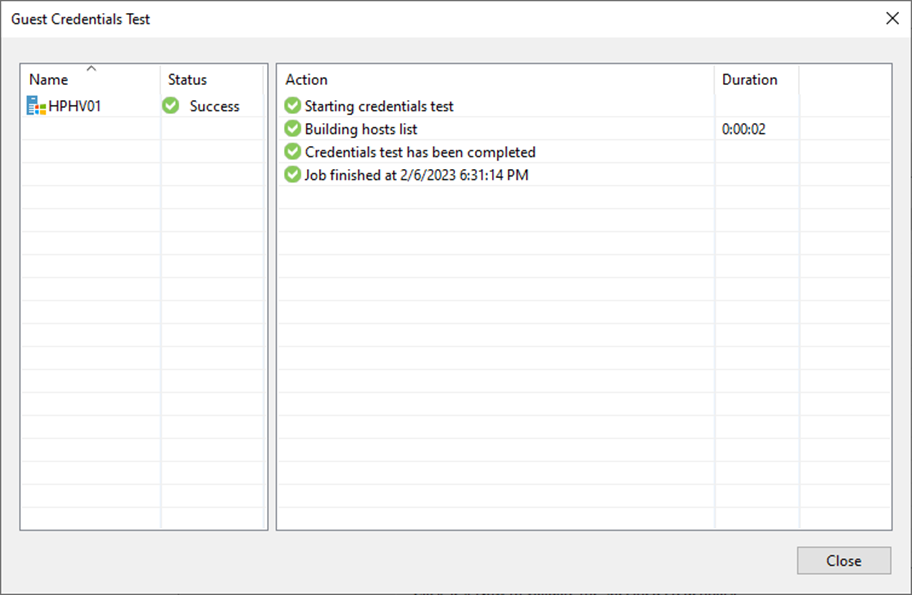
13. On the Guest Credentials Test page and click Close.
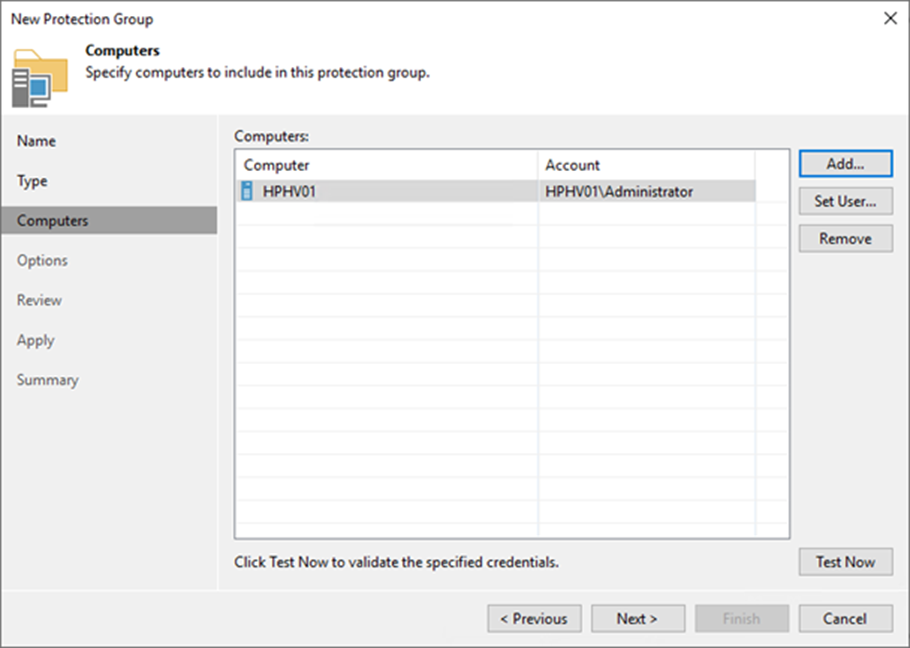
14. Click Next on the Computers page.
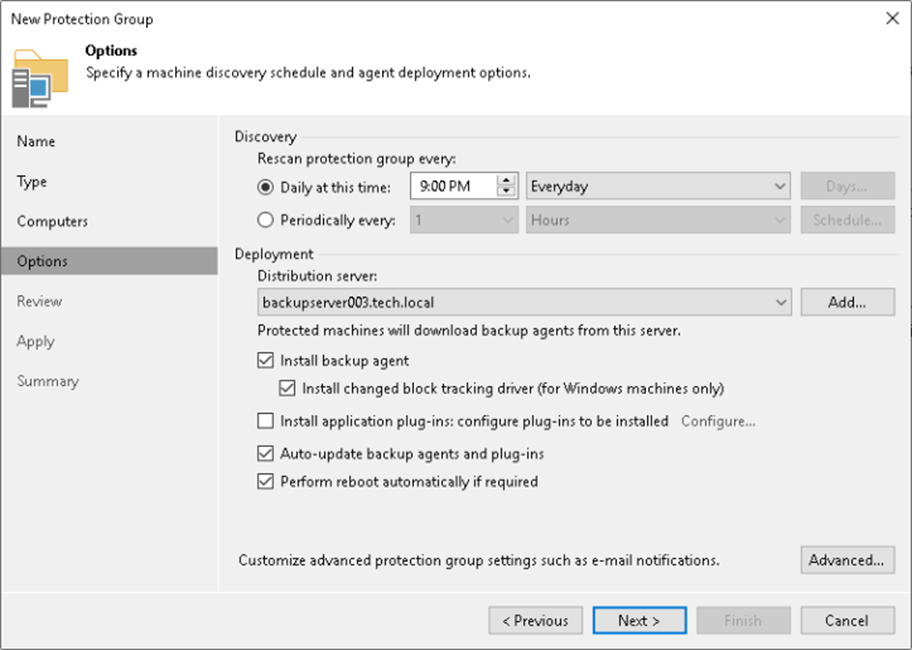
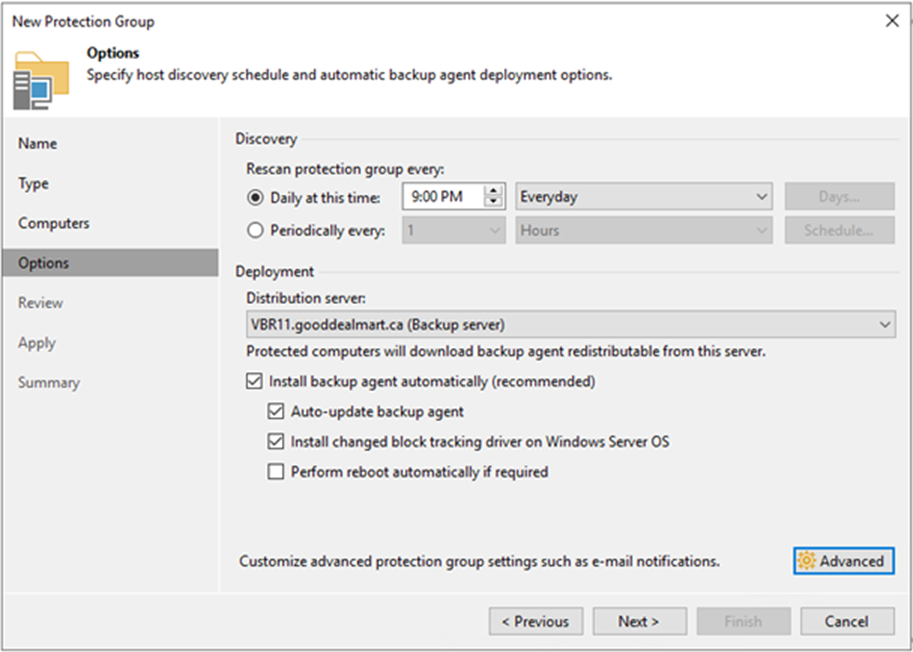
15. On the Options page, in the Discovery section, define the schedule for automatic computer discovery within the scope of the protection group.
16. In the Deployment section, select a Microsoft Windows server from the Distribution server list to serve as a distribution server.
17. Select the Install Backup agent checkbox.
18. Select the Install changed block tracking driver (for Windows machines only) checkbox.
19. Click Advanced to customize advanced protection group settings.
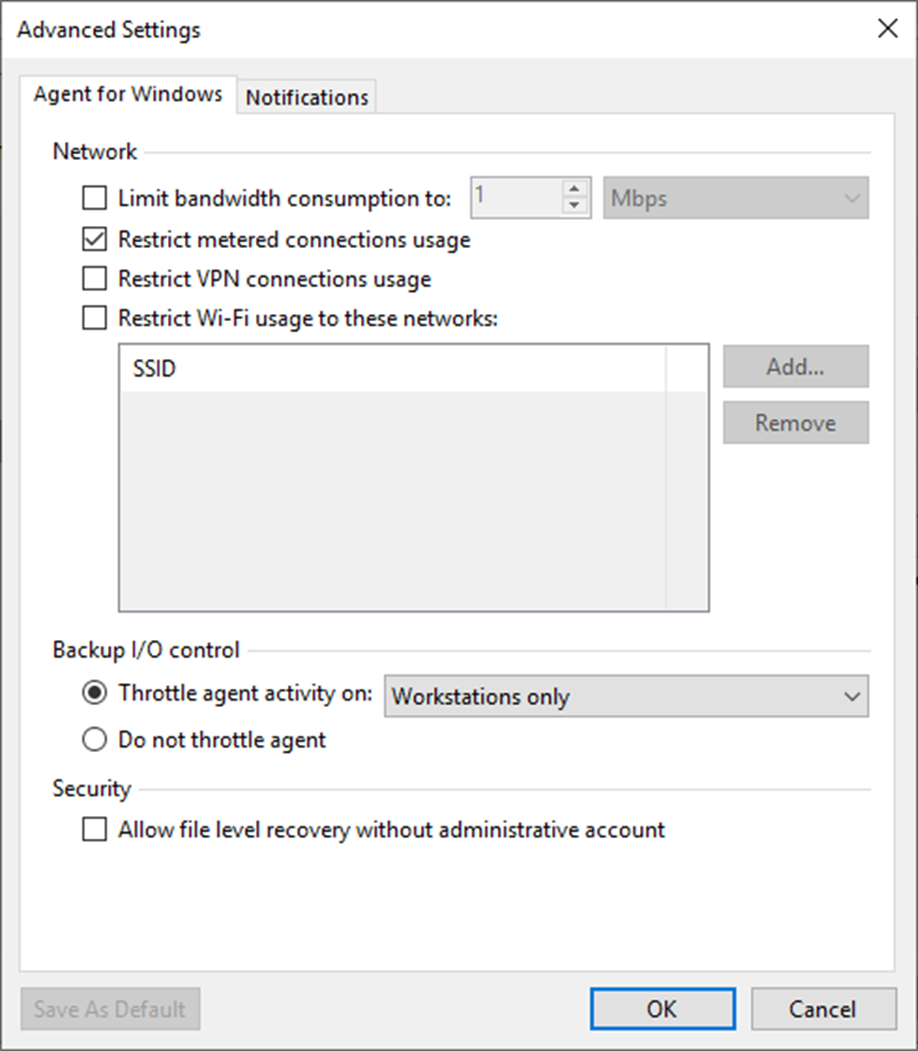
20. On the Advanced Settings page, specify the below settings that will be deployed on computers included in the protection group and click OK.
- Limiting bandwidth consumption: specify the maximum speed for transferring backed-up data from the Veeam Agent computer to the target location.
- Restrict metered connections usage: Veeam Agent automatically detects metered connections and does not perform backup when your computer is on such connection.
- Restrict VPN connection usage: Veeam Agent for Microsoft Windows will automatically detect a VPN connection and not perform a backup when the Veeam Agent computer is on such a connection.
- Restrict Wi-Fi usage to these networks: restrict usage of wireless networks for Veeam Agent running on Microsoft Windows workstations.
21. Backup I/O settings: You can instruct Veeam Agent for Microsoft Windows to throttle its activities during backup.
- Throttle agent activity on the type of computers to throttle Veeam Agent backup activities: Workstations, Servers, or All hosts.
22. Security settings: You can allow user accounts that do not have administrative privileges on a Veeam Agent computer to perform a file-level restore on this computer.
23. On the Advanced page, select Notifications.
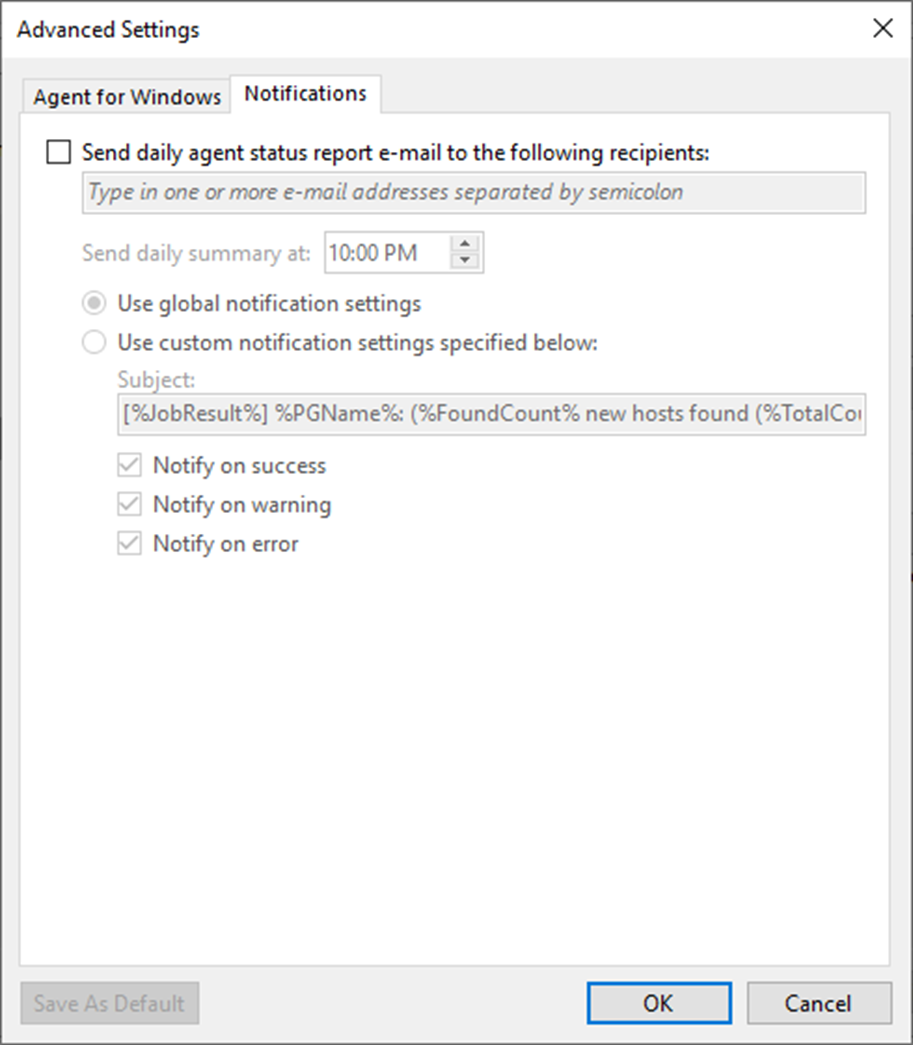
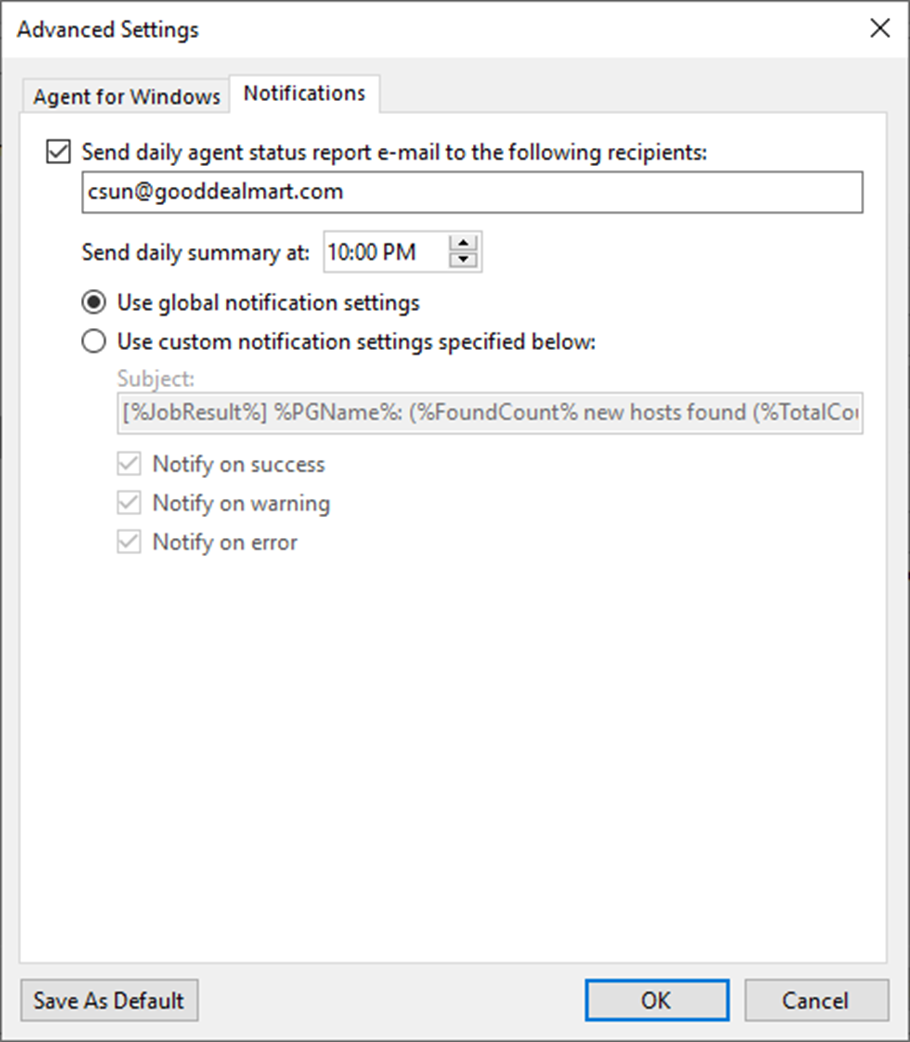
24. On the Notification page, select Send daily agent status report e-mail to the following recipients: checkbox and enter an email address.
25. Enter several addresses separated by a semicolon.
26. You can use global notification settings or specify custom notification settings and click OK.
27. On the Options page, click Next.
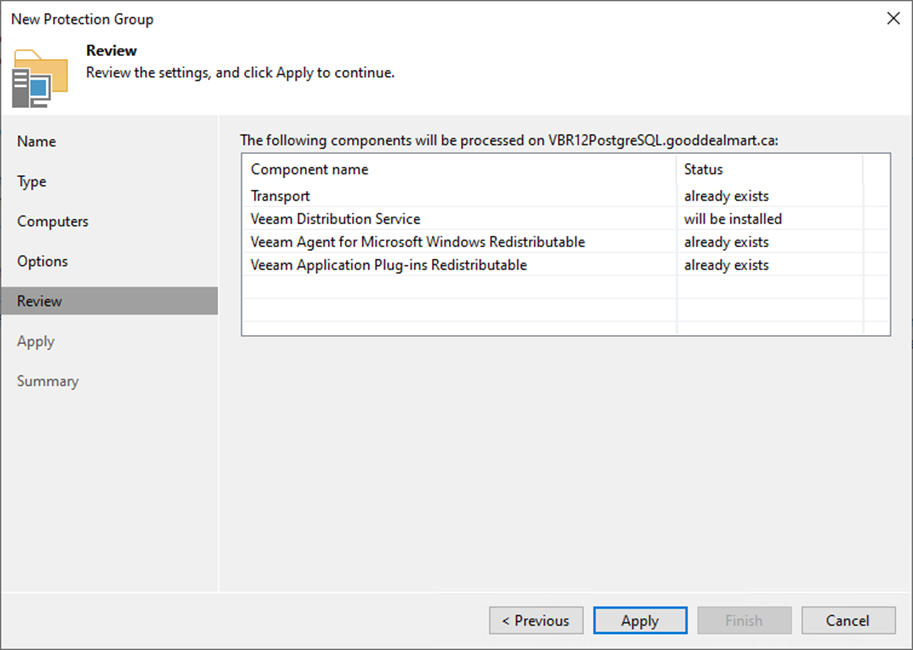
28. On the Review page, click Apply.
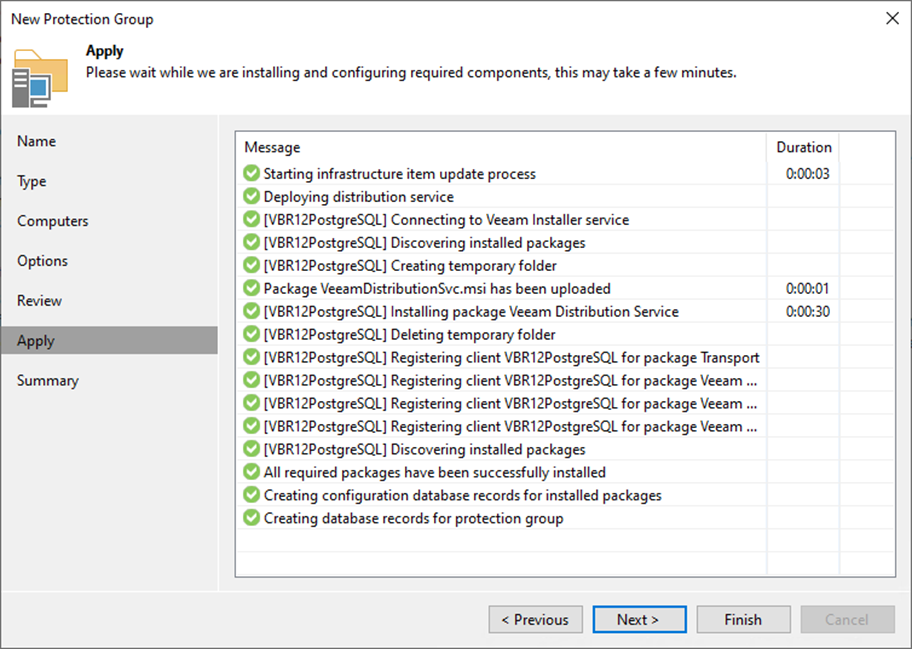
29. Click Next on the Apply page.
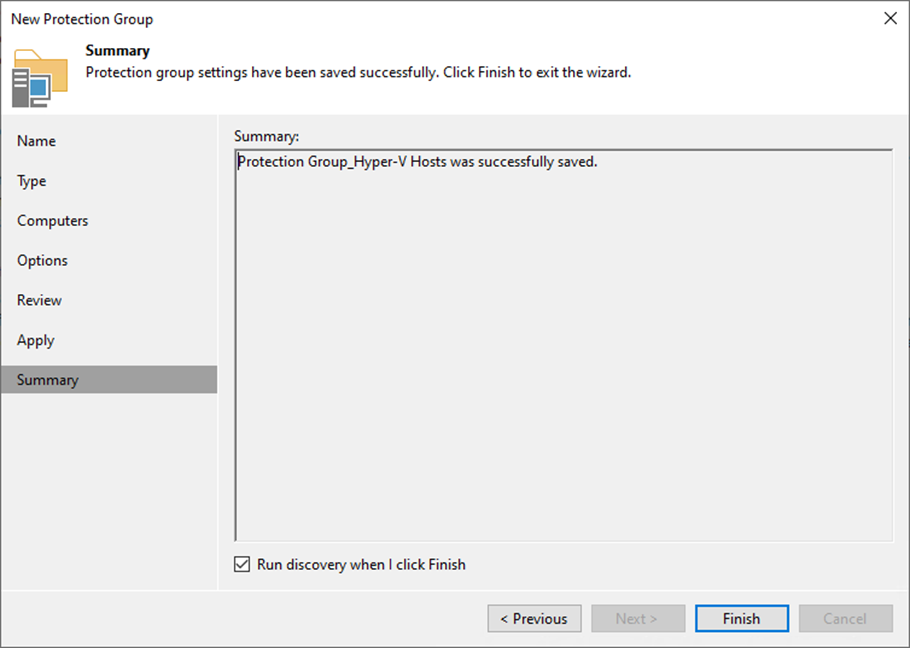
30. On the Summary page, select Run discovery when I click the Finish checkbox and click Finish.
31. Ensure the operation is complete without error on the Agents discovery session page.

32. Verify that the protection group has been added.

I hope you enjoy this post.
Cary Sun
Twitter: @SifuSun
Web Site: carysun.com
Blog Site: checkyourlogs.net
Blog Site: gooddealmart.com