
We can reuse the existing SSL certificate for the new Exchange 2019 server.
1. Login to the Exchange 2016 Server.
2. Open Exchange Management Shell as an administrator.
3. Run the below cmdlet to check the Thumbprint of the certificate.
Get-ExchangeCertificate | Select CertificateDomains, Thumbprint

4. Run the below cmdlet to export the certificate.
$bincert = Export-ExchangeCertificate -Thumbprint <Thumbprint> -BinaryEncoded -Password (Get-Credential).password

5. Enter a username and password on the Windows PowerShell credential request page.
6. Click OK.

7.
Run the below cmdlet to save the certificate file.
[System.IO.File]::WriteAllBytes(‘<path>\<file name>.pfx’, $bincert.FileData)

8. Copy the certificate file from the Exchange 2016 server to the Exchange 2019 server.
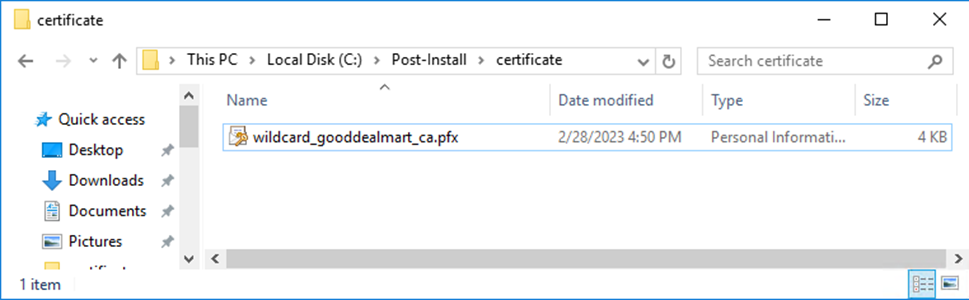
9. Login to the Exchange 2019 server.
10. Open the Exchange Management Shell as administrator.
11. Run the below cmdlet to import a certificate.
Import-ExchangeCertificate -Server EX01-2019 -FileData ([System.IO.File]::ReadAllBytes(‘C:\Post-Install\certificate\wildcard_gooddealmart_ca.pfx’)) -Password (Get-Credential).password
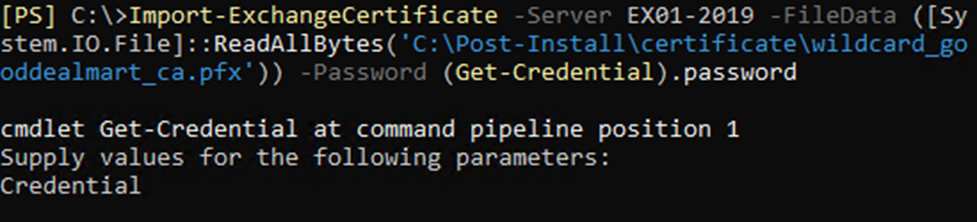
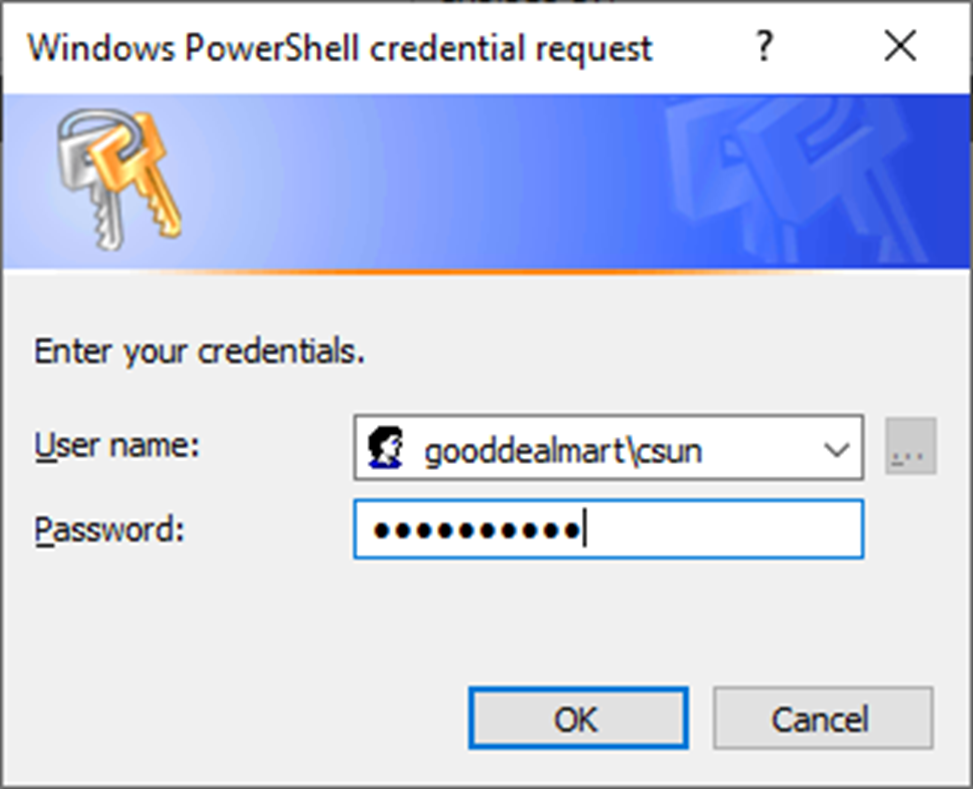
12. Enter a username and password on the Windows PowerShell credential request page.
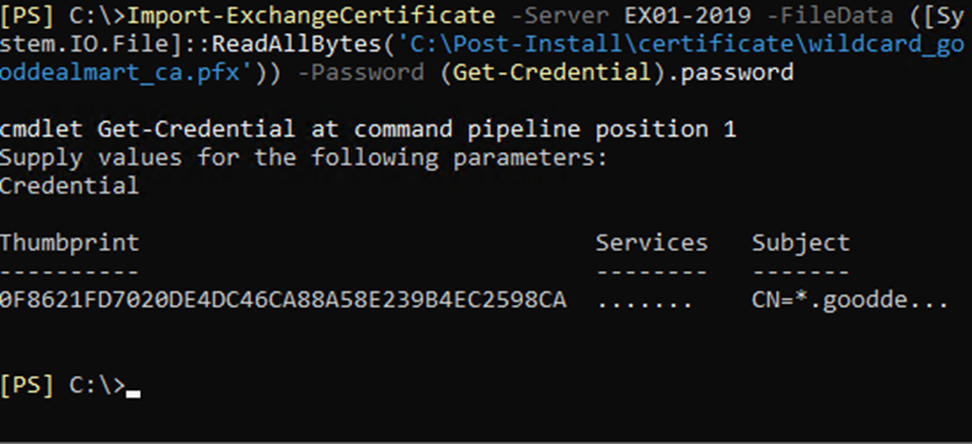
13. Click OK.
14. It would be best to save the Thumbprint for assigning exchange services to this certificate.
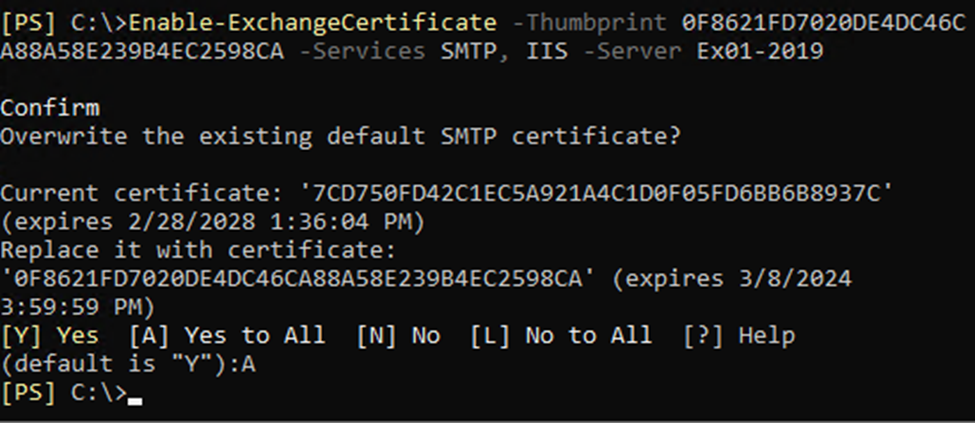
15. Run the below cmdlet to enable exchange services with this certificate.
Enable-ExchangeCertificate -Thumbprint <Thumbprint> -Services <Service name>,<Service name>… [-Server < Exchange Server Name >]
16. Run the below cmdlet to verify that you have successfully assigned a certificate to the Exchange services.
Get-ExchangeCertificate | Format-List FriendlyName,Subject,CertificateDomains,Thumbprint,Services

I hope you enjoy this post.
Cary Sun
X: @SifuSun
Web Site: carysun.com
Blog Site: checkyourlogs.net
Blog Site: gooddealmart.com