
When you install Veeam Backup & Replication v12.1, the Veeam Backup & Replication console is automatically installed on the backup server. If you want to access Veeam Backup & Replication remotely, you can install the Veeam Backup & Replication console on a dedicated machine.
1.Login to the Veeam Backup and Replication Management Server.
2.Sign in to your Veeam account and download the Veeam Backup and Replication v12.1 ISO image.
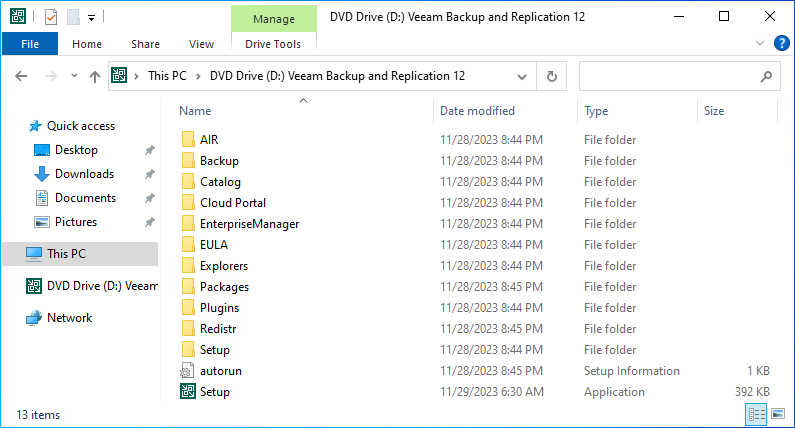
3.Mount VeeamBackup&Replication_12.1.0.2131_20231206.iso file.
4.Run Setup.exe.
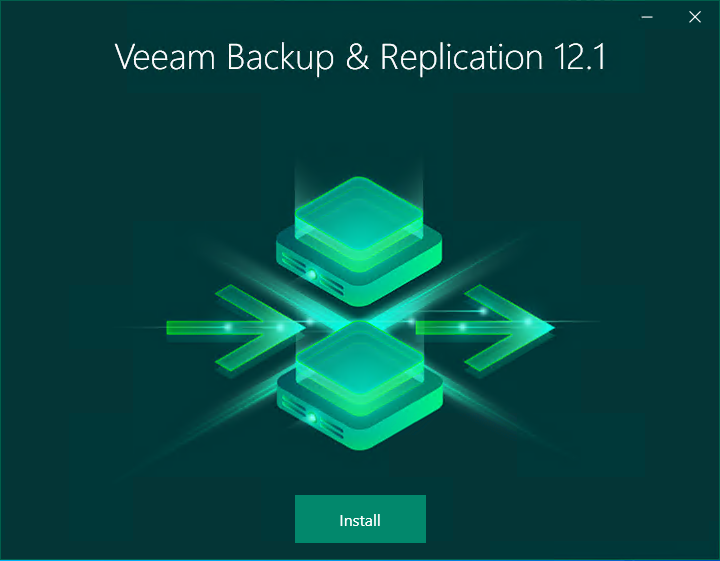
5.On the Veeam Backup & Replication 12.1 page, click Install.
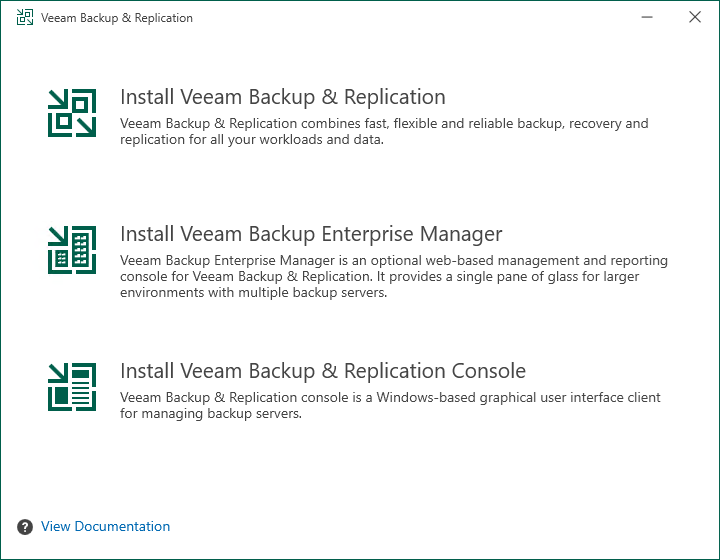
6.Select Install Veeam Backup & Replication on the Veeam Backup & Replication page.
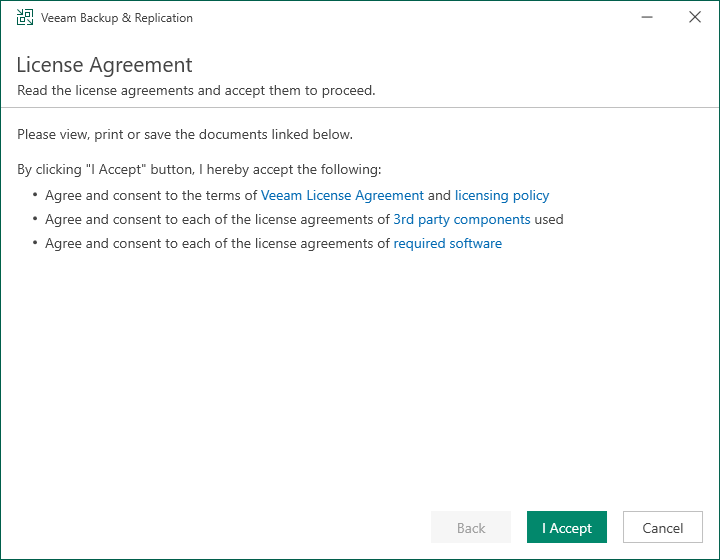
7.On the License Agreement page, click I Accept.
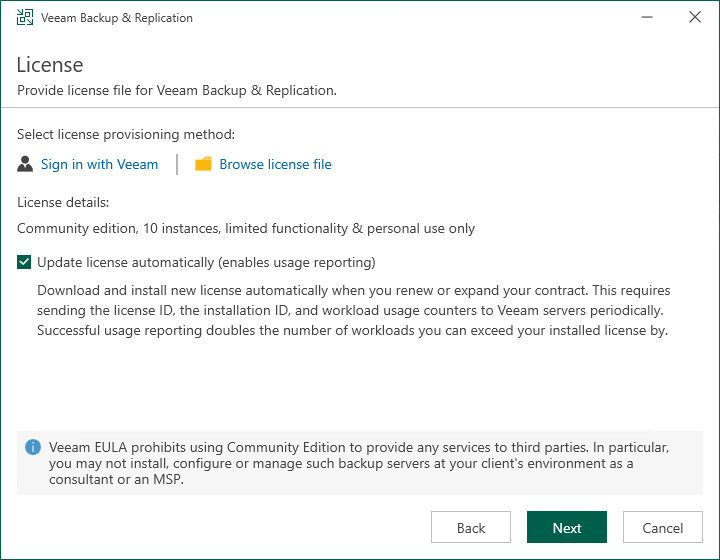
8.There are two options to install the license. To use license file in my case.
9.Select Browse license file on the License page.
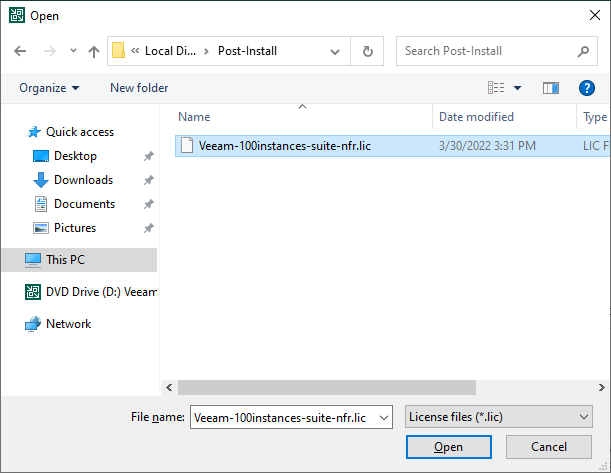
10.Select a valid Veeam Backup & Replication v12.1 license file and click Open.
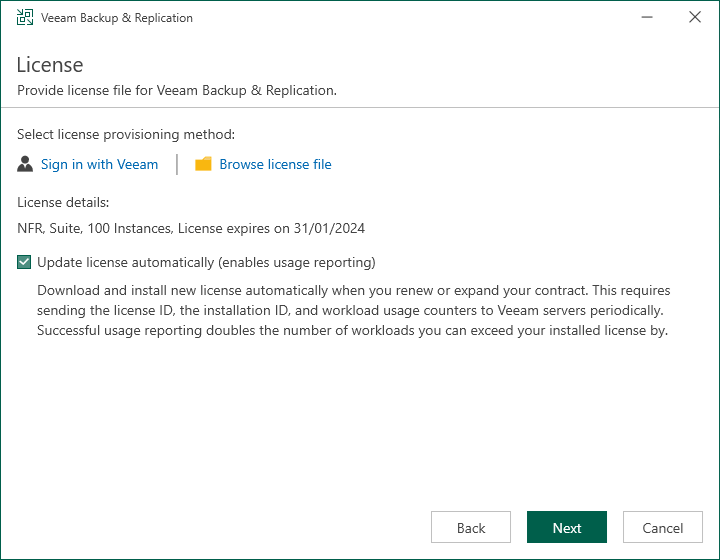
11.If you use Evaluation, Free and NFR licenses, select the Update license automatically (enables usage reporting) checkbox and click Next.

12.Click Next on the License page.
13. Click Install with the default settings on the Ready to Install page.
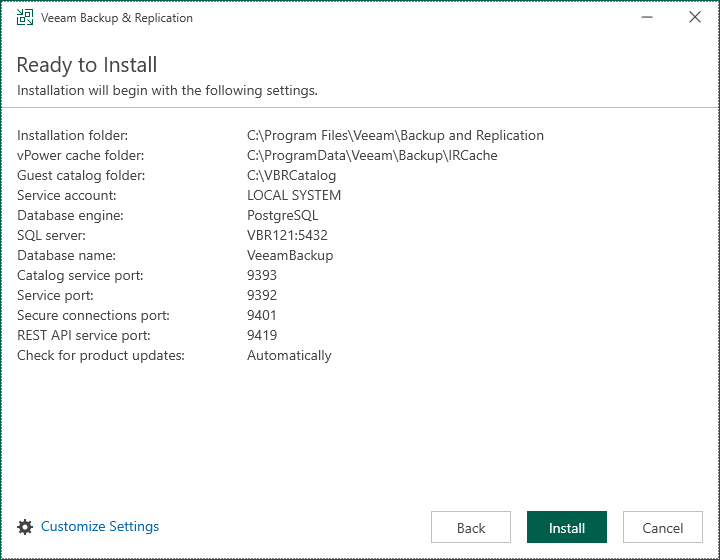
14.Click Customize Settings If you would like to specify custom installation settings.
15. Select the LOCAL SYSTEM account (Recommended) or specify another user account on the Service Account page, and click Next.

Note:
The user name of the account must be specified in the DOMAIN\USERNAME format.
The user account must have the following rights and permissions:
- The account must be a member of the Administrators group on the machine where Veeam Backup & Replication is installed.
- The account must have db_owner rights for the configuration database.
16.On the Database page, specify the database engine as PostgreSQL Server or Microsoft SQL Server.
17.If you select PostgreSQL Server and a PostgreSQL Server is not installed locally or remotely, select the Install a new instance of PostgreSQL Server.
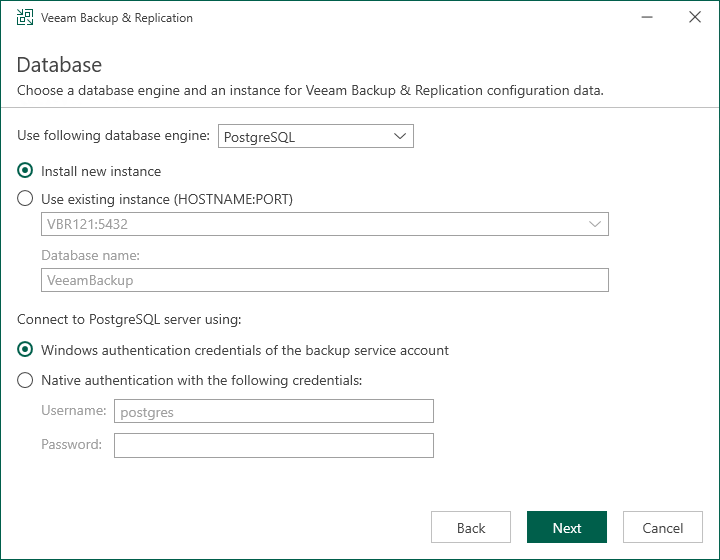
18.If a PostgreSQL Server is installed locally or remotely, select the Use existing instance of PostgreSQL Server and enter the instance name in the HOSTNAME: Port number format. In the Database field, specify a name for the Veeam Backup & Replication configuration database.
19.Select the Windows authentication to connect to the PostgreSQL server if you use the default settings to install a new instance.
20.If you use the existing instance, select the PostgreSQL Server authentication, enter the PostgreSQL Server account credentials and click Next.
21.If you have a Microsoft SQL Server ready, select Microsoft SQL Server as the database engine on the Database page.
22.Enter the instance name in the HOSTNAME\INSTANCE format. In the Database name field, enter the name for the Veeam Backup & Replication configuration database.
23.Select an authentication mode to connect to the Microsoft SQL Server instance: Microsoft Windows or SQL Server authentication. If you select the SQL Server authentication, enter the Microsoft SQL Server account credentials and click Next.

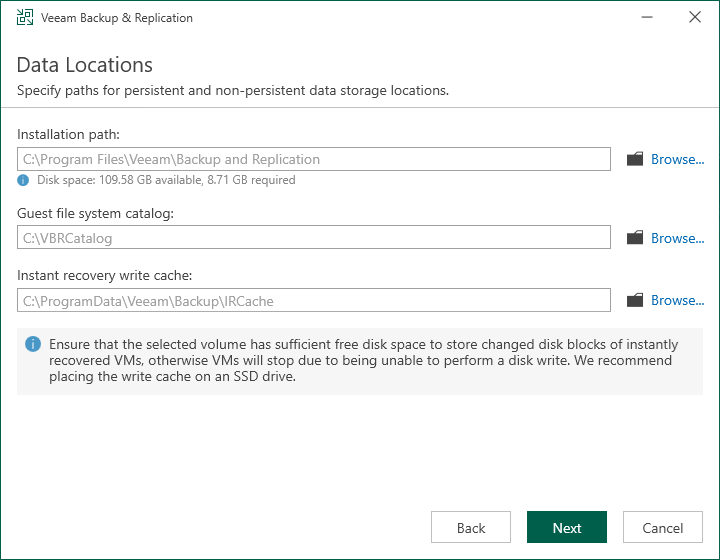
24.On the Data Locations page, select the locations for the installation path, Guest file system catalog, and Instant recovery write cache, and click Next.
Note:
Veeam recommends placing the write cache on an SSD drive and ensuring that the selected volume has sufficient free disk space to store changed blocks of instantly recovered VMs.
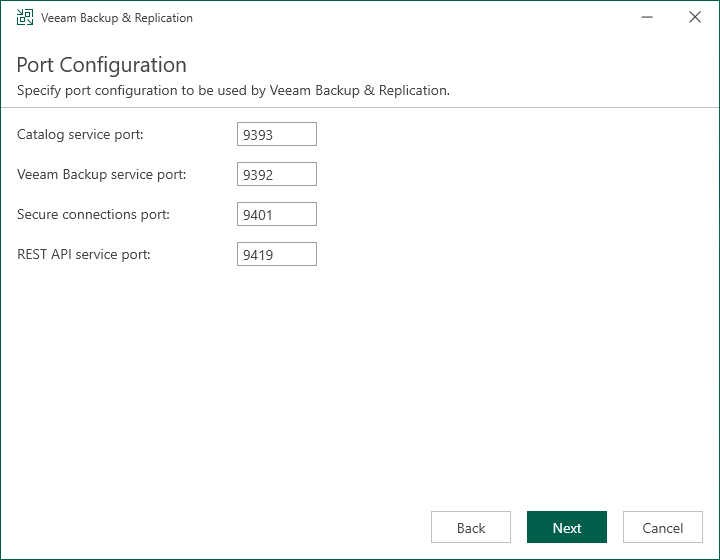
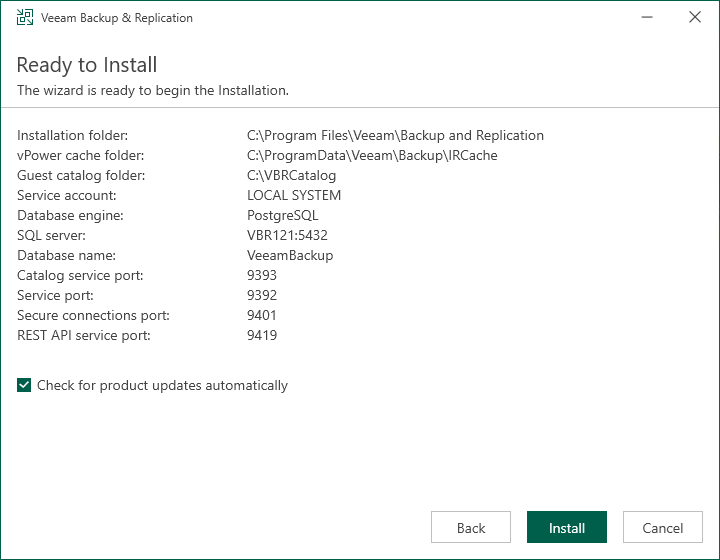
25.On the Port Configuration page, customize port number values that will be used for communication between backup infrastructure components and click Next.
26.On the Ready to Install page, verify Veeam Backup & Replication installation settings, select Check for updates once the product is installed and periodically click Install.
27. Click Finish on the Veeam Backup & Replication 12.1 Successfully installed page.
I hope you enjoy this post.
Cary Sun
X: @SifuSun
Web Site: carysun.com
Blog Site: checkyourlogs.net
Blog Site: gooddealmart.com
Amazon Author: Amazon.com/author/carysun